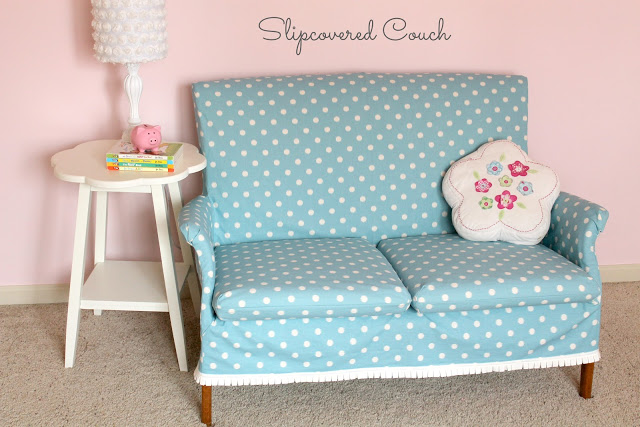
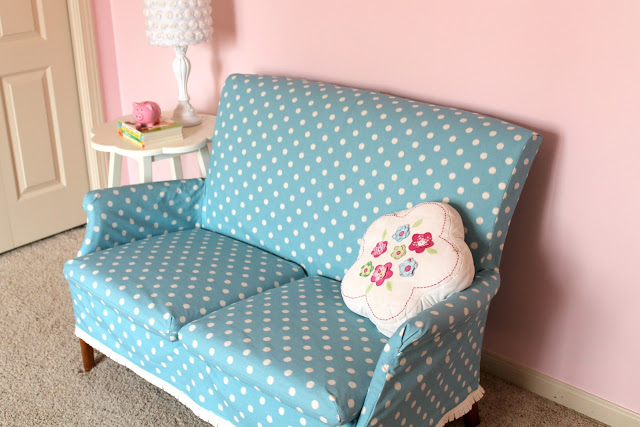
I am beyond excited with how this cute little couch turned out for Emma’s room!
Making a slipcover for this thing has been on my to do list for years!
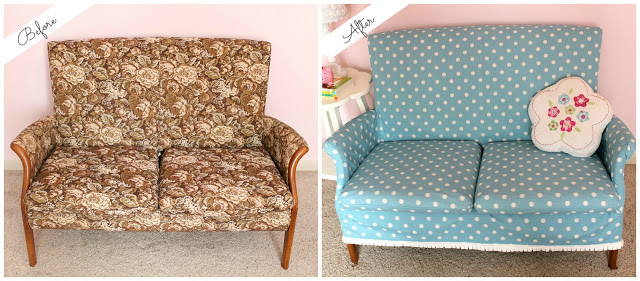
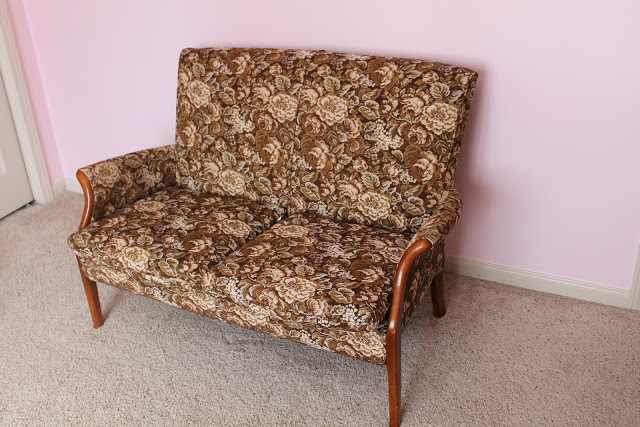
I found this sweet baby when we lived in England. It was the perfect size and I loved the lines, but the fabric was hideous! Are your ready for the before picture?
Pretty bad, huh? As you can imagine the brown floral was completely throwing off the cuteness factor of Emma’s room.
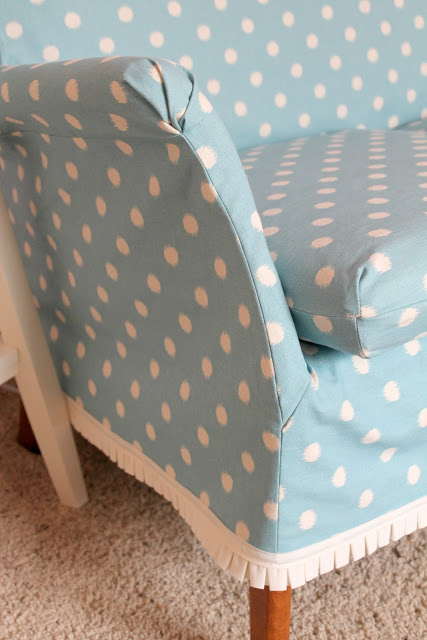
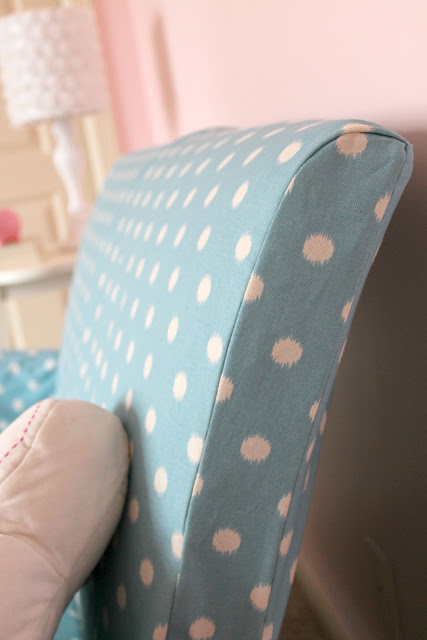
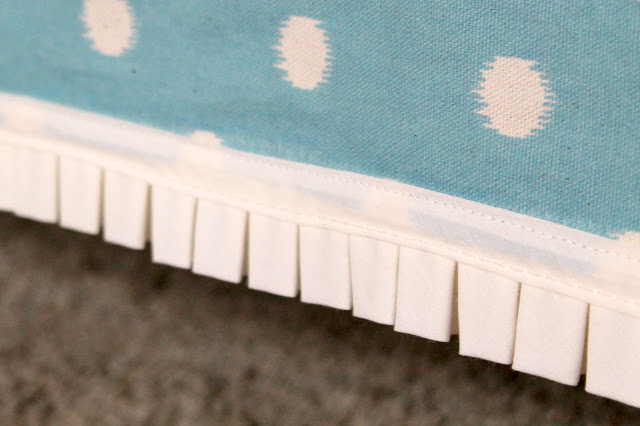
Here are a few more close ups of the finished product…
This was a time consuming and challenging project (It took about 4 days), but I am so happy with the end result that it was all worth it!
Slip covering is a pretty straight forward concept, but can get a little tricky on all the little curves.
Although I can not do a full tutorial (since no two pieces are the same) I will try to explain the basic concept of making a slipcover.
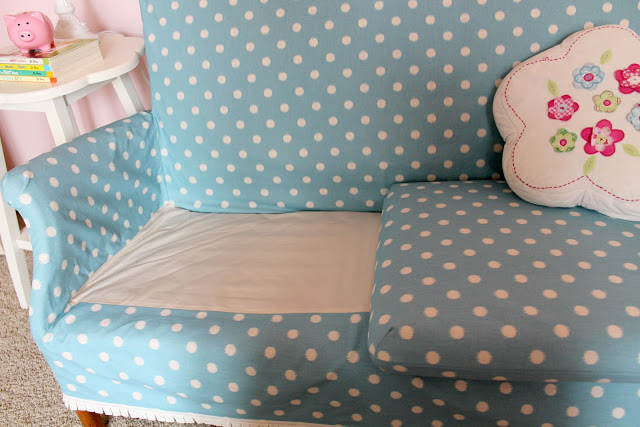
First begin by figuring out how much fabric you are going to need. I measured each piece of the couch, added lots of extra inches for seem allowances and made a little diagram to figure out how much fabric I needed. I bought 4 yards of fabric, but I BARELY had enough. I had to use muslin for the seat bottom, since I had run out of fabric. I really should have bought 5 yards.
My favourite place to buy fabric is fabric.com. They have an amazing selection, competitive prices and free returns. This is a decorator fabric by Premier Prints and cost about $7/yard.
Once your fabric has been prewashed and dried, you can start measuring and cutting.
I started with the seat back and measured the widest part on the length and width. I then added 3″ to both of these numbers. For example if my back was 45″ X 29″ at it’s widest parts, then I would cut a rectangle 48″ x 32″. I made sure that I was quite generous in my initial measurement, always rounding up to ensure I would have enough fabric.
Continue measuring and cutting fabric in this same manner, labelling the back with which piece it was (front back, seat bottom etc) and an arrow indicating the direction the fabric should lay.
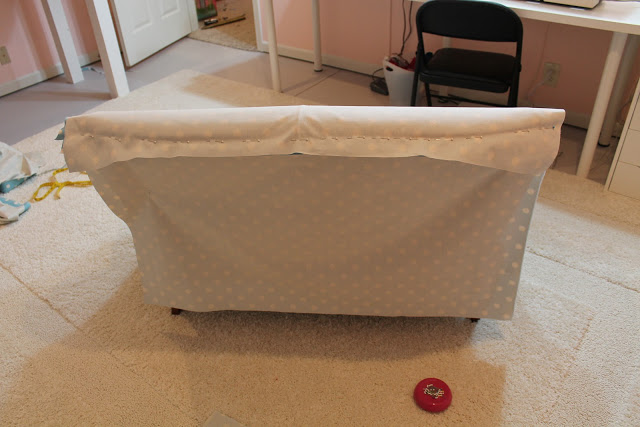
Once you have a couple of pieces cut (I did the front back and the back back first), then you can begin pinning.
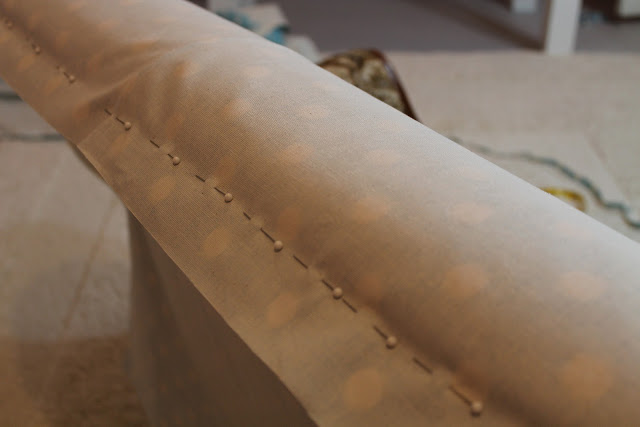
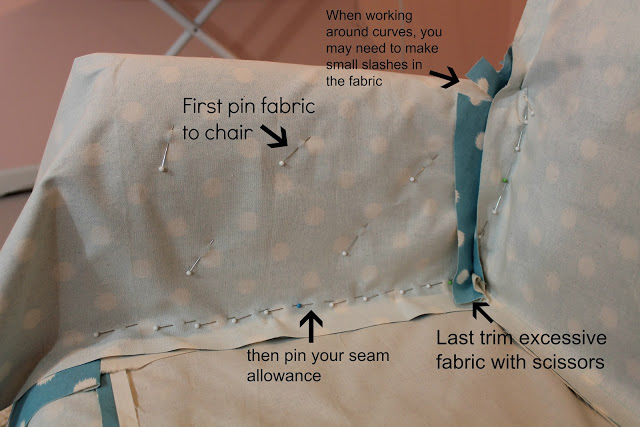
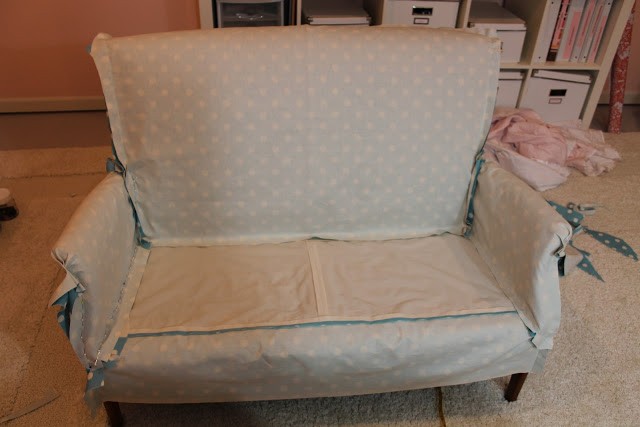
You are going to lay your fabric onto your furniture with the right side down and pin your two pieces together like so…. Make sure your are pinning your fabric with the right sides together!
Be as precise as possible in your pinning.
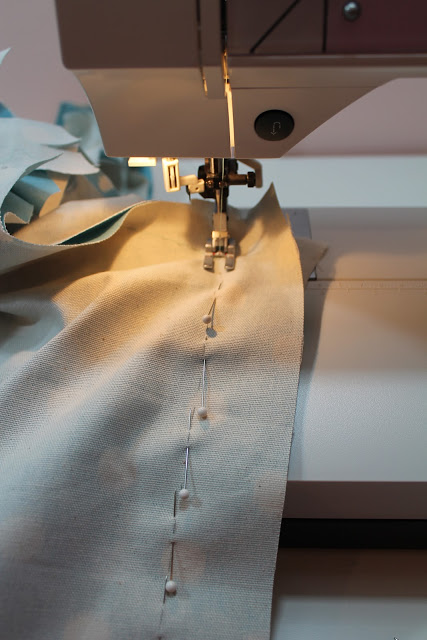
After you have pinned two pieces together, then use these pins as your sewing guide. Remove fabric from furniture and sew straight over your pin line (removing the pins as you go).
I found it helpful to make a little dashed pencil line in between my pins to keep me going in a straight line. Your pins will not be perfectly lined up, but try to even them out as you are sewing, so that you are sewing in as smooth of line as possible.
Continue this process with each additional piece of fabric, always pinning right sides together.
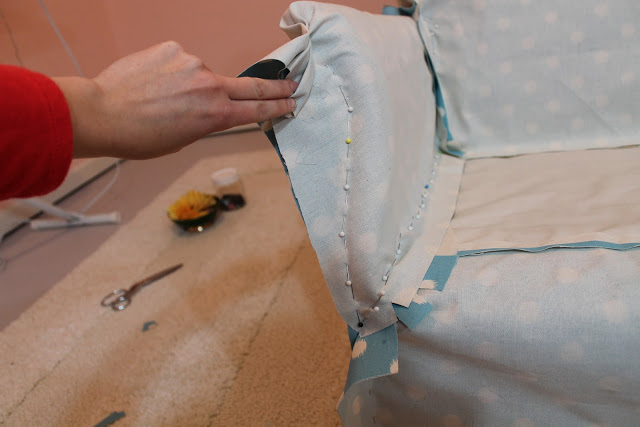
This is that tiny little side piece.
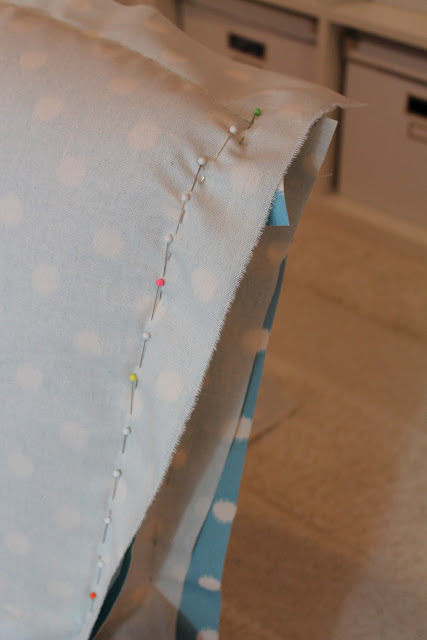
One trick that makes pinning easier is to first pin your piece of fabric directly to your piece of furniture, then start pinning the seams together.
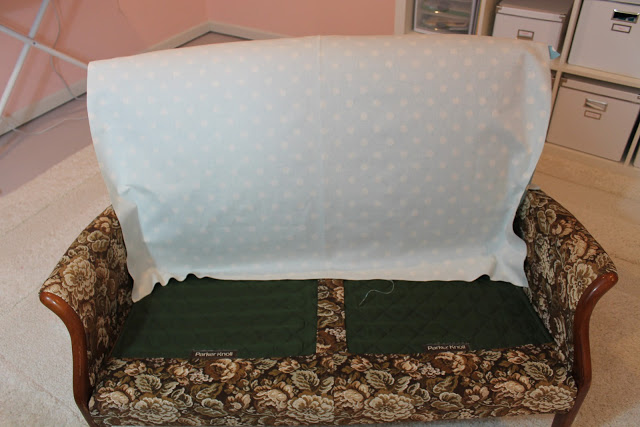
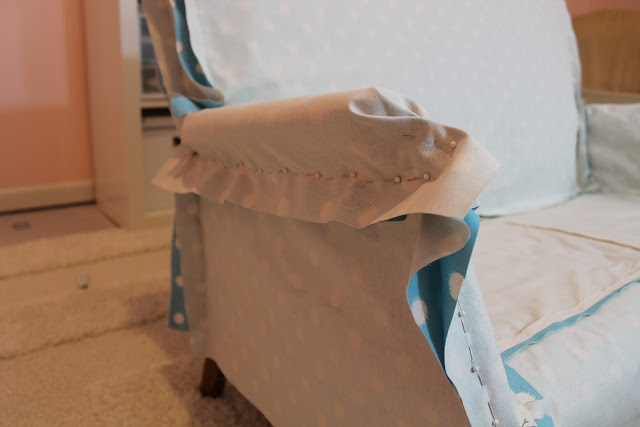
Here are a few more pictures of the pinning process…
To get the nice little pleats in the arm, I finished sewing the slipcover then sewed the little pleats by hand at the very end.
Notice that I had to use muslin for the seat bottom in the above picture because I was running out of fabric!
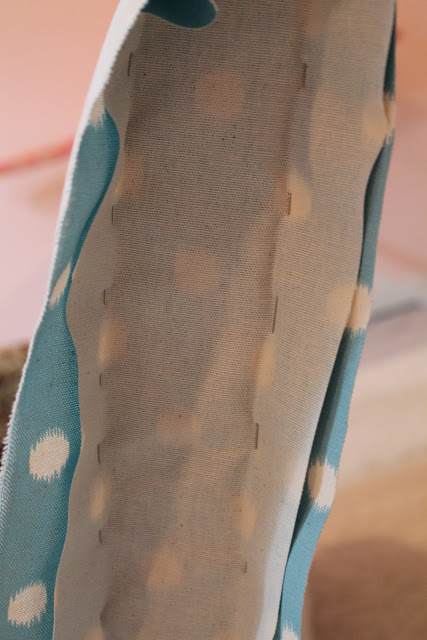
After I finished sewing all of my seams, I trimmed them down (to about an inch) and pressed all my seams open.
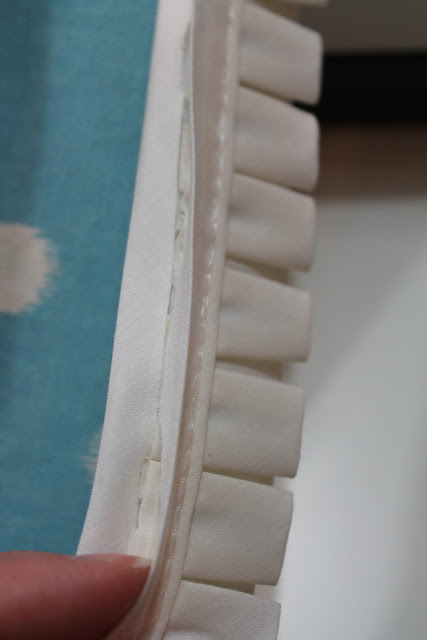
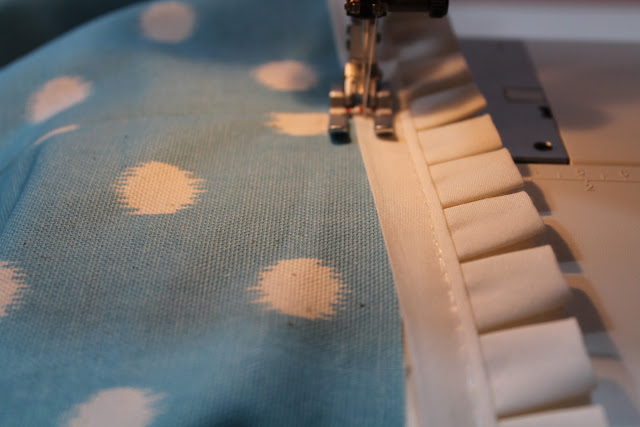
Lastly I added this little ruffle trim to the bottom that I found at Hobby Lobby.
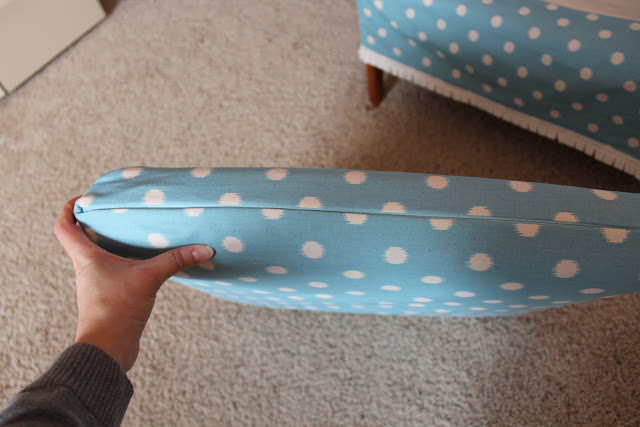
I covered each of the seat cushions separately to make sure it had a nice tailored look. I used the same process of pinning my fabric on top of the cushion with right sides together. I also added an invisible zipper, so that I can remove them for washing. There are lots of tutorials out there to help with this part. I am sure I didn’t do this part right, but it ended up looking pretty good.
And there you have it! One more before and after just for fun….
Before
After
Please email me if you have any questions. It really was not that hard, just took a little patience.
Happy Sewing!
Linking up….

view + leave comments . . .