Kid’s can be pretty fabulous. They have boundless energy and often have an infinite amount of stories to tell. But once in a while kids just needs to be quiet. Maybe you are going out to eat at a restaurant or visiting a friend or going to church and you just need something to keep their little hands busy and their minds engaged without all the bouncing and talking. These little quiet bags are the perfect solution.
It’s a little personalized tote just for them! You can fill it with coloring books and other quiet activities. And what kid doesn’t love a little personalization? We all know how excited we got when we were kids to have something with our name on it.
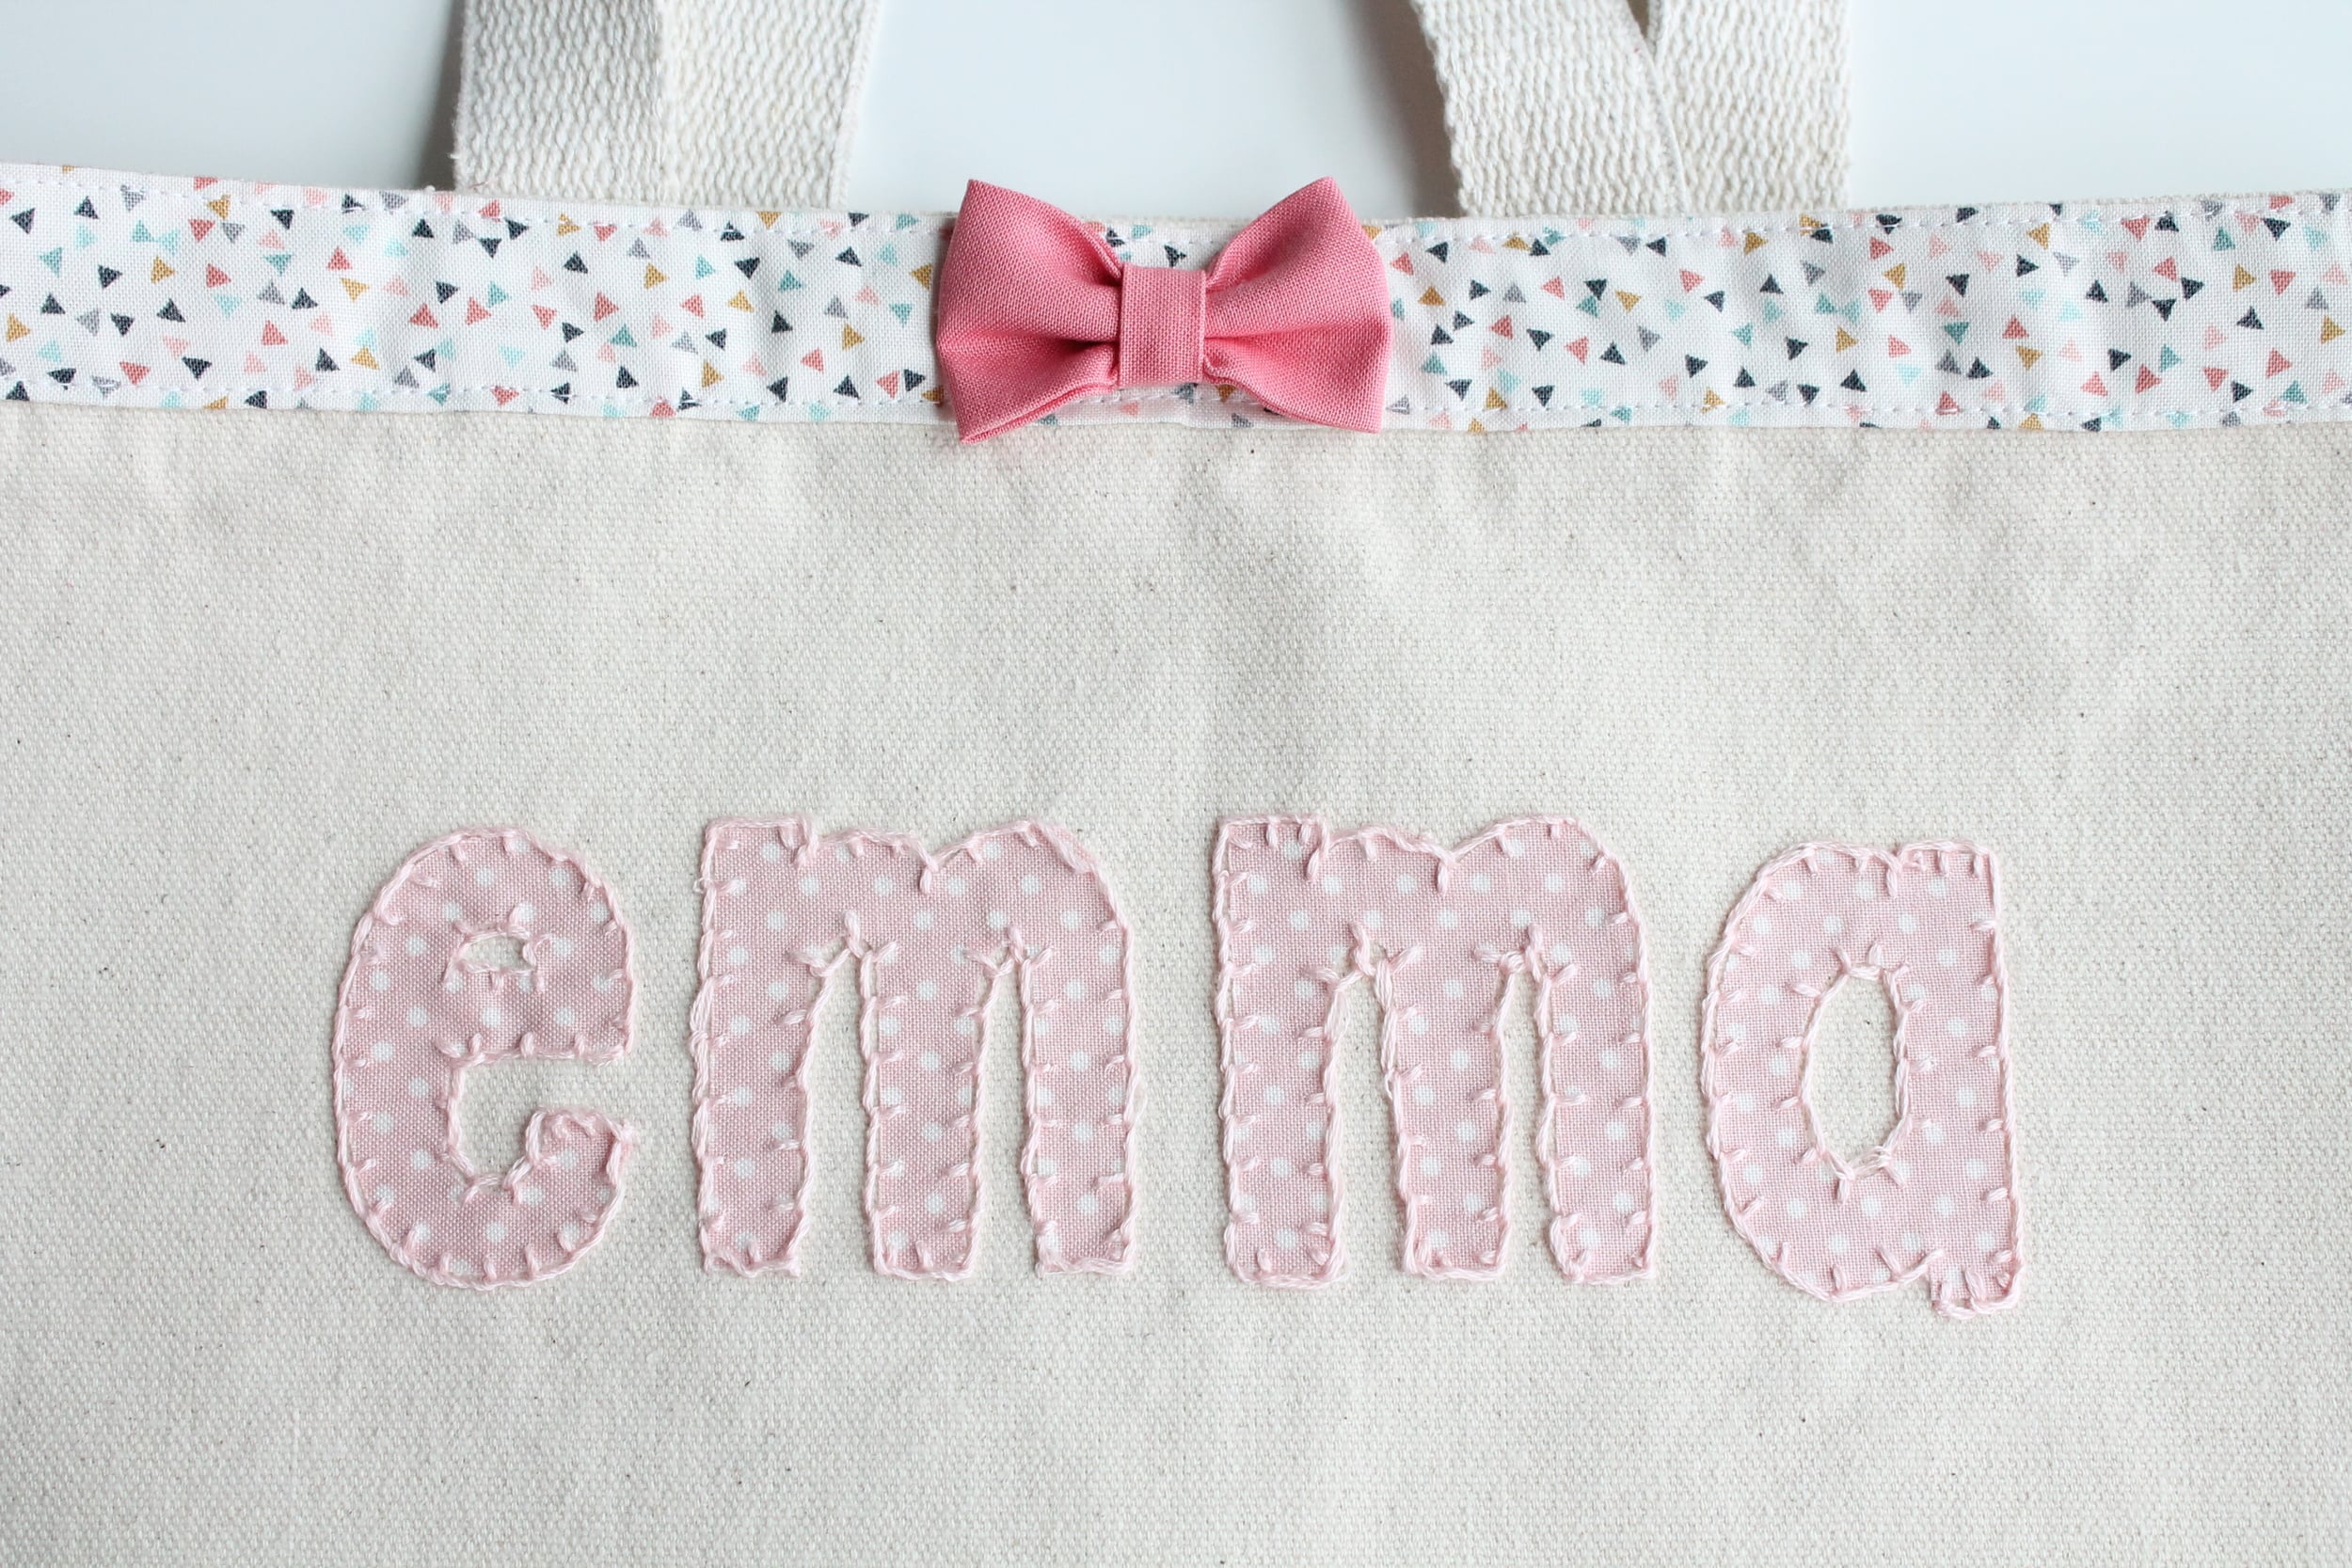
I recently made these two little quiet bags for my two youngest kids. Emma’s turned out so sweet…
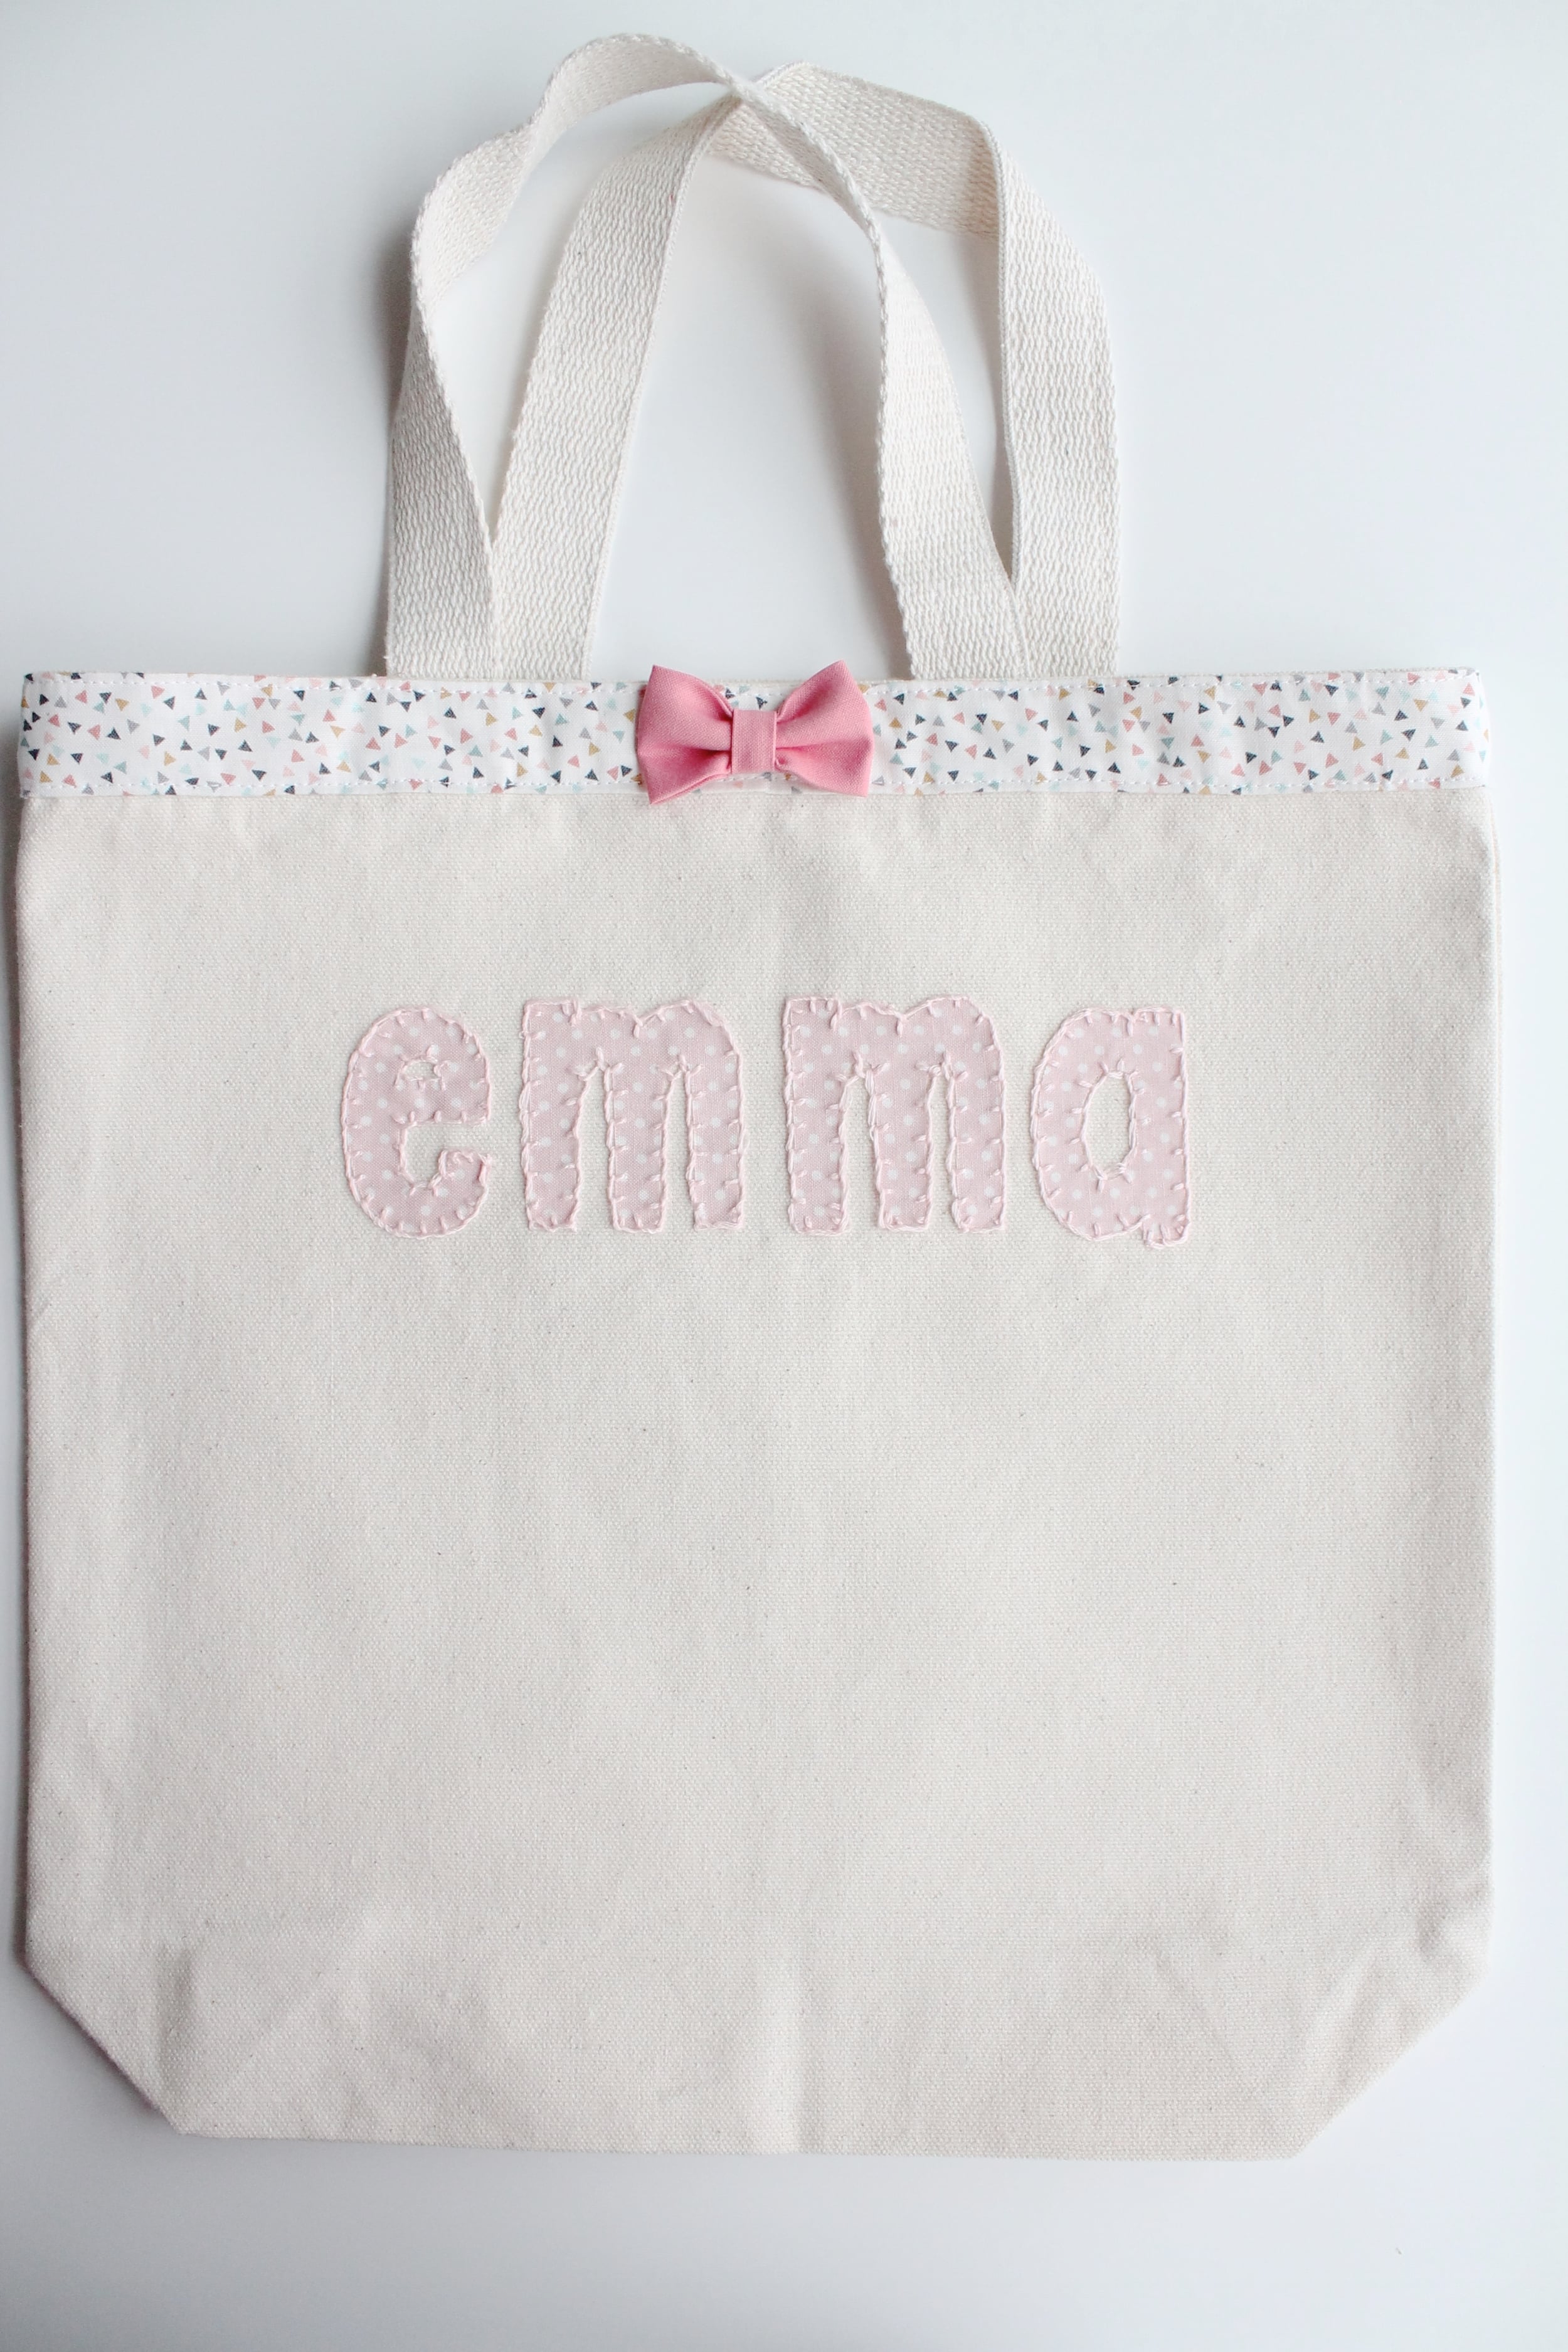
I keep it stocked with paper, markers and drawing books.
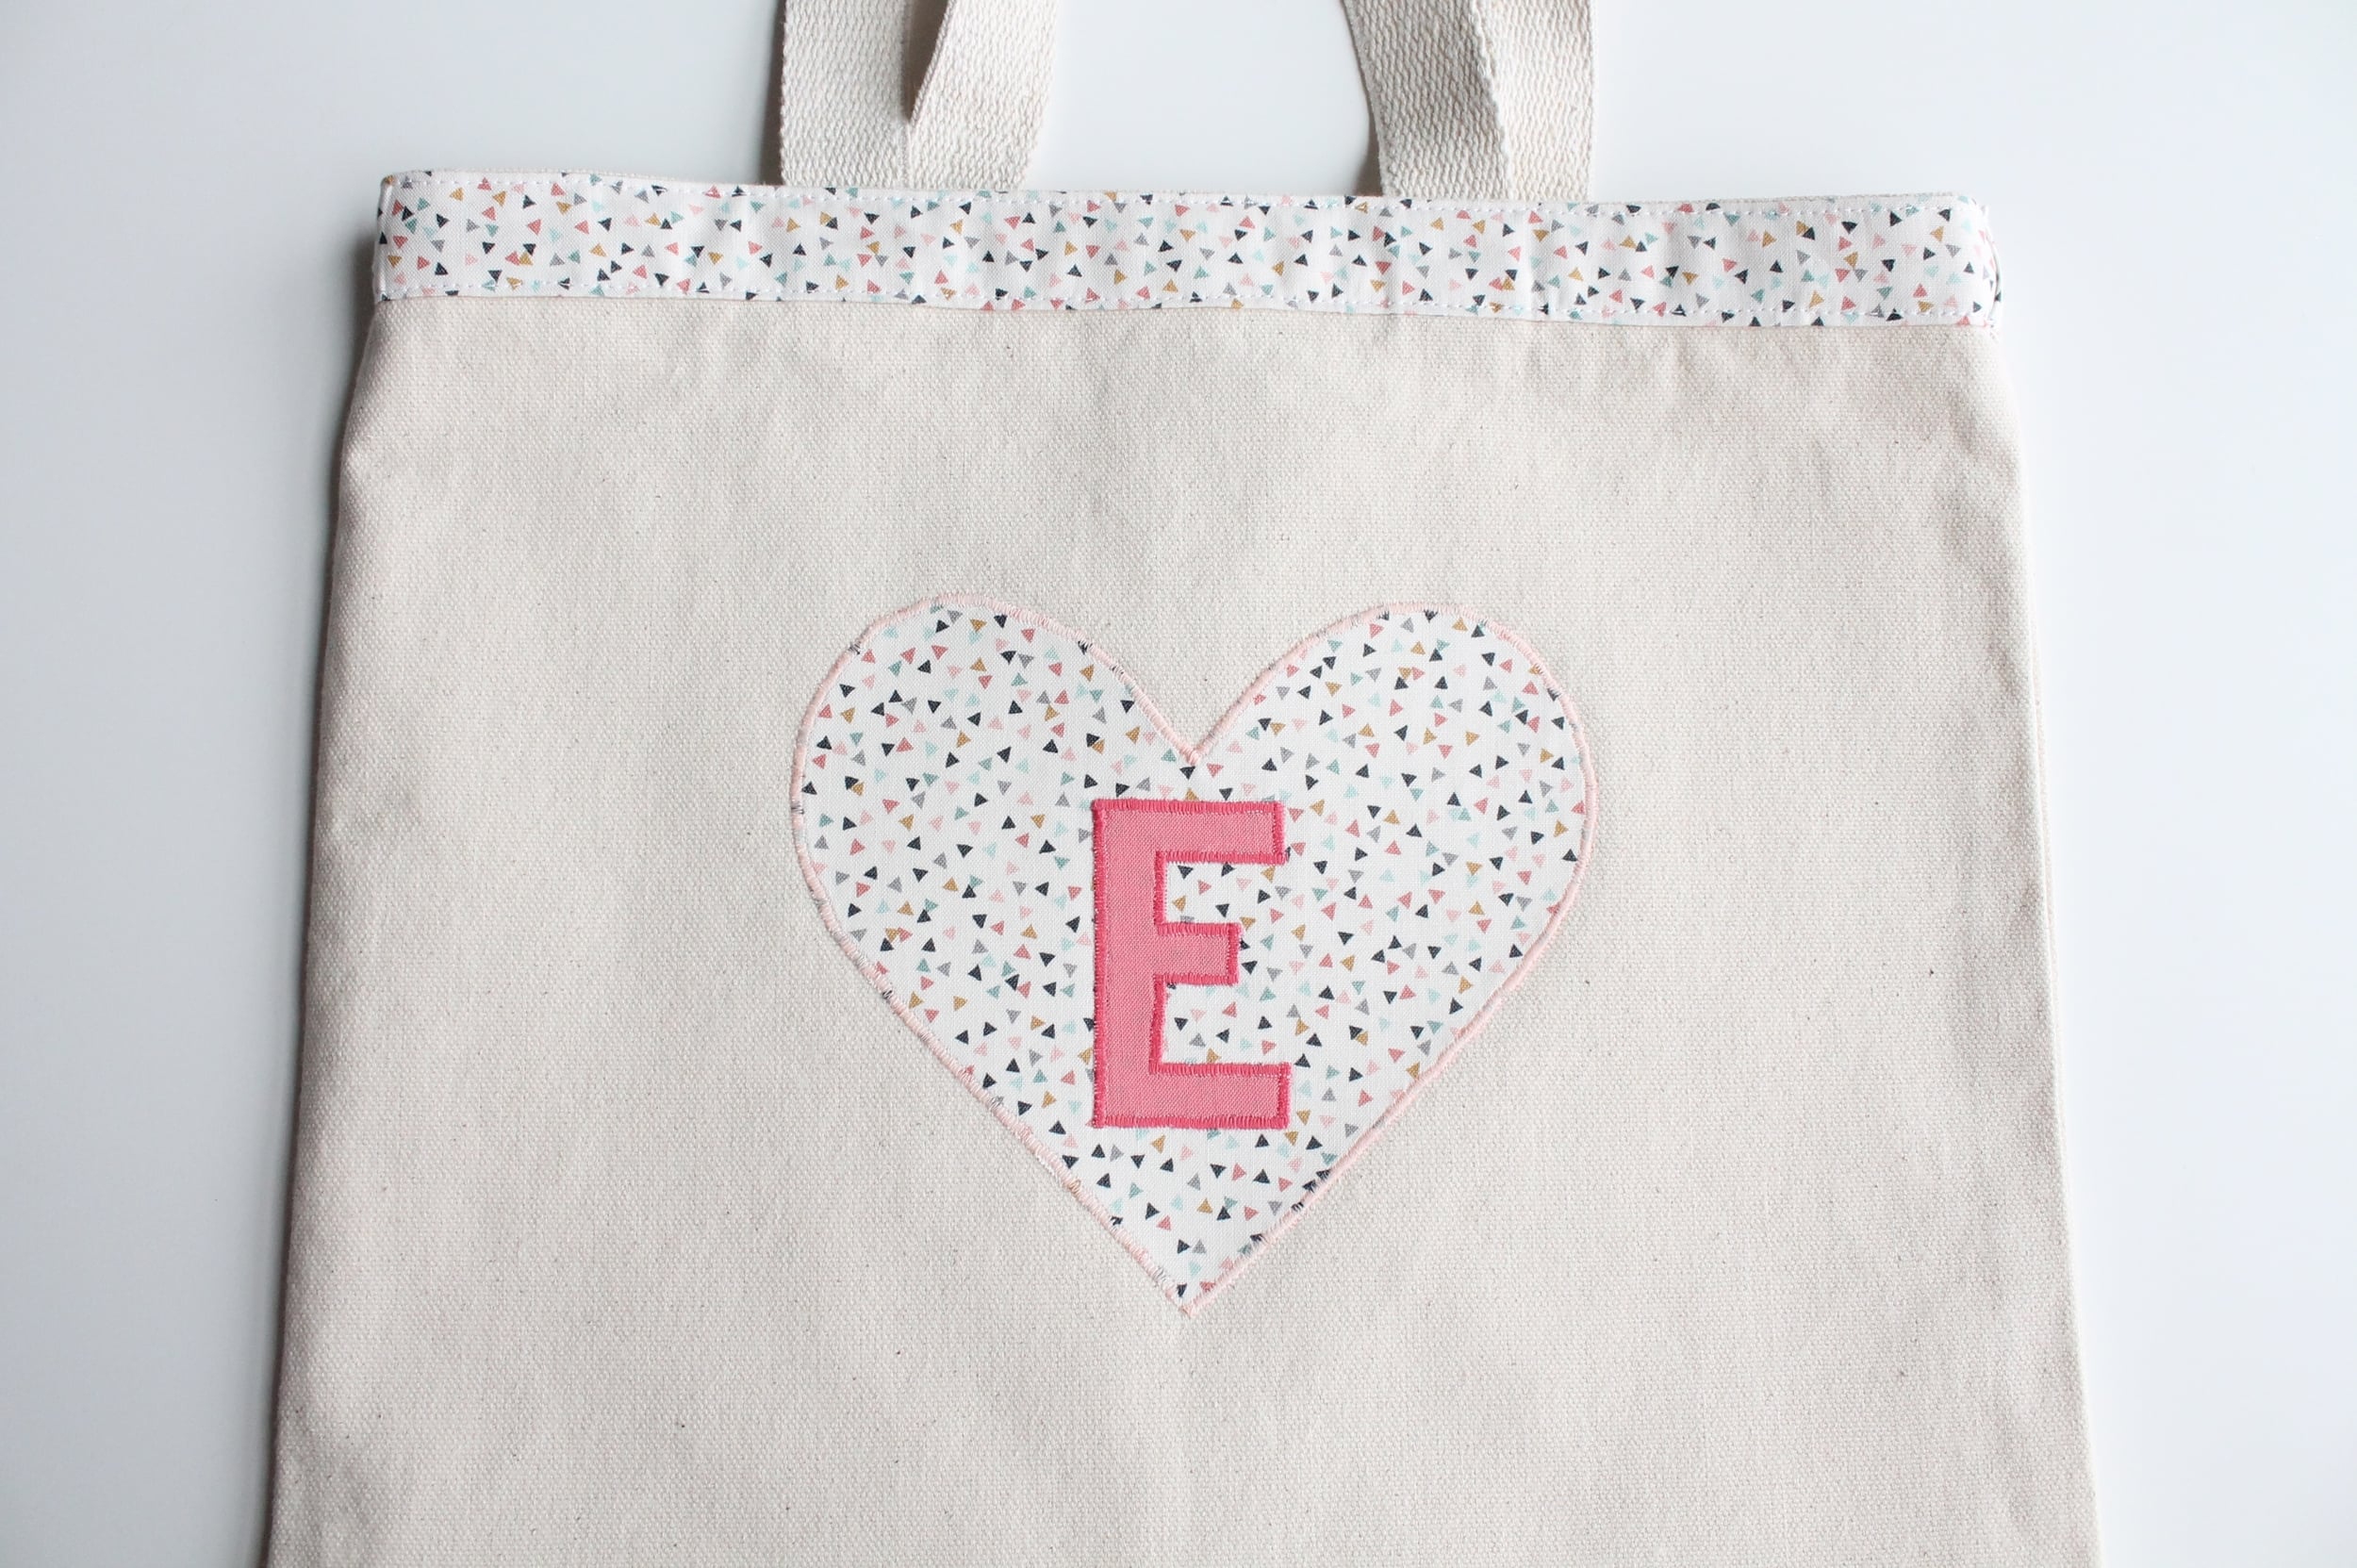
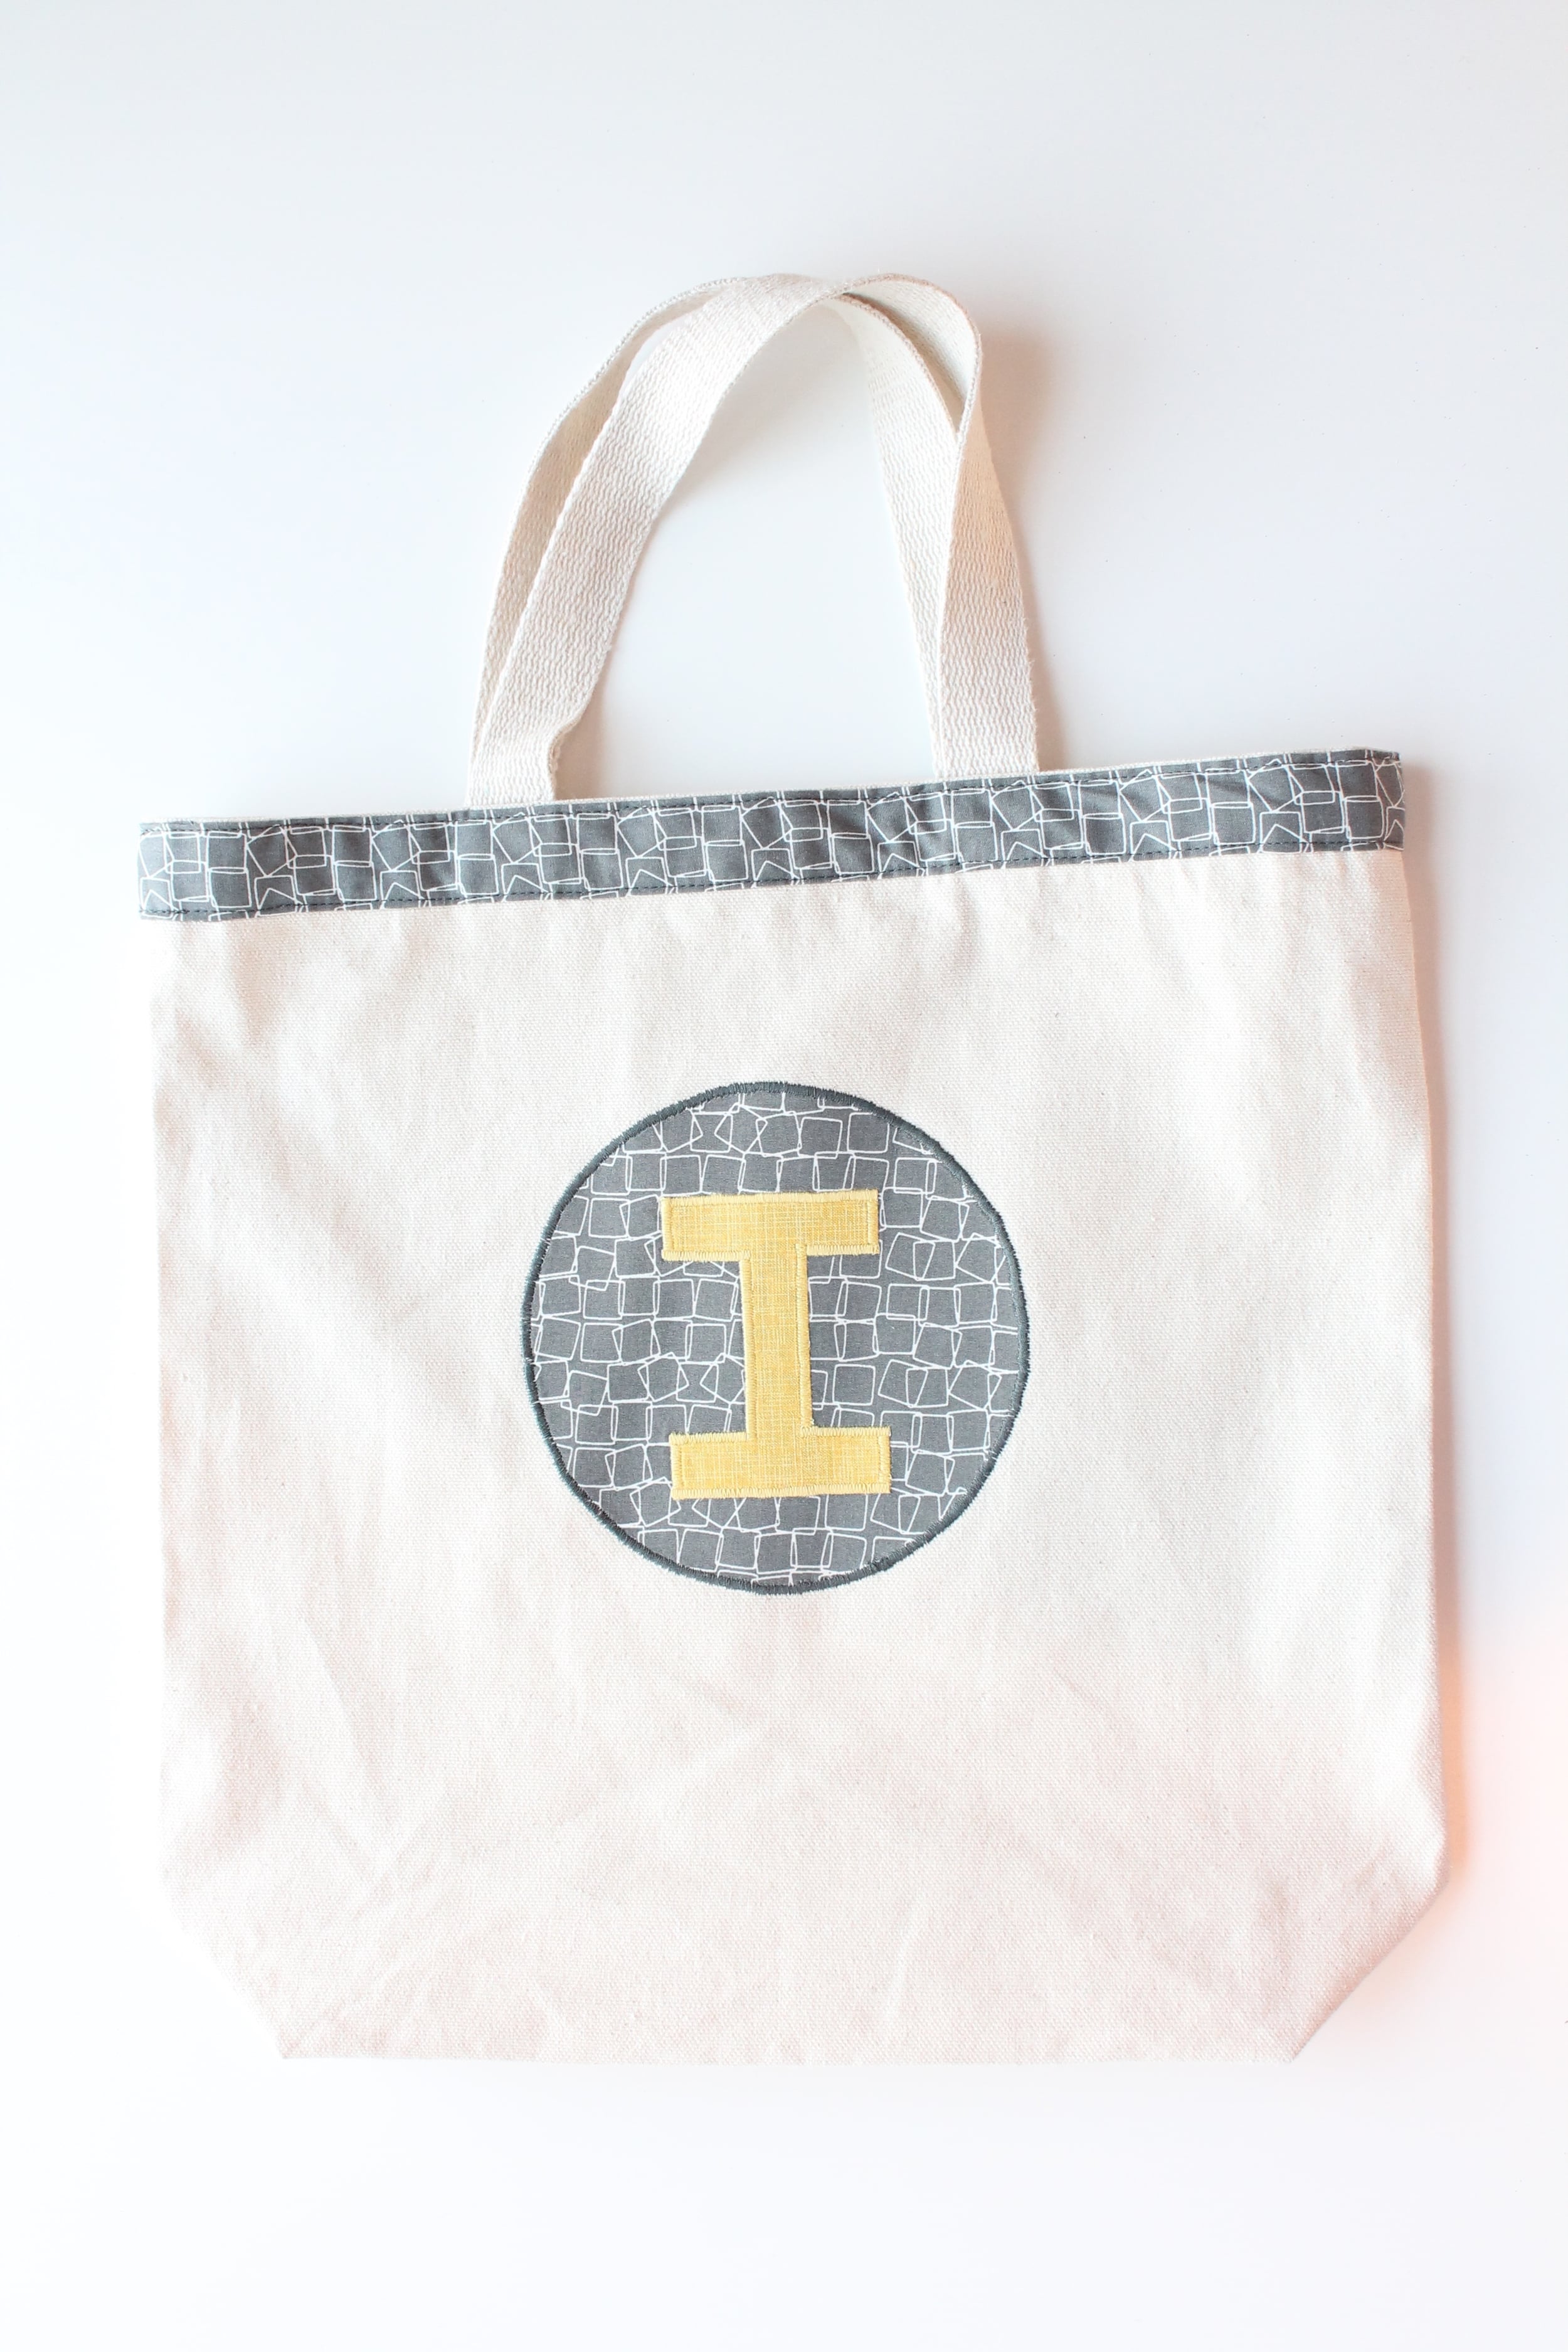
Isaac is getting older (9 1/2). So I kept his pretty simple with just his first initial… this is also a much quicker and easier version if you don’t want to do their entire name.


So are you ready to make your own quiet bag? Let’s get started.
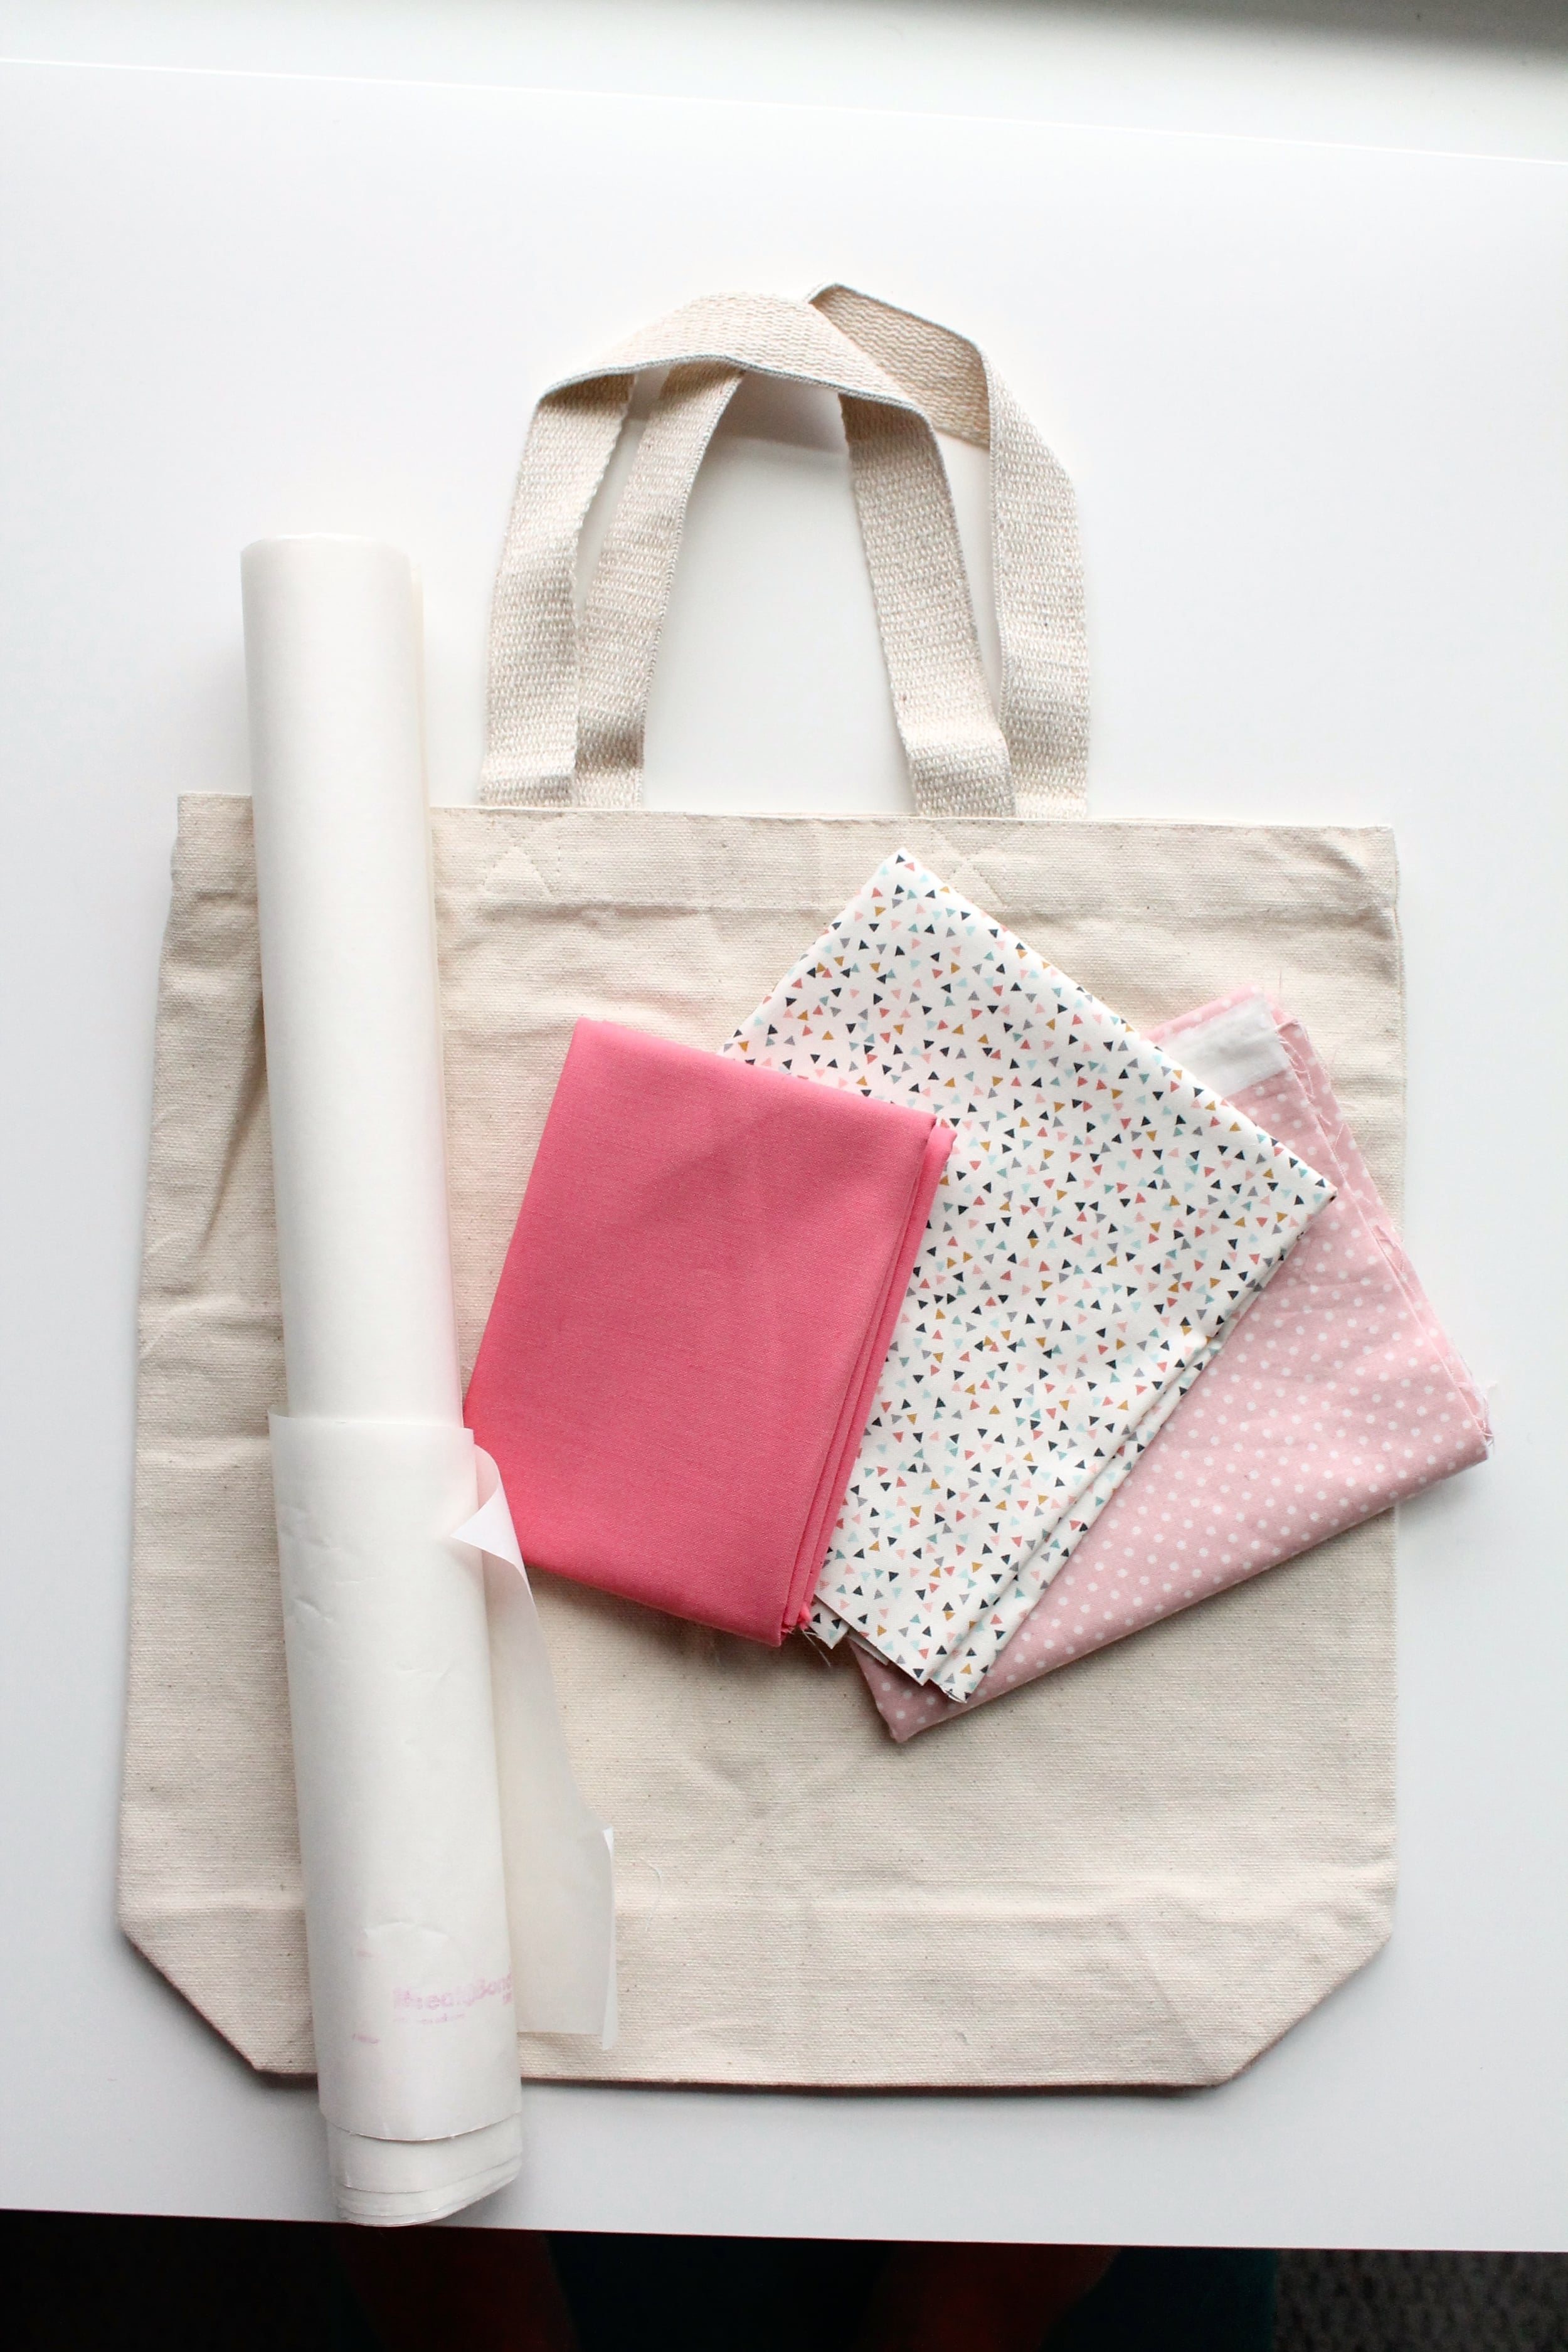
You will need:
- A canvas tote bag. (You can often find these at craft stores. I bought mine here.)
- fabric in various colors (quilting cotton works well)
- Iron on adhesive (I use Heat ‘n Bond Light)
- pencil and paper for making your pattern
- cardstock pressing pattern (optional)
I started with sewing a fabric border to the top of the bag. To do this, cut a long strip of fabric 2″ wide. Make sure your fabric is long enough to go around the entire top of your bag with a bit overlapping. You can sew two pieces together if needed.

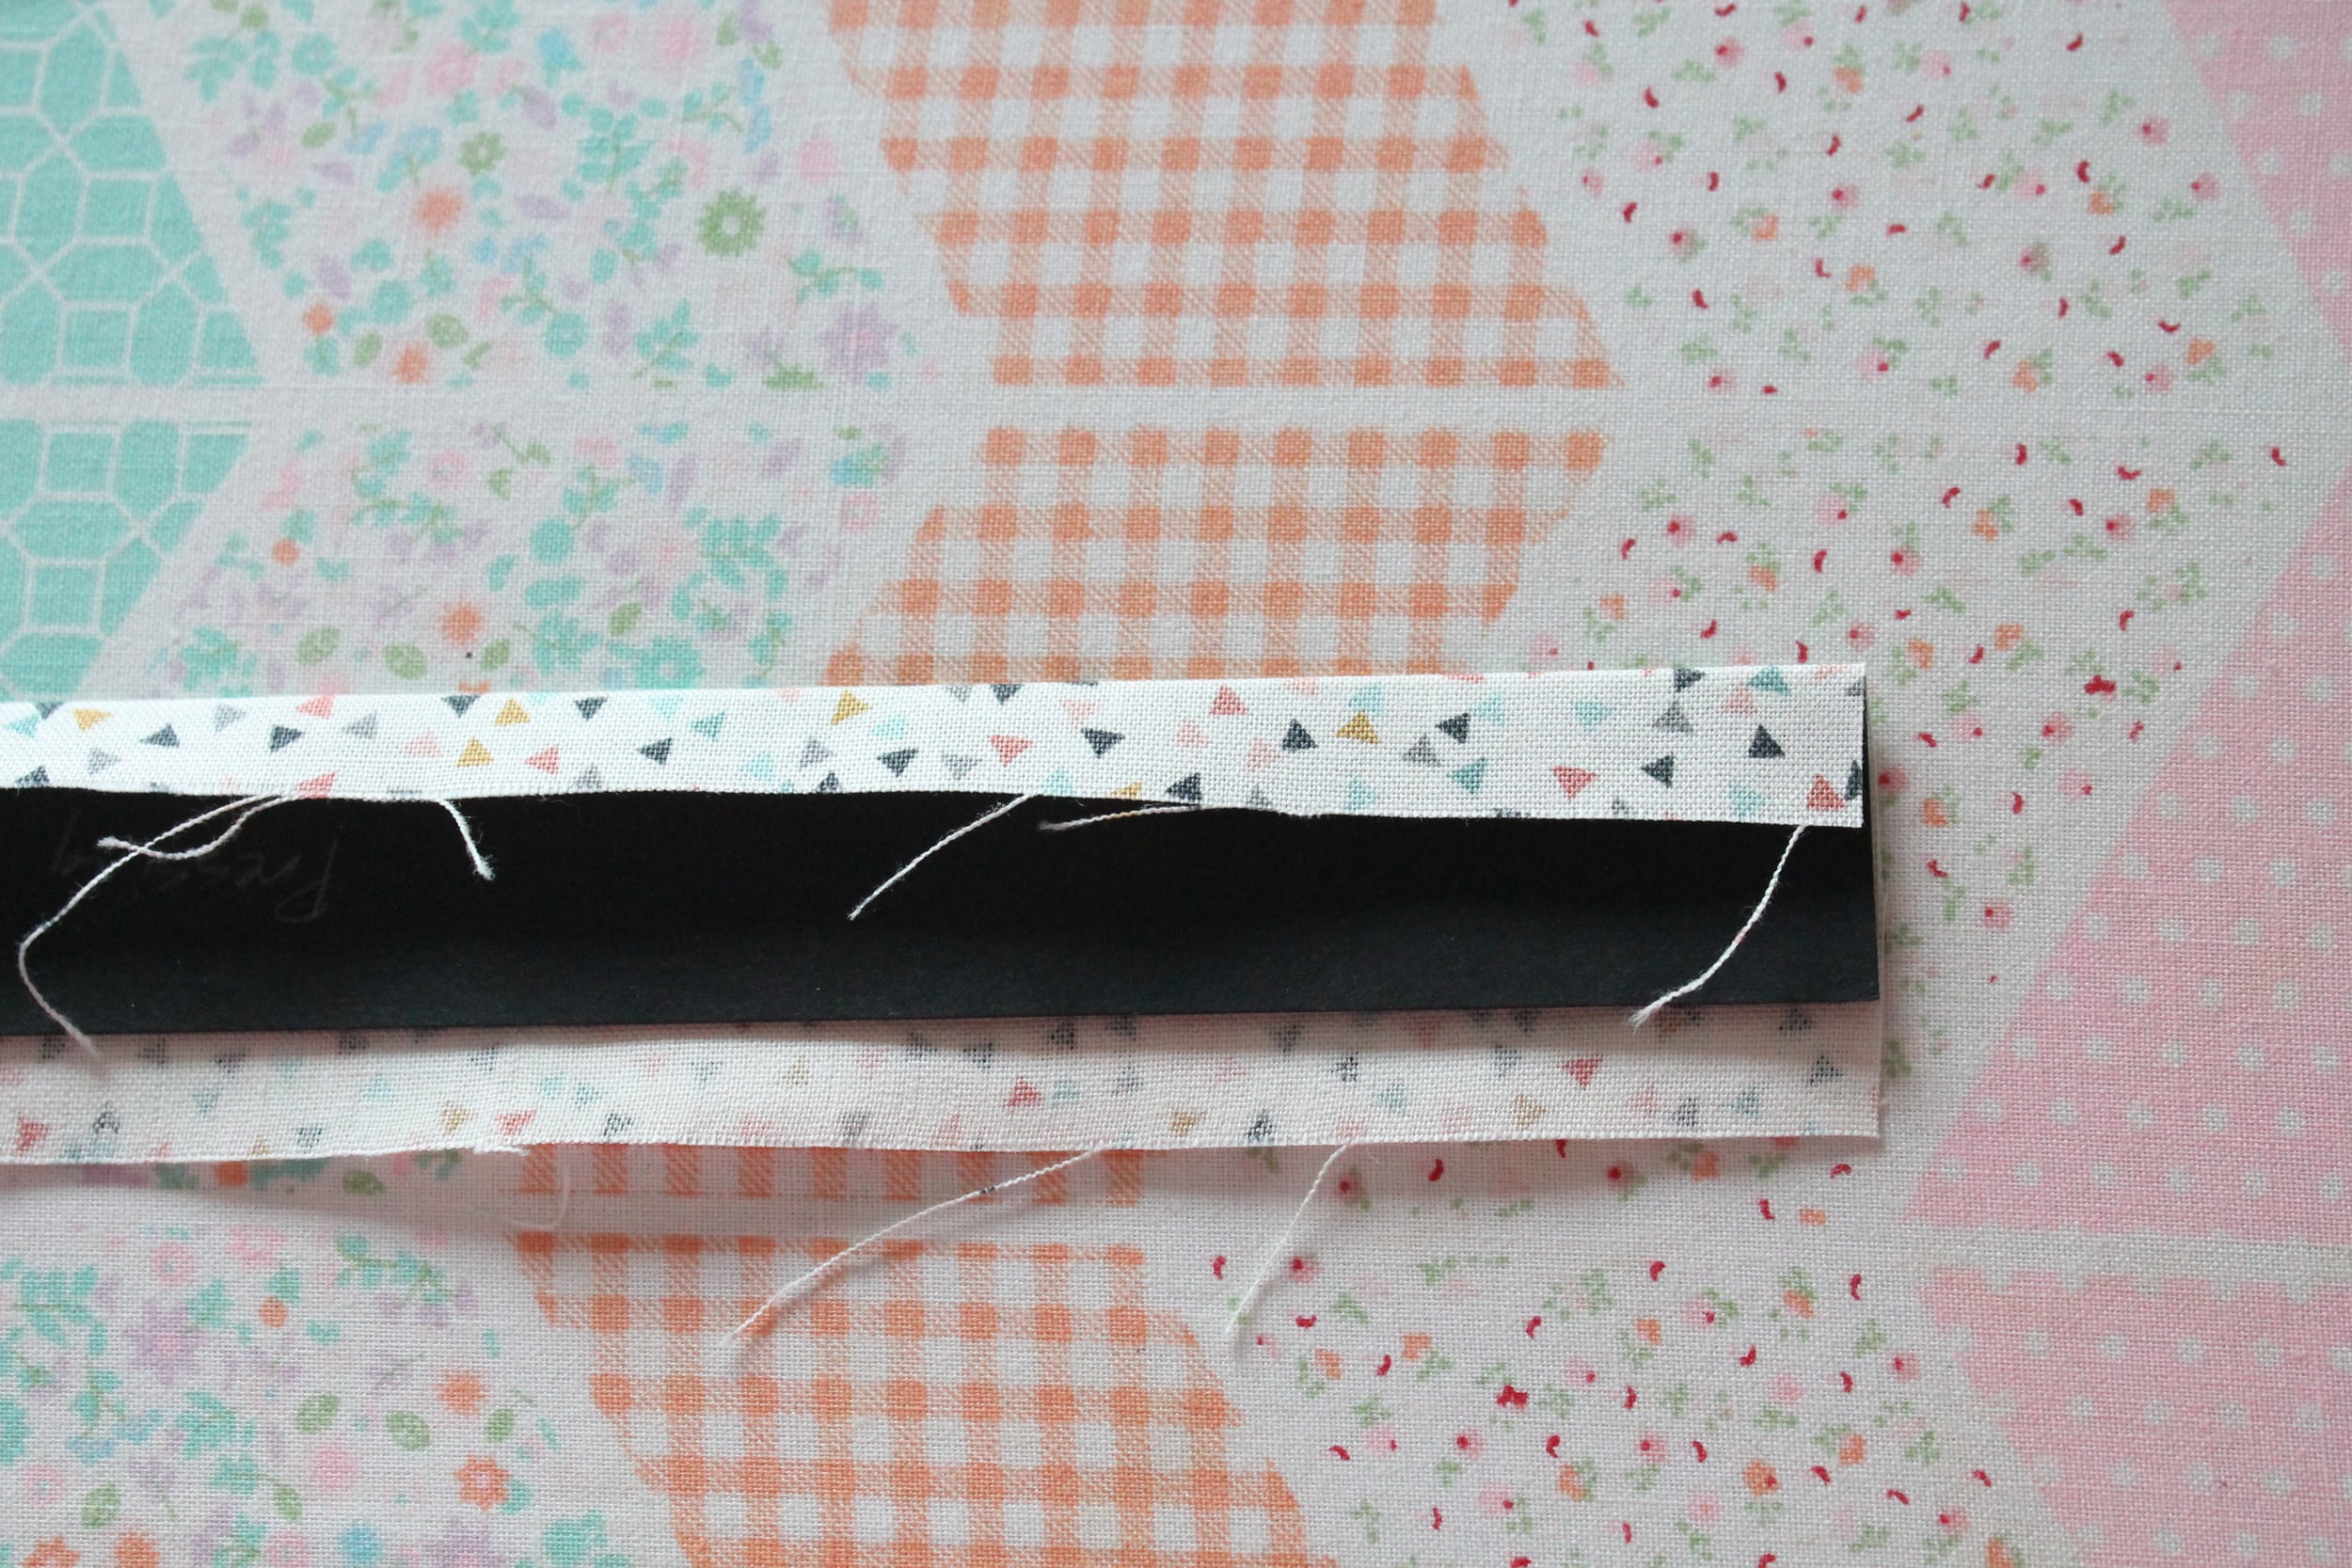
Now we are going to fold and iron the edges under. You can use a bias tape maker (that silver tool above) or you can just cut a strip of 1″ cardstock and make your own little pressing pattern.
Using your strip of cardstock as a guide iron both edges down.
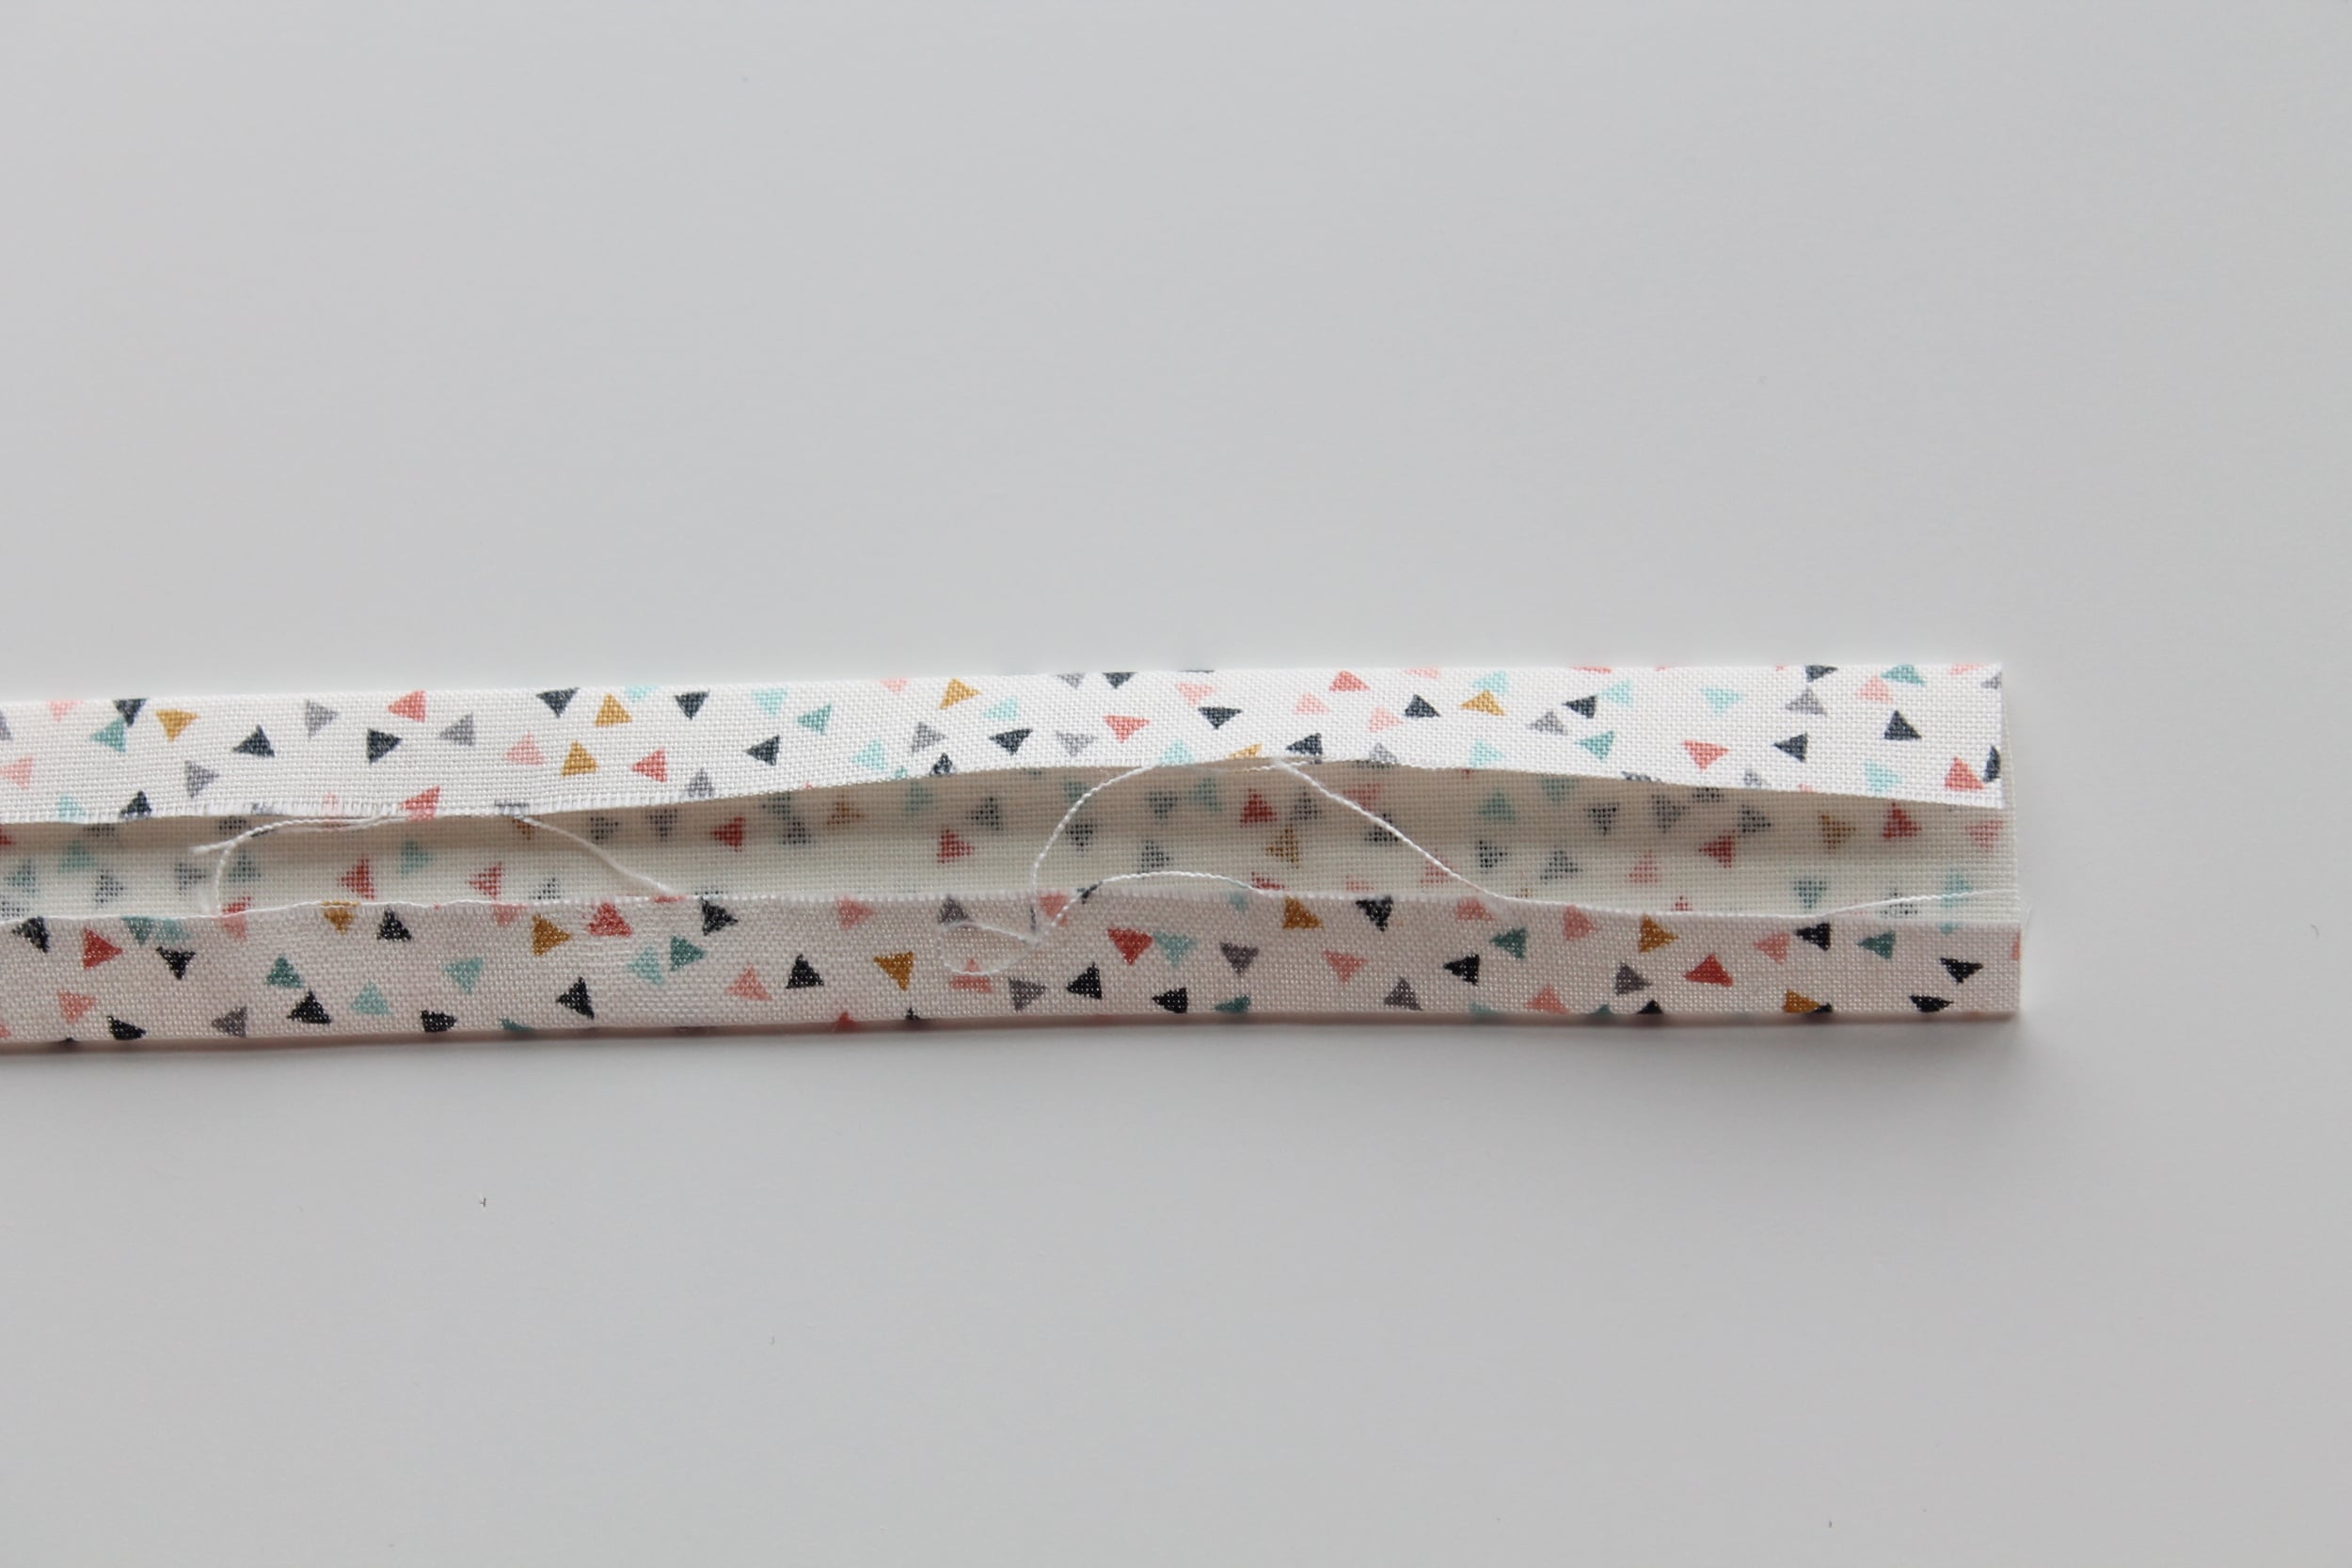
Pin this strip to the top of your bag.

When you get to the end just overlap the pieces and fold the raw edge under.

Then sew with a 1/8 inch seam allowance.
Now it’s time for the fun part, the name! Or anything you want! Really the sky is the limit with this one. I always start with drawing my pattern on a piece of paper. If you don’t feel comfortable drawing you could always print out letters or shapes from the computer.
Once I get the letters just how I want them, I cut them out and trace them onto the back of the iron on adhesive. Just remember if you are doing letters you need to trace them on backwards. Then iron it on to the wrong side of your fabric.
And cut them out.
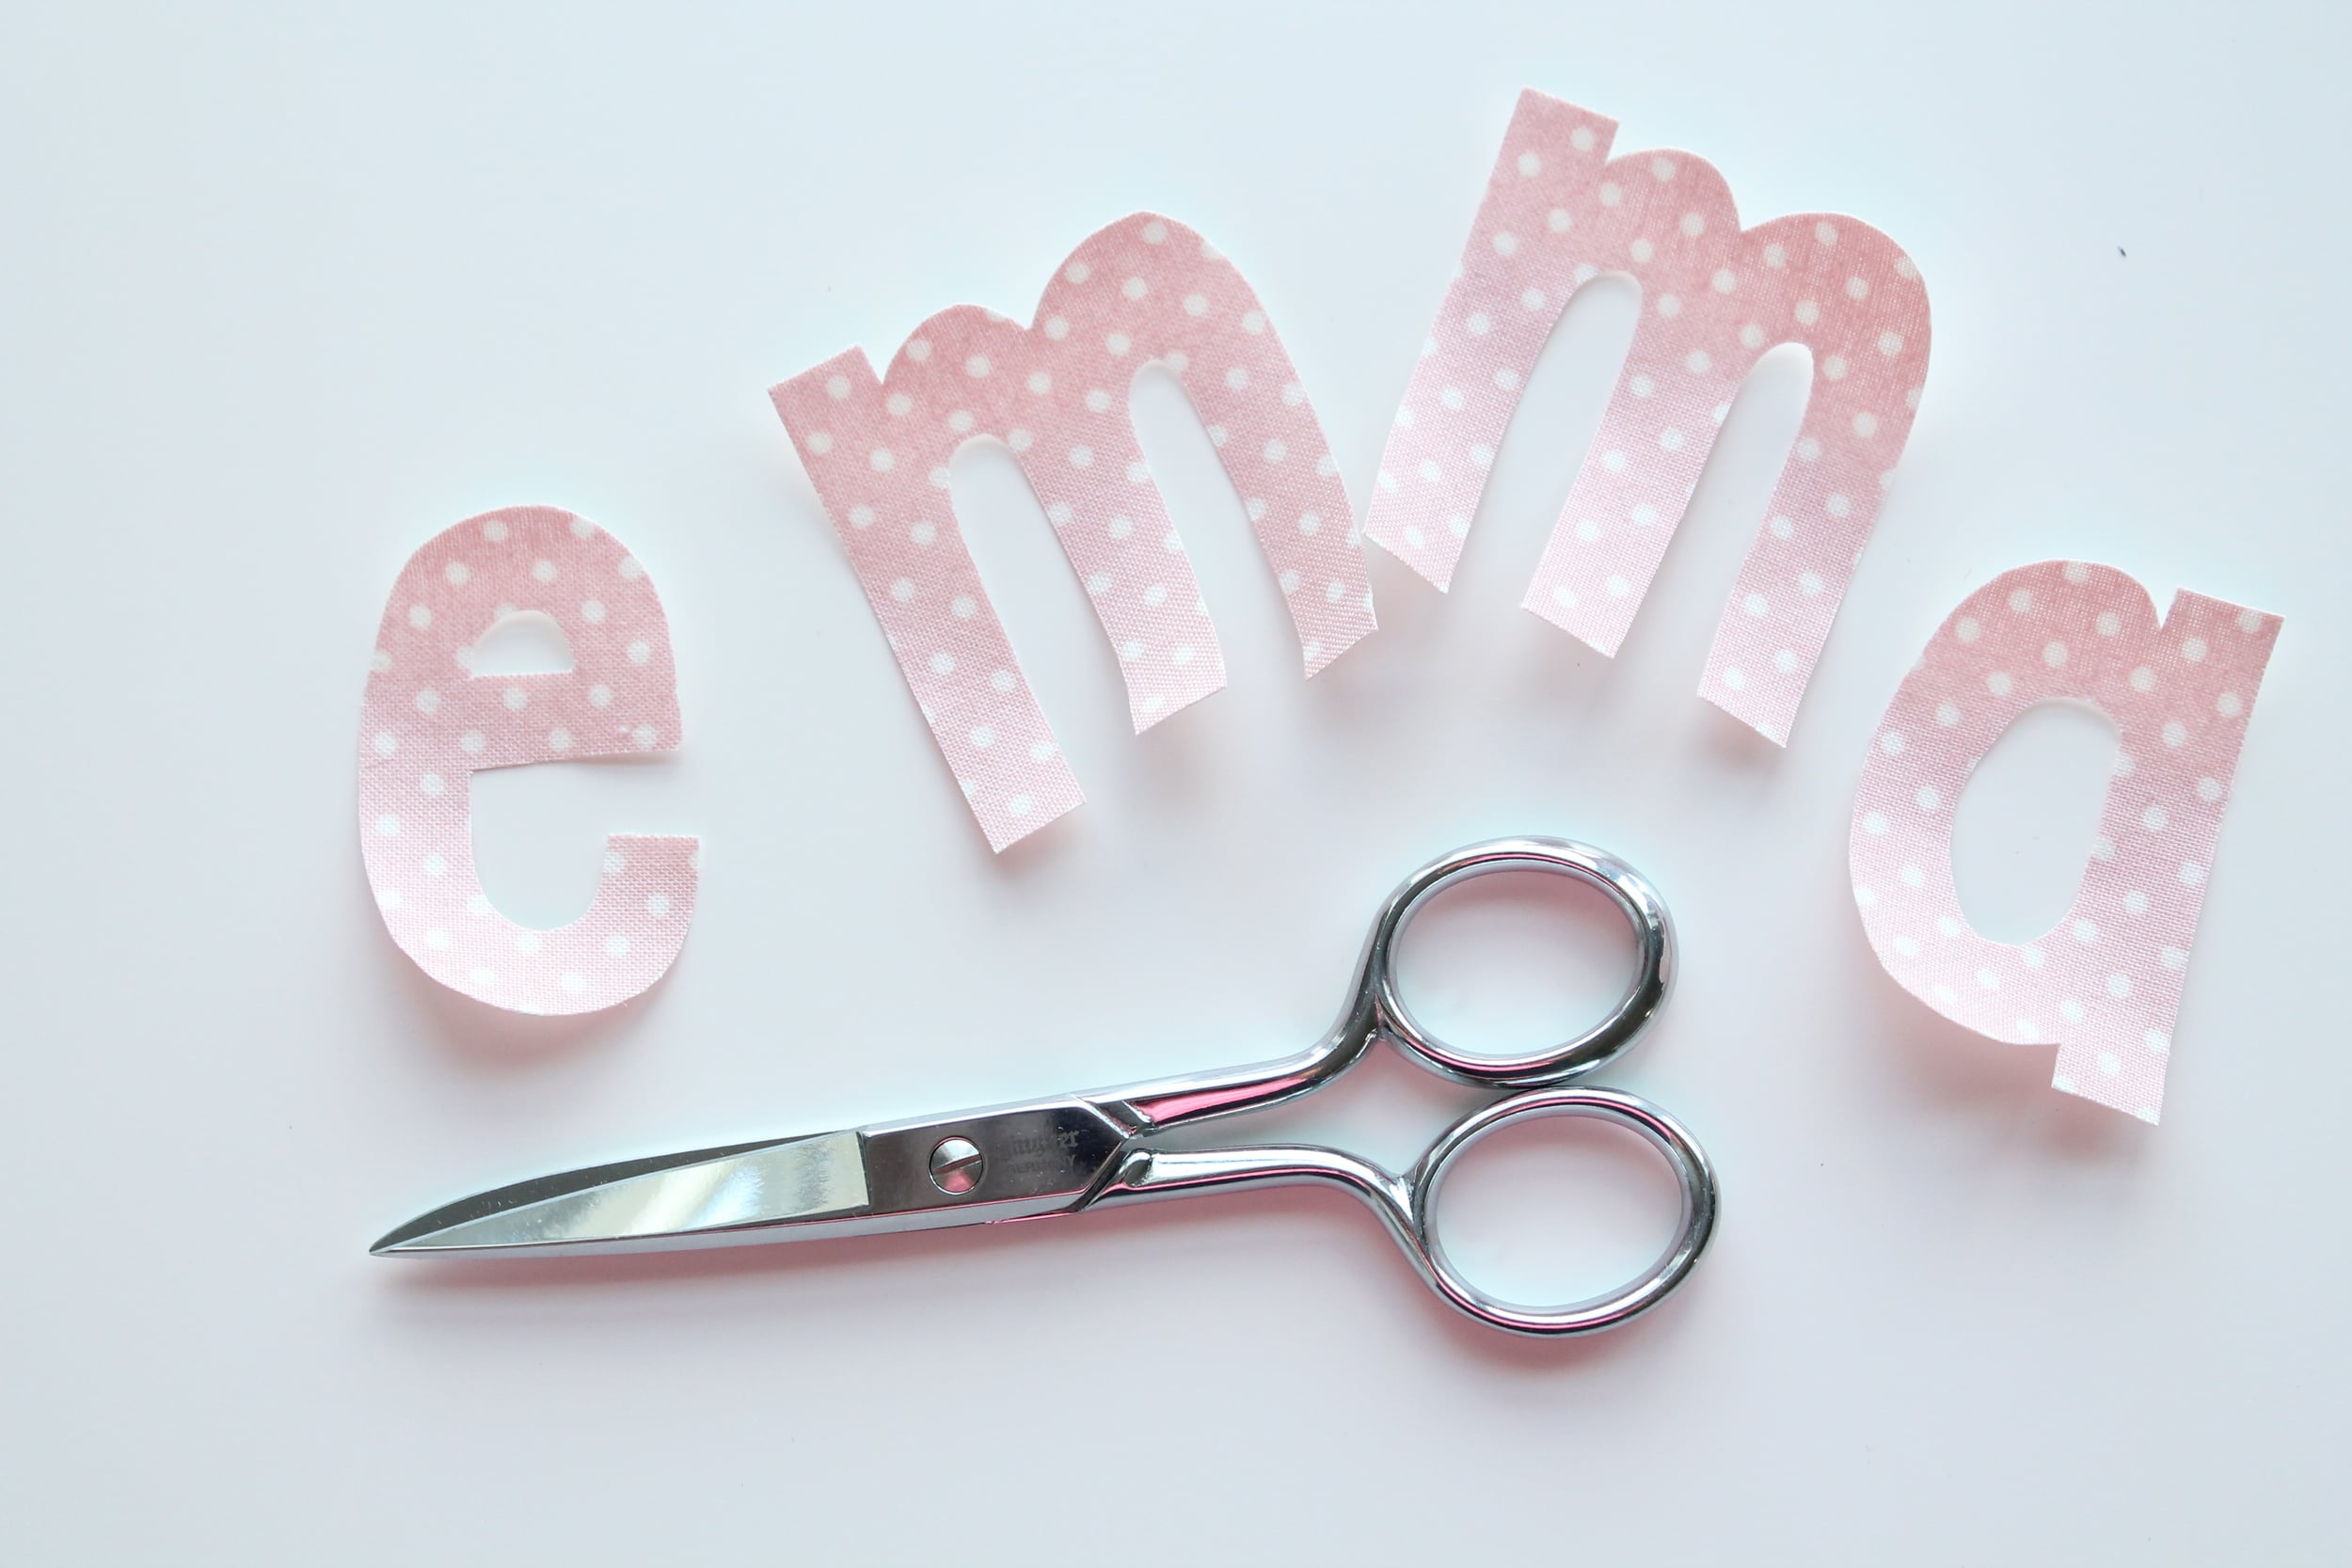
Peel off the paper backing and iron them right onto the tote.
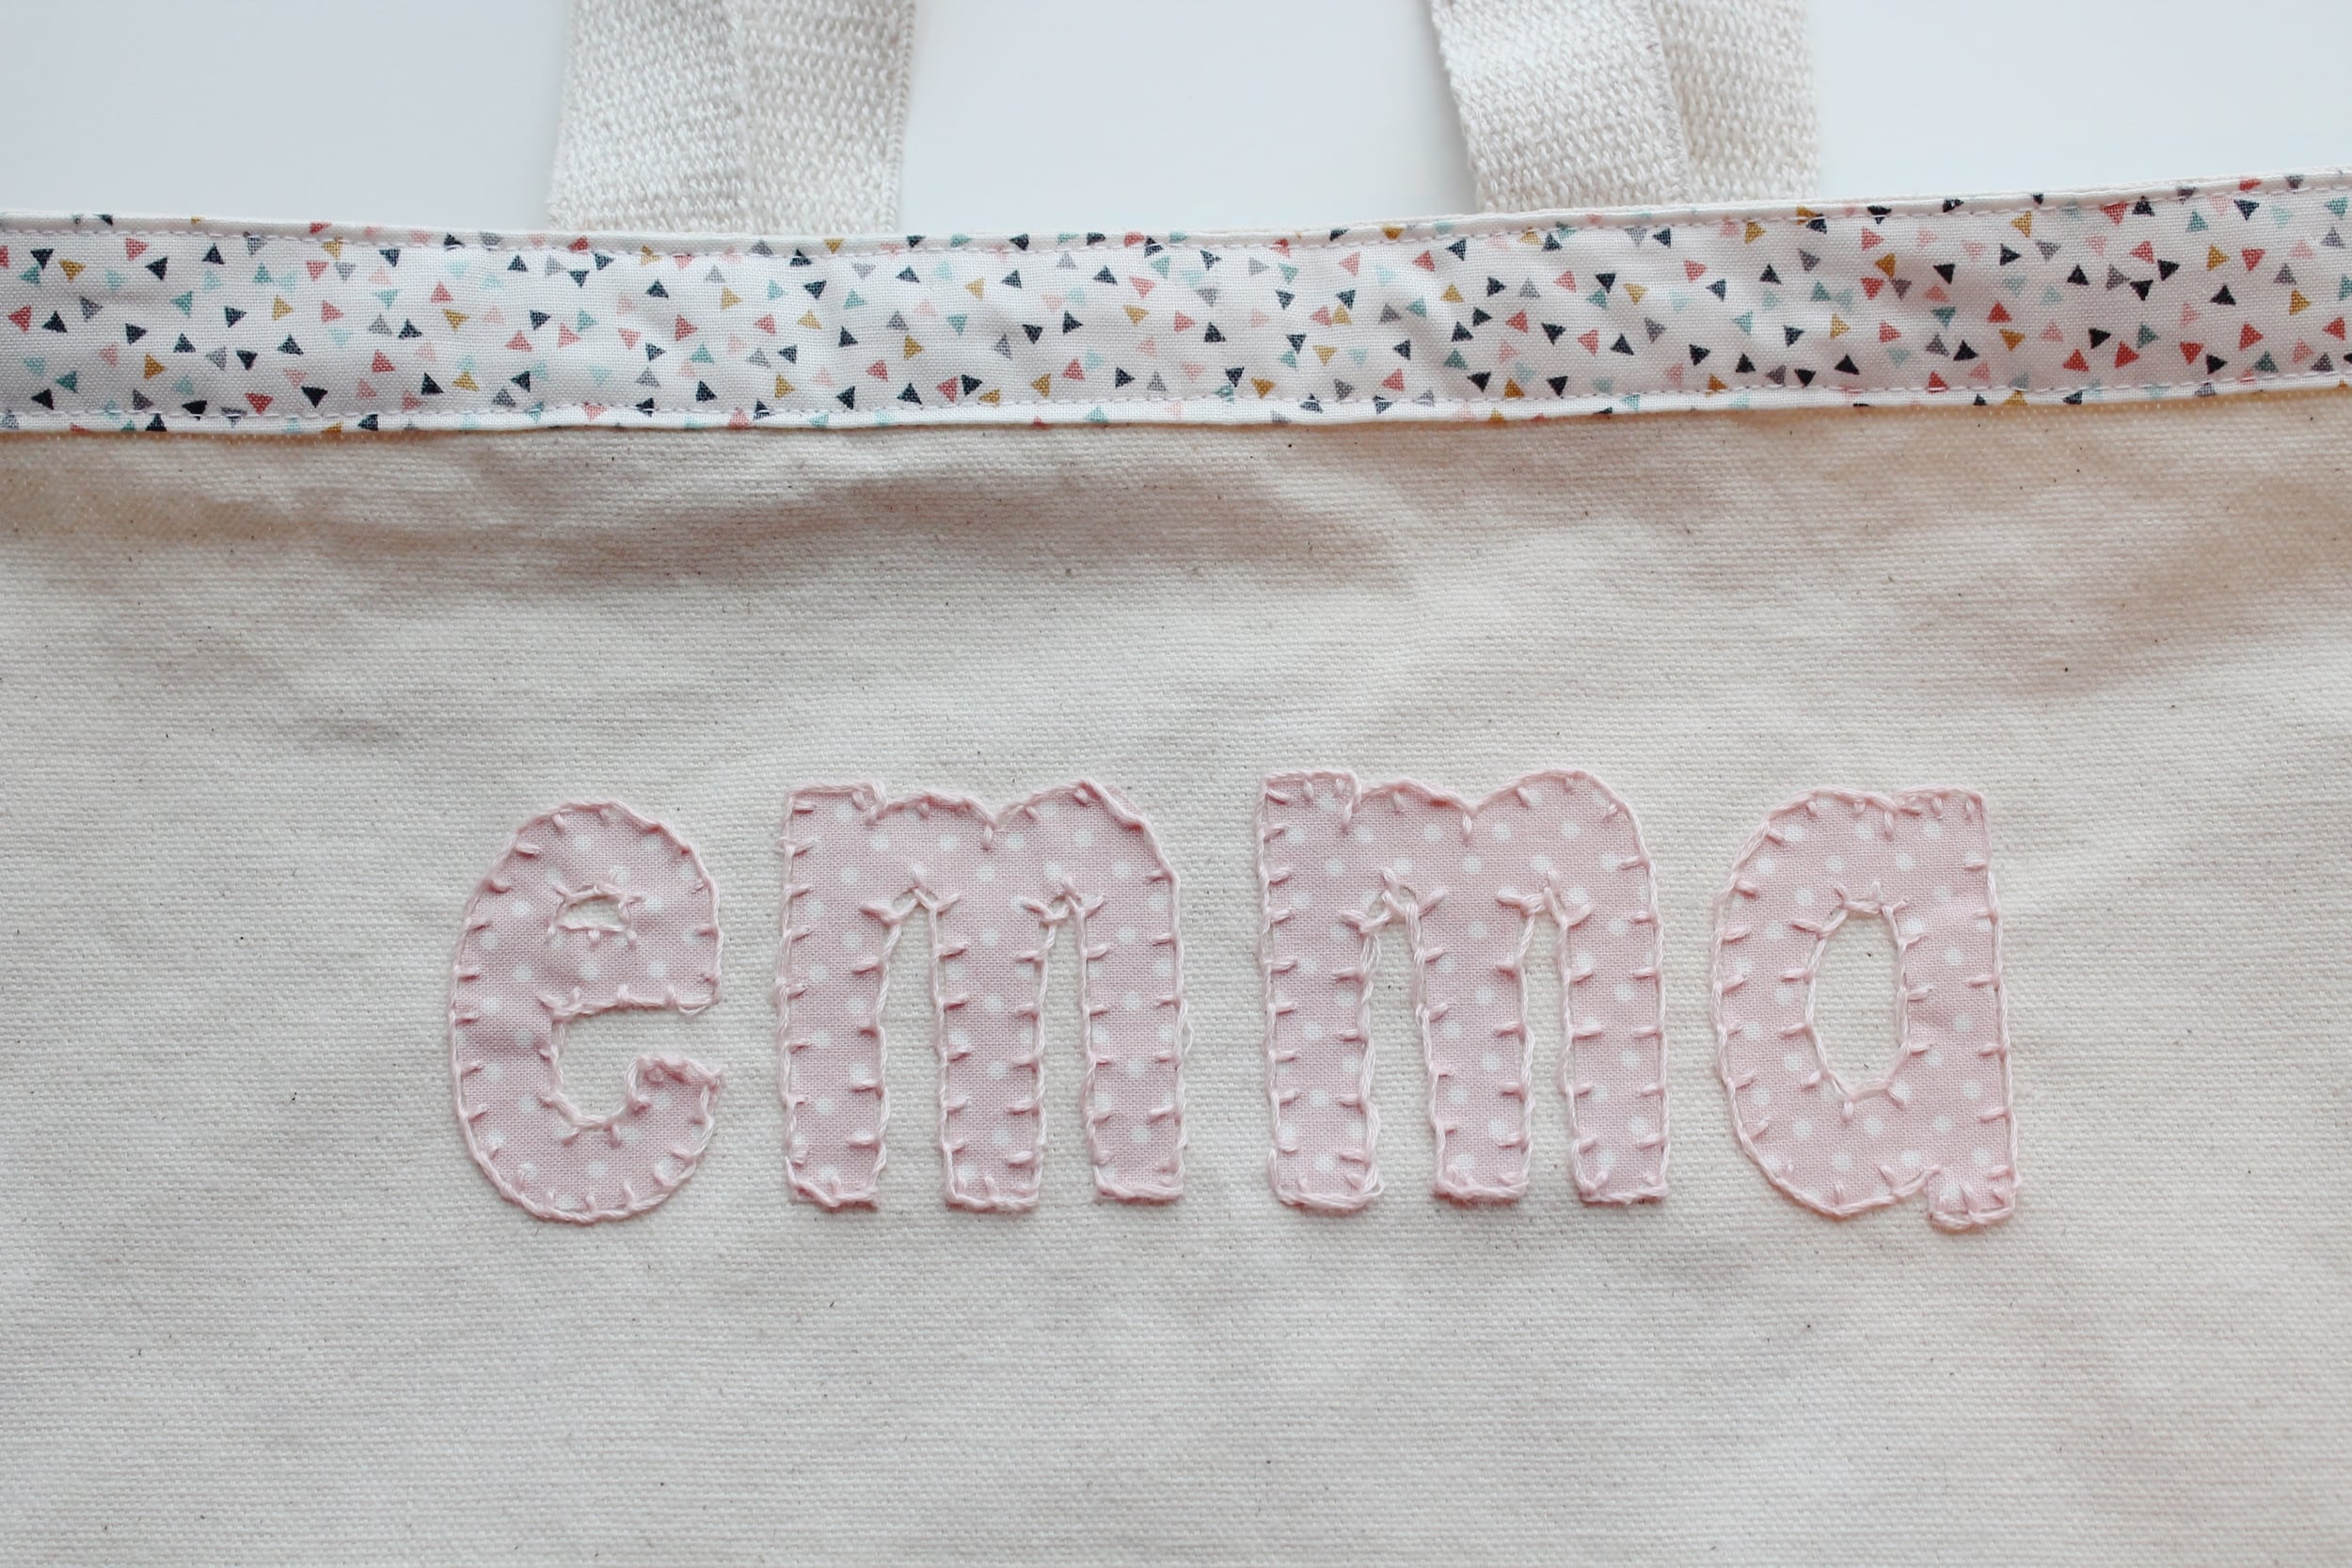
To finish the letters I used embroidery floss and a blanket stitch to sew around the edges. If you have never attempted a blanket stitch this tutorial by Projects by Jane is a good one.
Now for the bow.
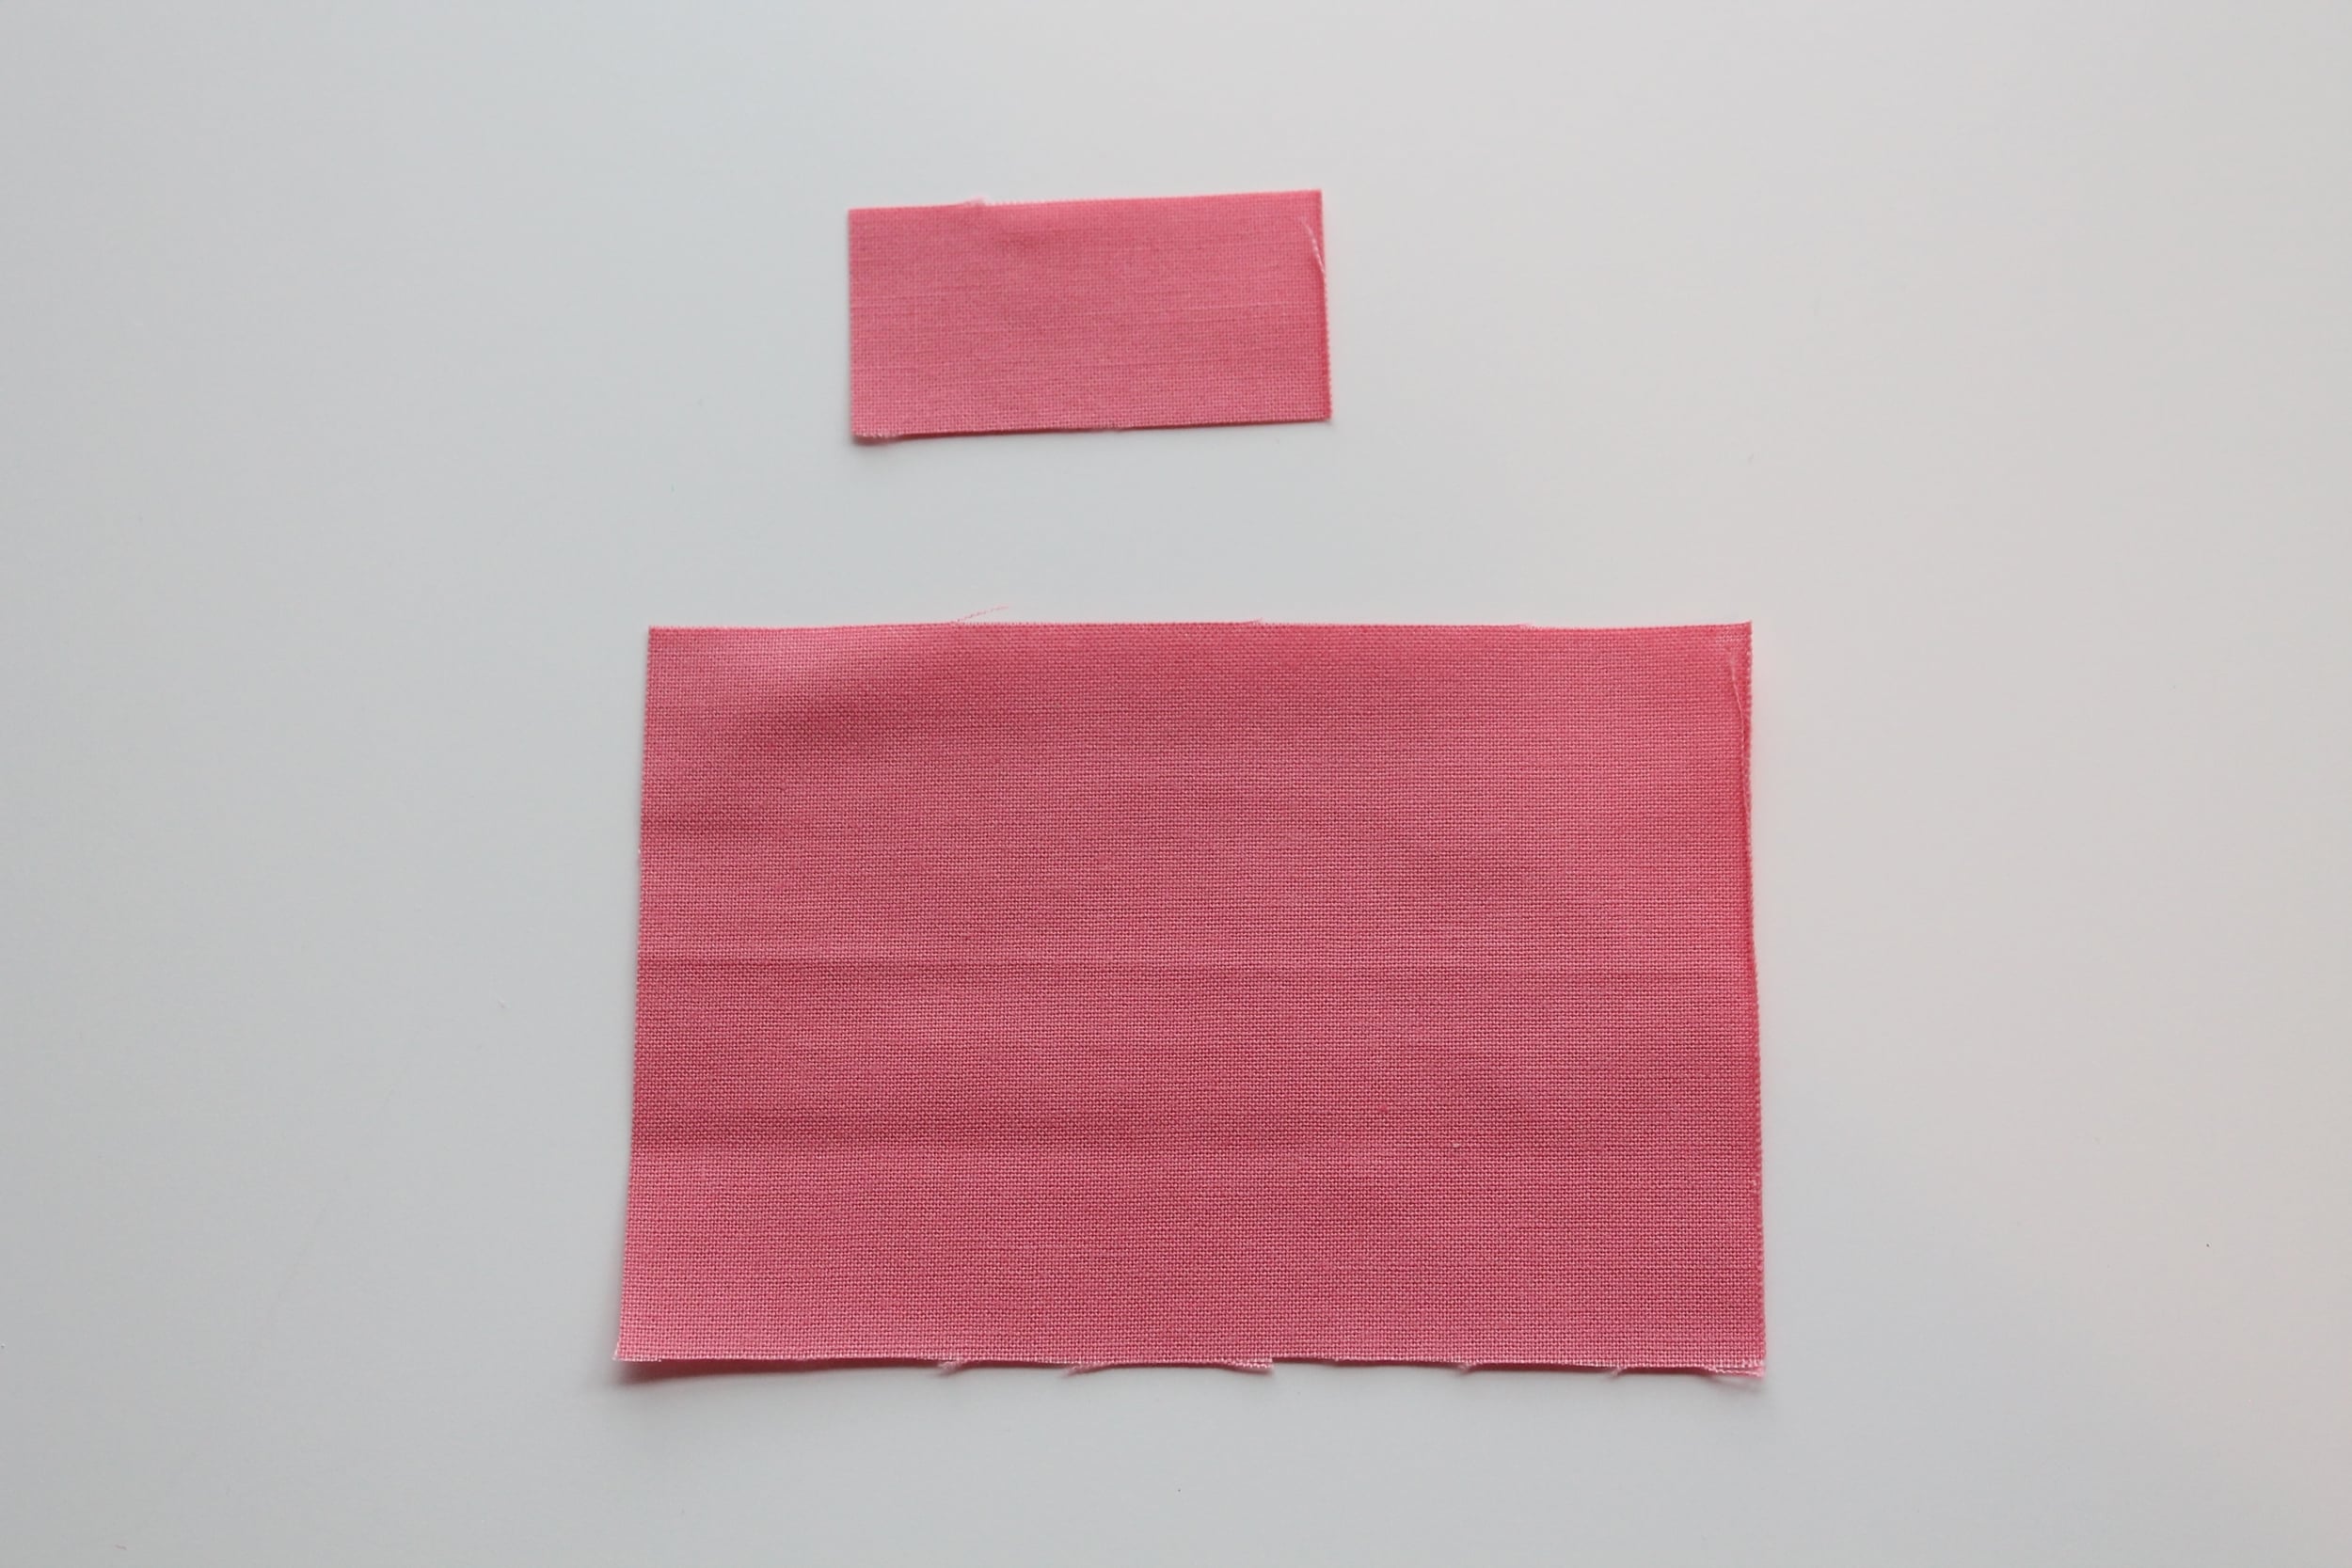
I started by cutting two rectangles of fabric. These can be any size depending on how big you want your bow.
Mine measured 4 1/2″ x 2 1/2″ and 1″ x 2″.
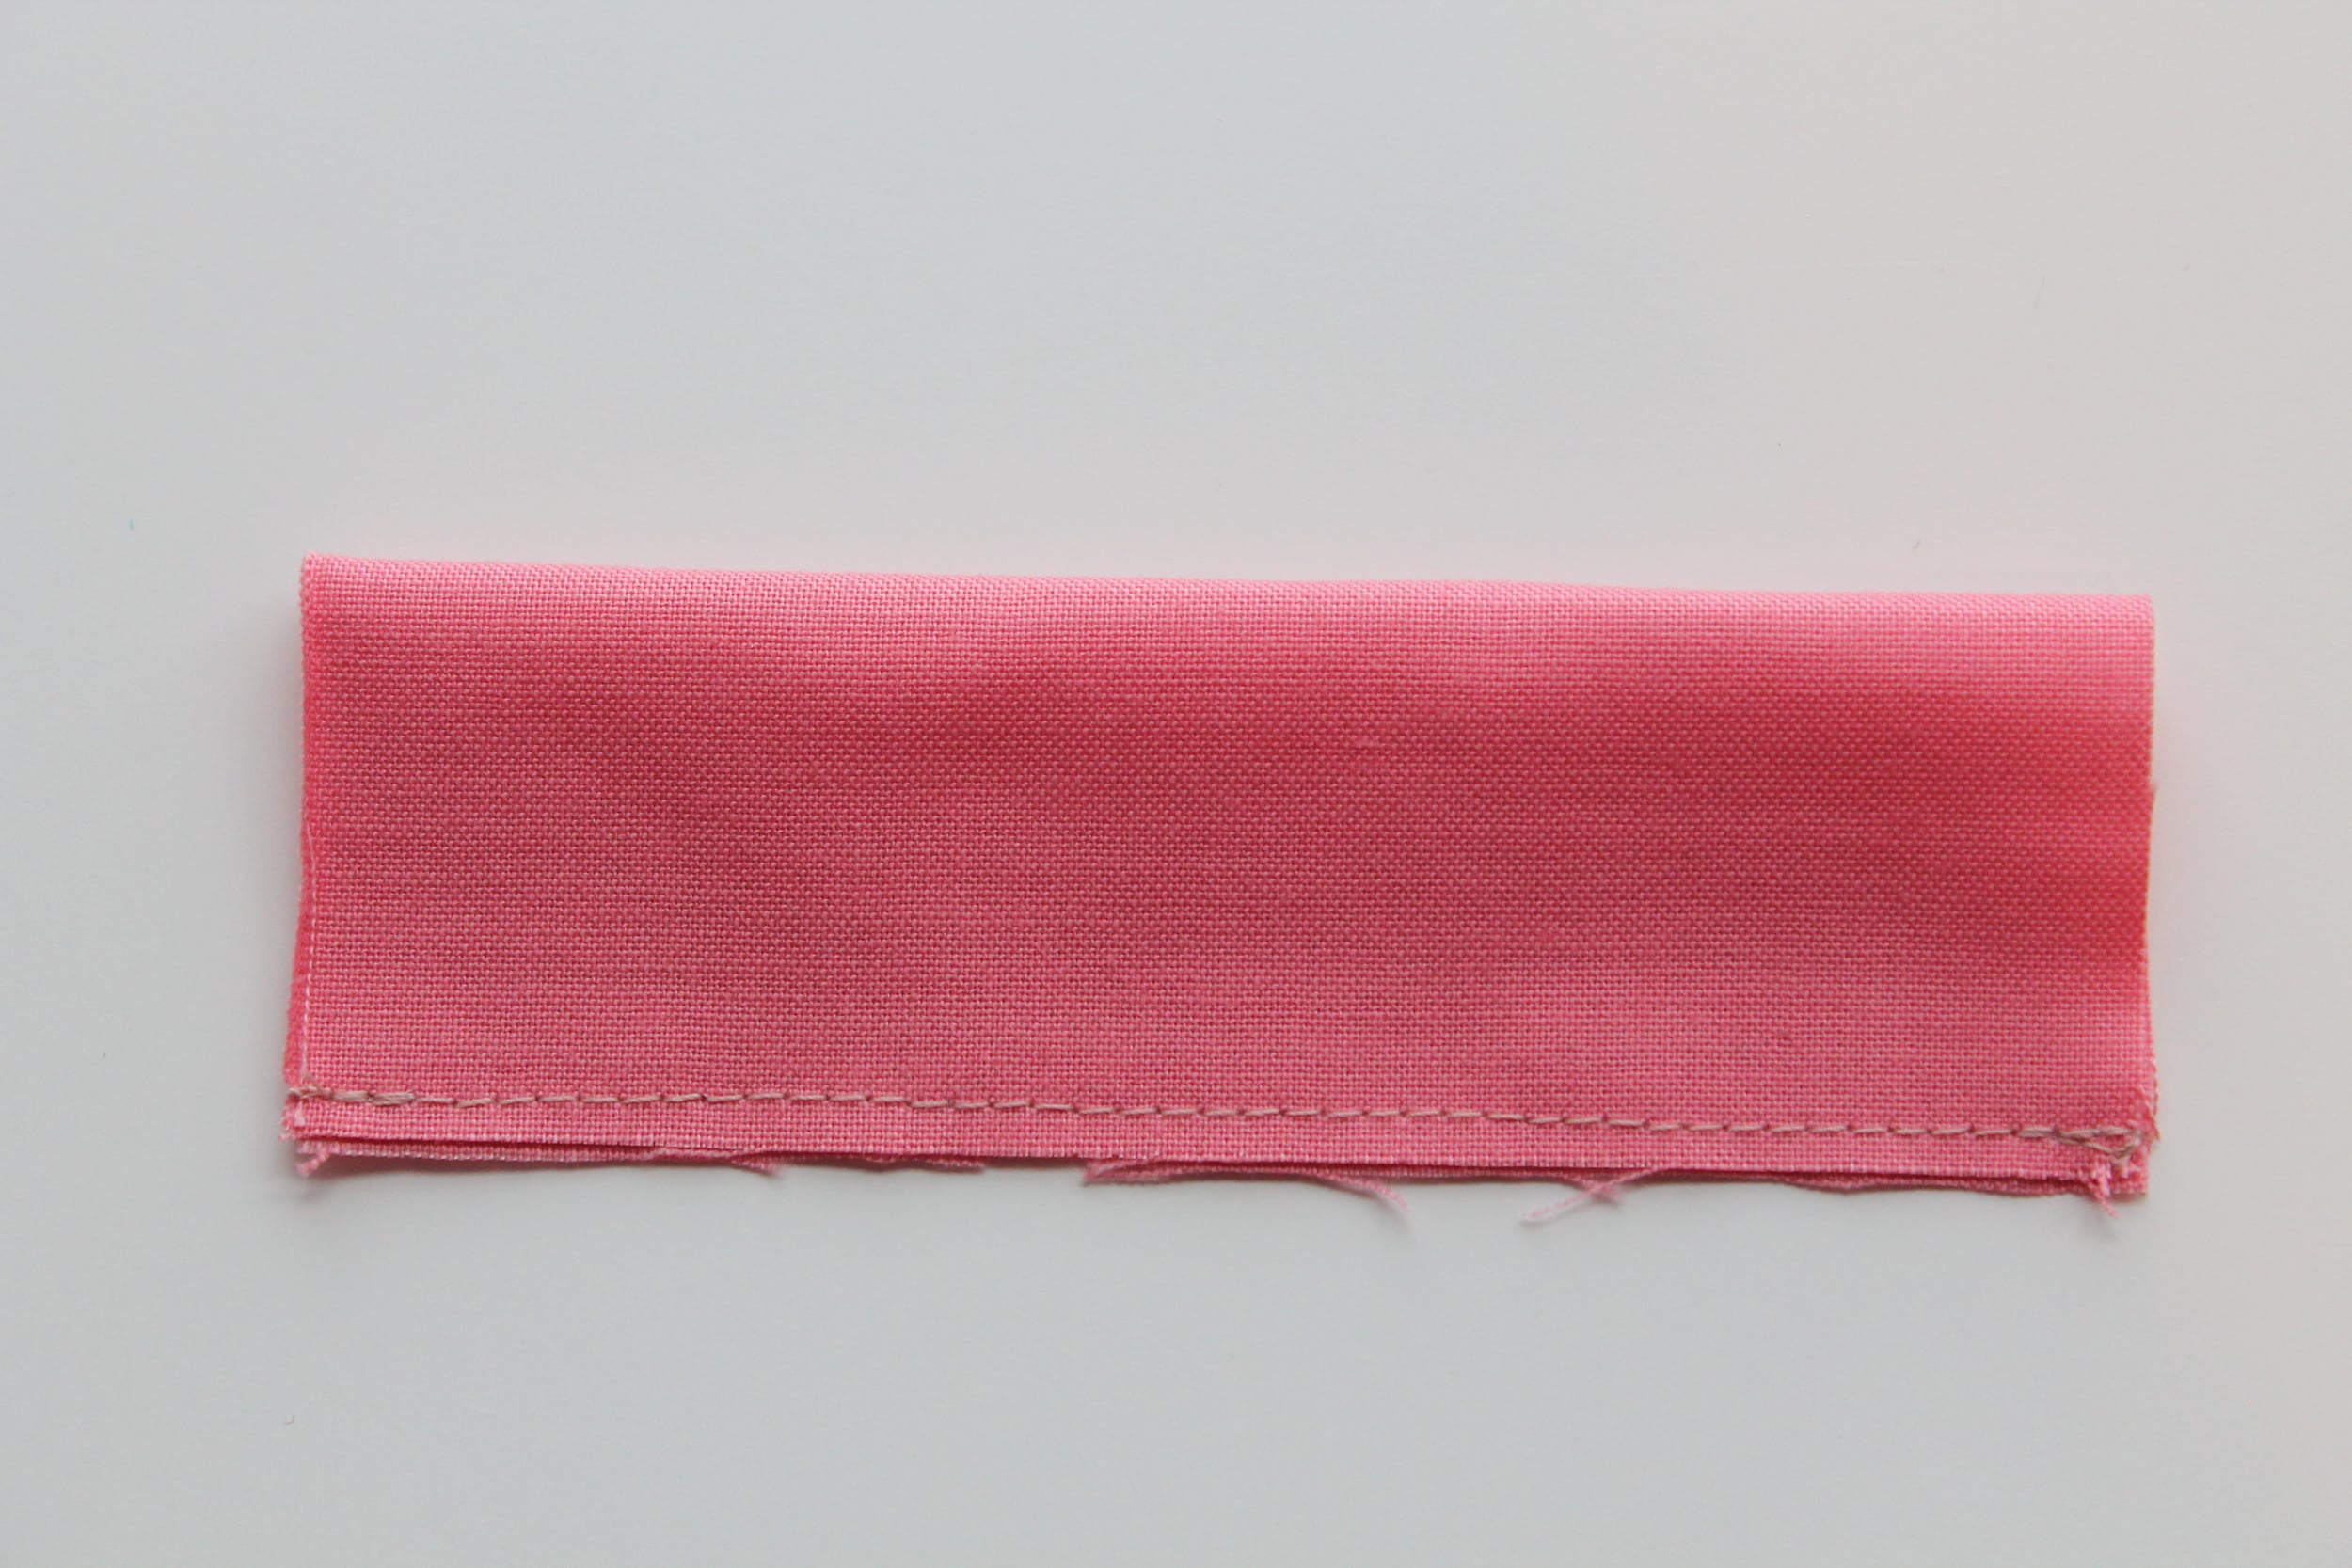
Now take the larger rectangle, fold it in half and sew with a 1/8″ seam allowance.
Turn right side out and press with the seam going down the center.
Bring both ends together with a small overlap and sew down the center.
Now take your smaller rectangle, press it into thirds and wrap it around the center of our lager piece creating a bow.
Hand stitch the back and cut off any extra fabric.
Then hand stitch to your bag.
For the back of the bag, I kept it very simple and cut out a large heart using the same technique as above (trace it onto the adhesive, iron onto the bag, then stitch). But instead of doing a hand blanket stitch I just used my sewing machine and did a tight zig zag stitch (also known as a satin stitch).
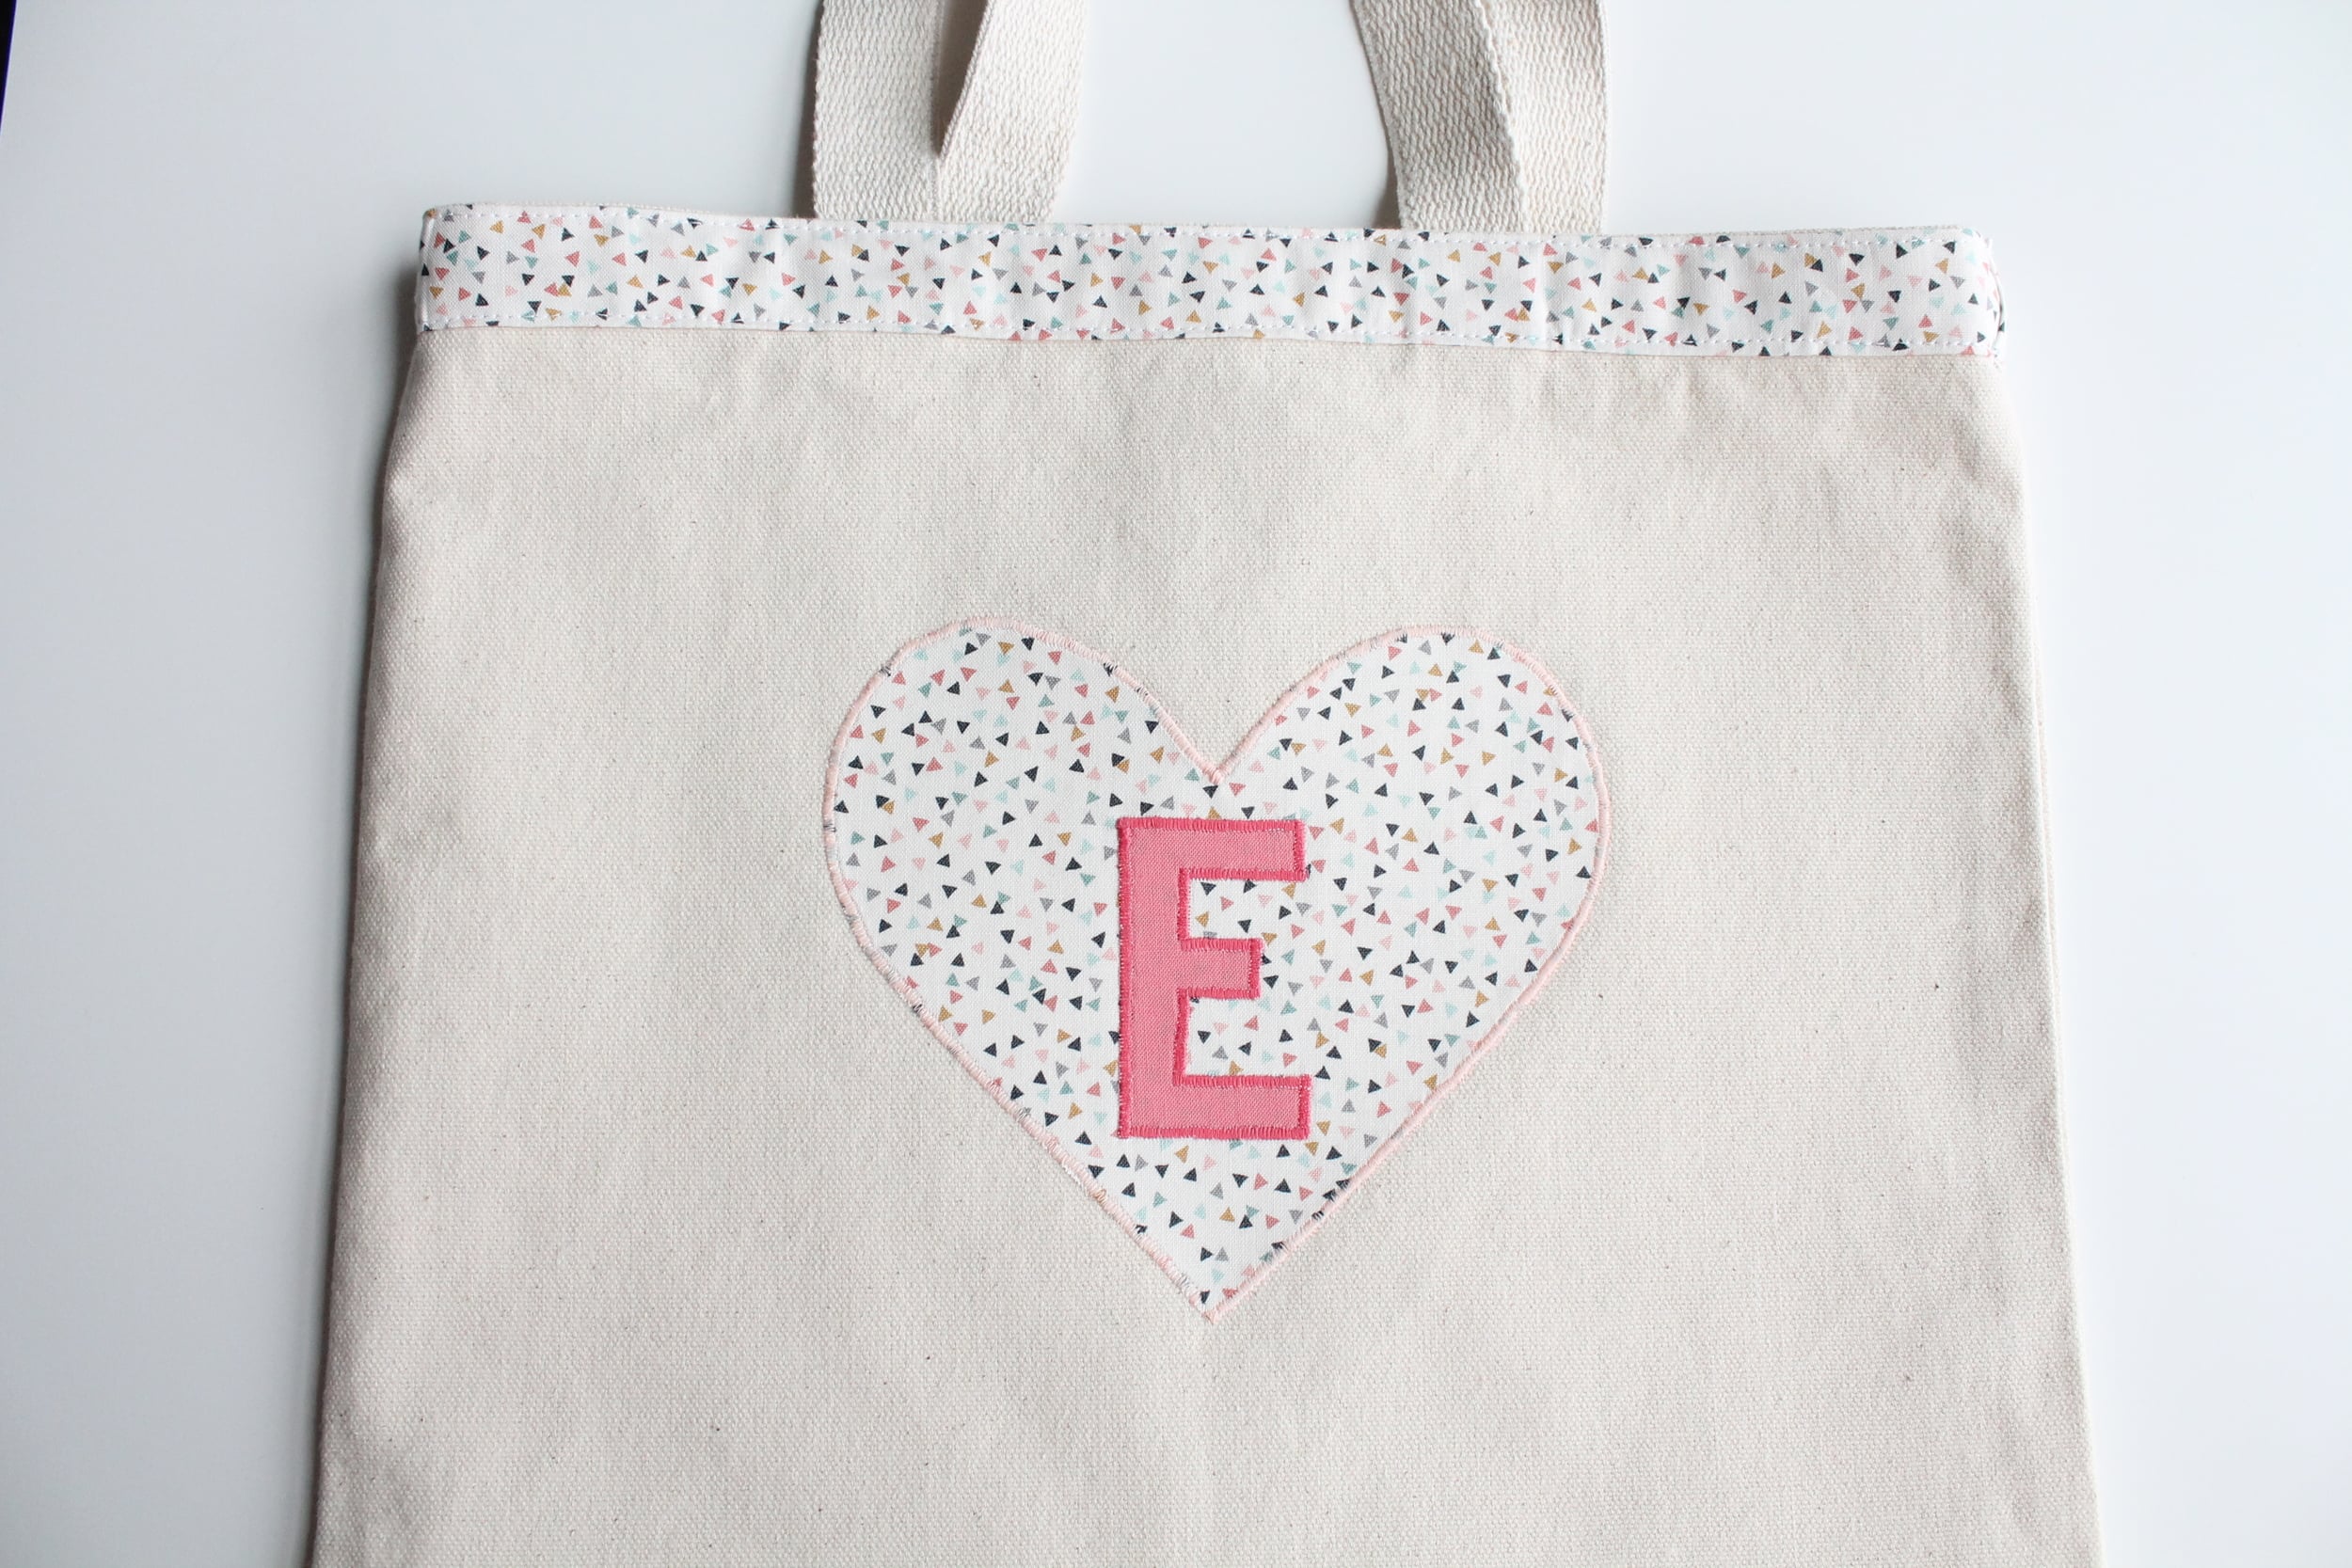
Then did the same thing for the “E”
And that’s it! Two little quiet bags for my two little munchkins.
Here are a few of my favorite things to stuff into the quiet bags…
- Coloring books, markers, crayons
- Sketch Books
- How to Draw Books
- Dot to Dot Books
- Journals
- Lacing cards
- Finding Books (Where’s Waldo?)
- Stickers and Sticker Books
- Word searches
- Mad Libs

Happy Sewing!
-Tessie





view + leave comments . . .