Who ever knew that some pegboard and wrapping paper could make me so happy?
Introducing my new wrapping station…
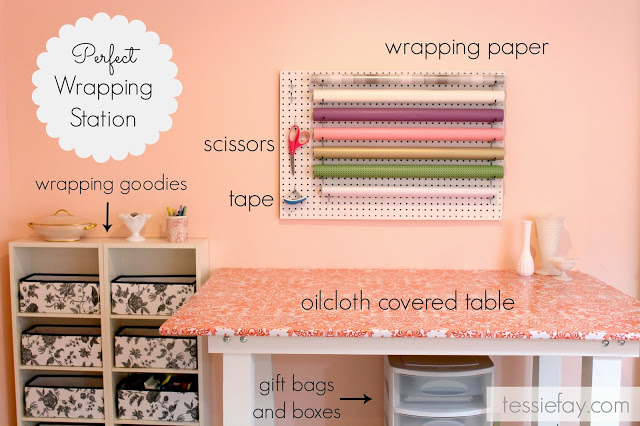
This lovely corner of my craft room holds everything I need to wrap a present worthy of Martha Stewart 🙂
Let’s take a closer look….
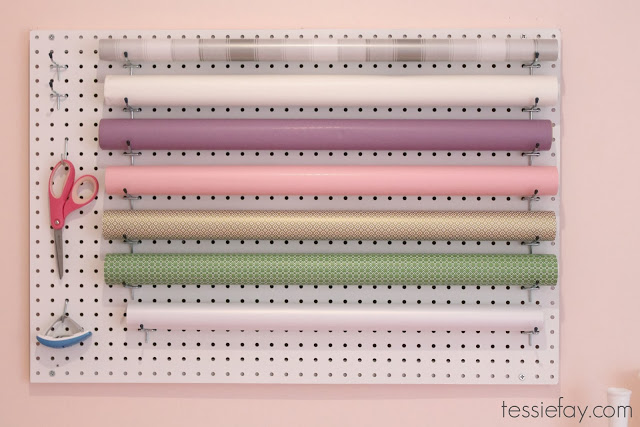
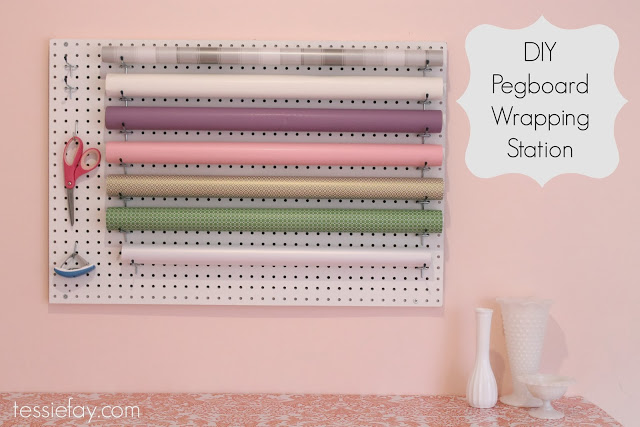
Here is the pegboard filled with paper, scissors and a handy dandy tape dispenser.
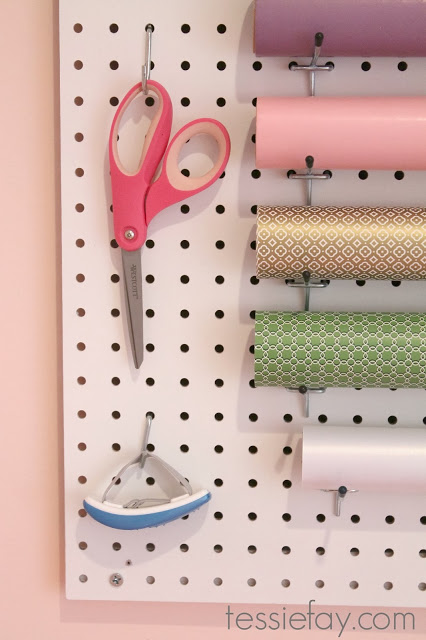
I love my little discovery of the wrist tape dispenser. I know it’s nerdy, but I just can’t resist its little pop-up strips.
Right below the pegboard sits my wrapping table. It is actually my cutting table that I use while I am sewing, but it does double duty for what ever else I need to do while standing…
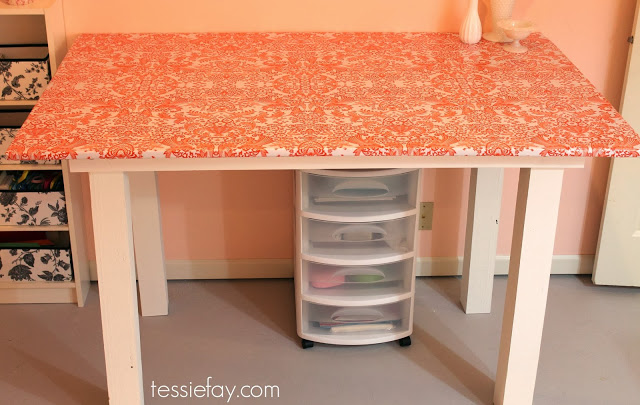
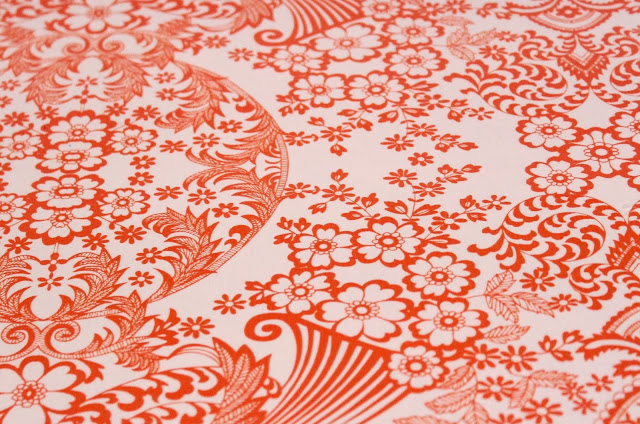
To create the table, I used an old work bench that I found at the thrift store. I painted the legs white and covered the top with oilcloth. Also under the table I have some plastic drawers for all of my empty boxes and gift bags.
I purchased the oilcloth from the etsy shop
.
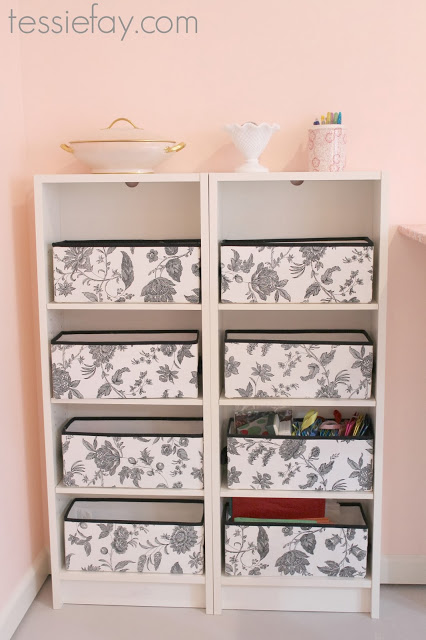
To the left of the table sits two old DVD shelves. These turned out to be the perfect place for all of my extra wrapping goodies. The black and white bins were fabric shoe boxes from Ikea, but they fit perfectly on the shelves.
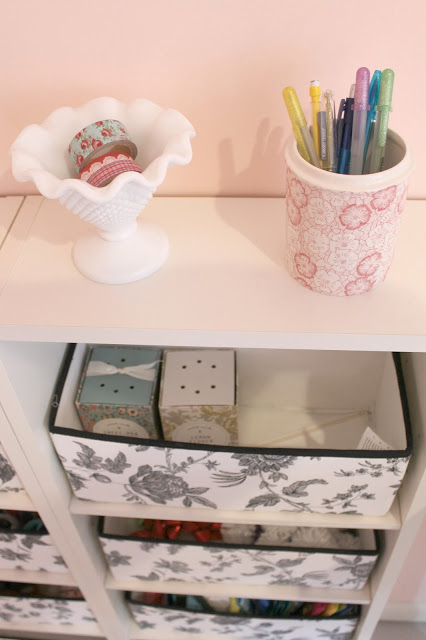
I have a place on top for washi tape and pens.
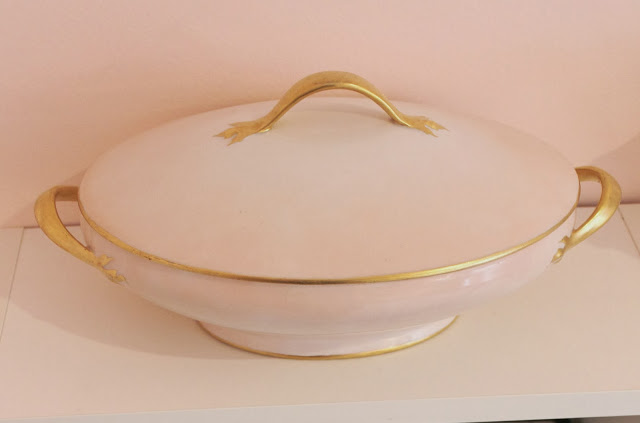
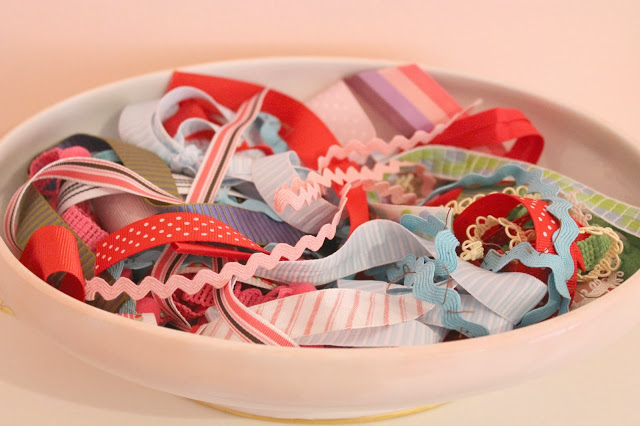
And this antique server is the perfect place for my ribbon scraps. (Mom, thanks for the great gift!)
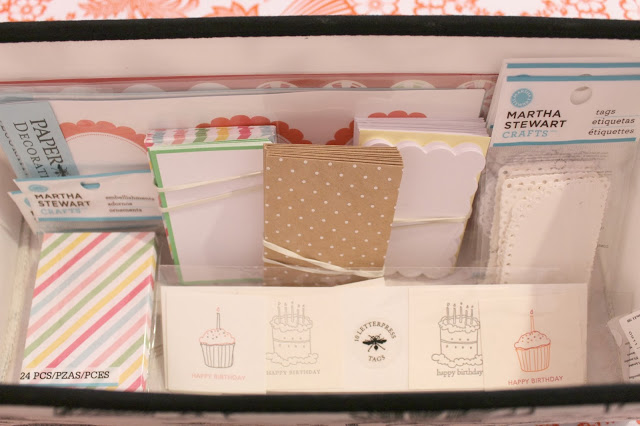
The bins below hold things like note cards…
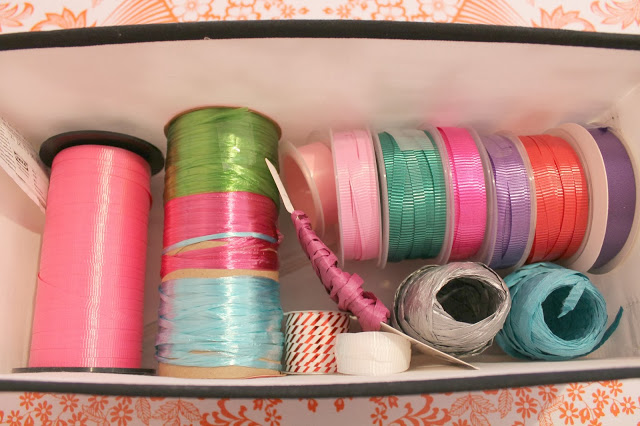
ribbons….
and pom poms…
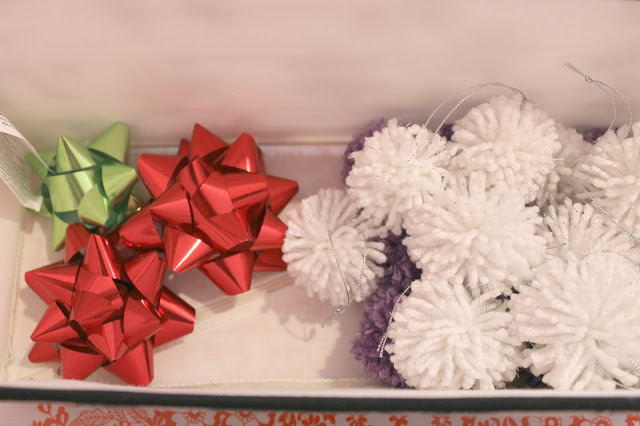
Pom poms are my absolute favorite thing to add to a freshly wrapped present. To make your own, follow my tutorial
.
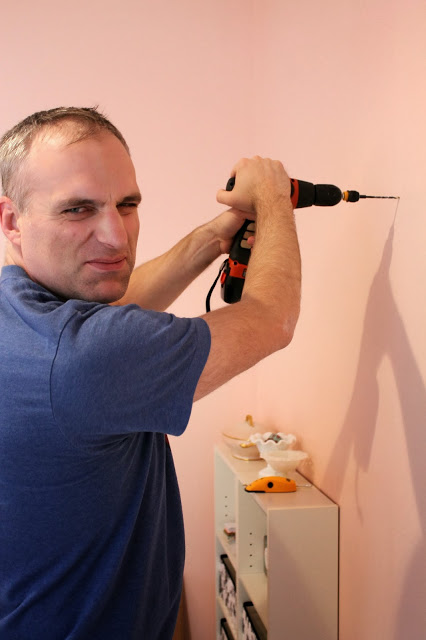
I honestly had no idea how to hang pegboard and I don’t really know how to use any power tools, but
with the help of the Internet and my sweet husband we figured it out.
I love this silly picture of him! Not sure if he is being tough, doesn’t want his picture taken, or just smelled something funny… but it totally cracks me up!
The tricky thing about pegboard is it needs to hang away from the wall so that the pegs can easily move around.
To do this we mounted two long pieces of wood behind the top and bottom edge of the board.
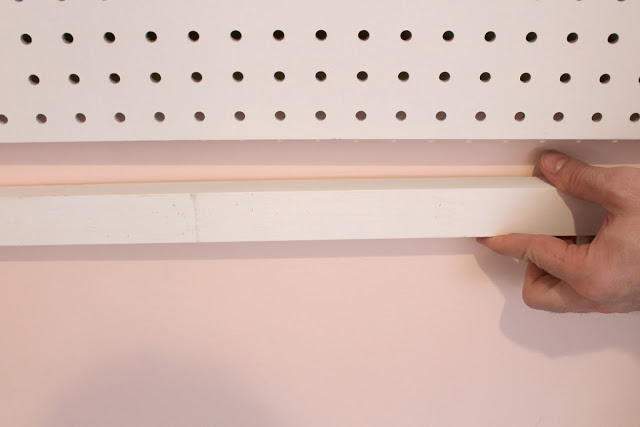
First we used a stud finder to figure out where the studs were. Then we drilled the holes and used 2 1/2 inch wood screws to attach the pegboard to the wood strip and the wall.
*Note- it helps to have two people for this part so one person can hold the board while the other is drilling.
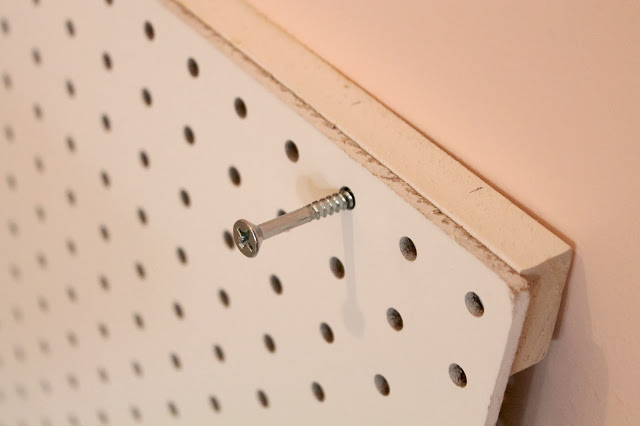
We secured the board with 2 screws on top and two on the bottom.
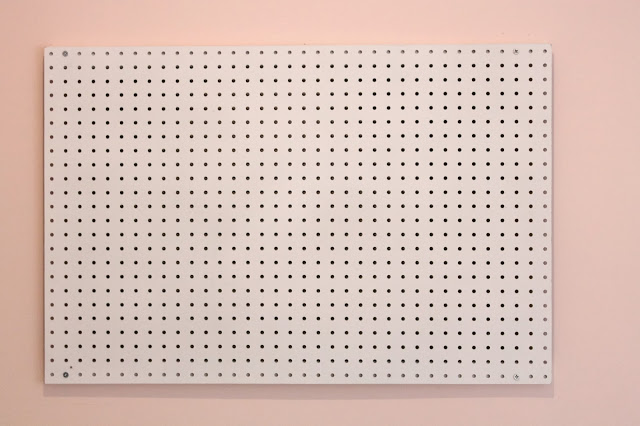
The strips of wood created a nice little space behind the board so that our pegs would hang easily.

Now that my wrapping station is complete, I am ready to go buy some presents!
Bring on Christmas Baby!
view + leave comments . . .