I had a baby shower coming up and I wanted to make something special for the new mom-to-be. I thought that this chenille baby blanket would be the perfect thing.
I got the inspiration from this tutorial from Aesthetic Nest. She does a wonderful job of going through the process step by step. If you are going to make your own, I would highly recommend reading her post here. I followed her tutorial pretty closely. Here is a little walk through of what I did….
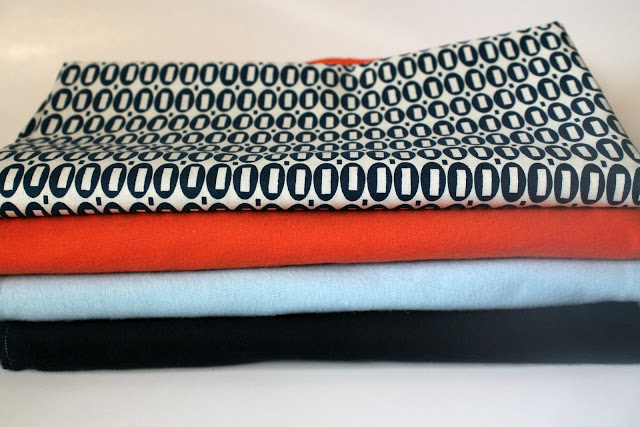
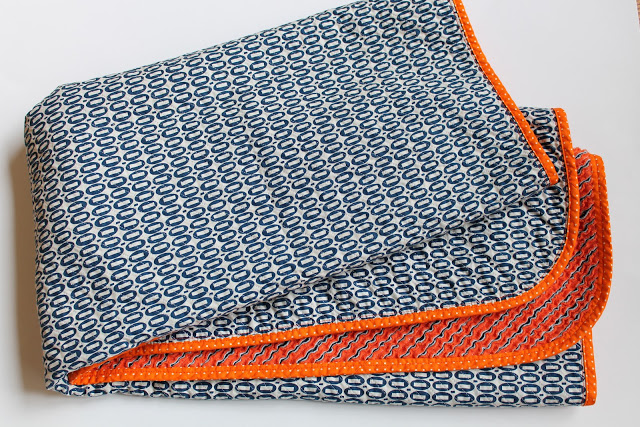
I started out by picking my fabric. I used this great geometric print for the back. It is “Prezzy Print by American Jane Patterns” for Moda. This fabric is a 100% cotton.
Then to create the chenille I used three coordinating flannels in orange, blue and navy. I purchased 1 1/4 yards of each.
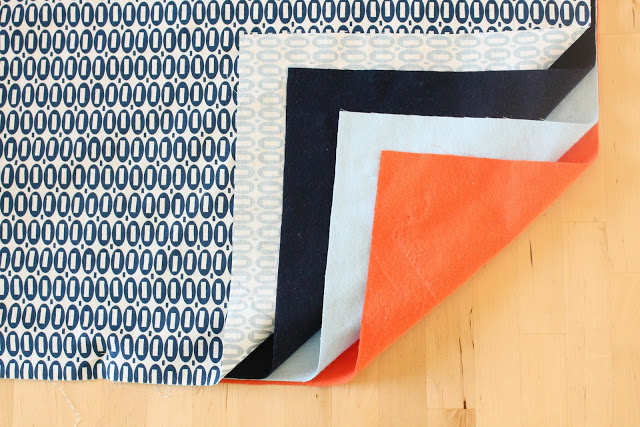
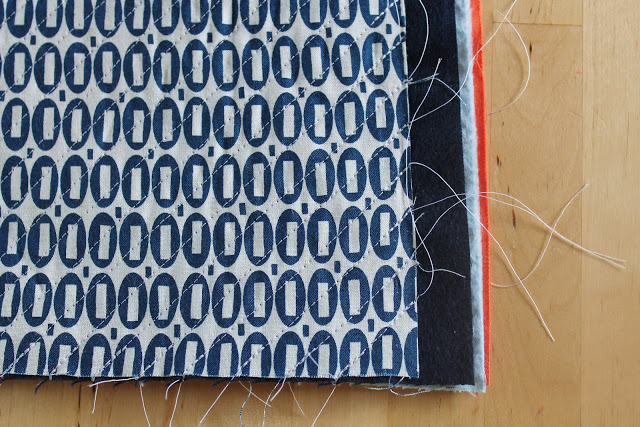
I did not prewash my fabrics, I just started cutting. I spread out the three flannels and covered the top with my patterned fabric right side up. I trimmed all four fabrics using a rotary cutter and stacked them in the order below.
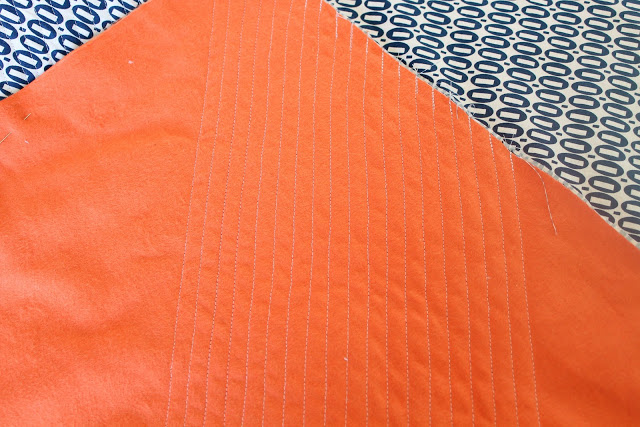
Once my fabric was all cut and stacked, I pinned it together and started sewing. You will want to make sure you sew on the bias (diagonally) to make sure that your fabrics fray properly. I sewed diagonal lines 1/2 inch apart through all four layers.
Here is a closer look at the diagonal stitching (only part way done).
After sewing all of the diagonal lines, I trimmed and squared my fabric again since it had a tendency to shift.
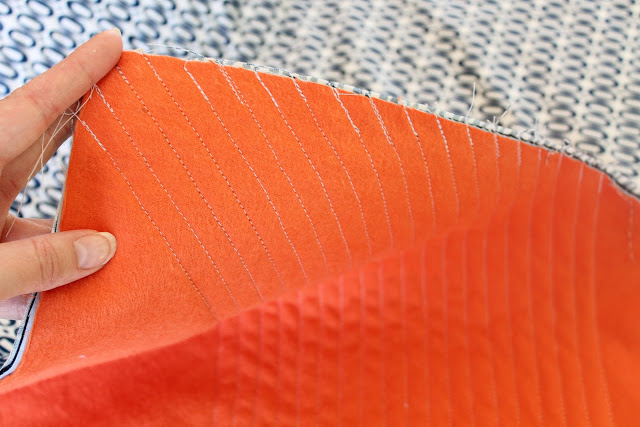
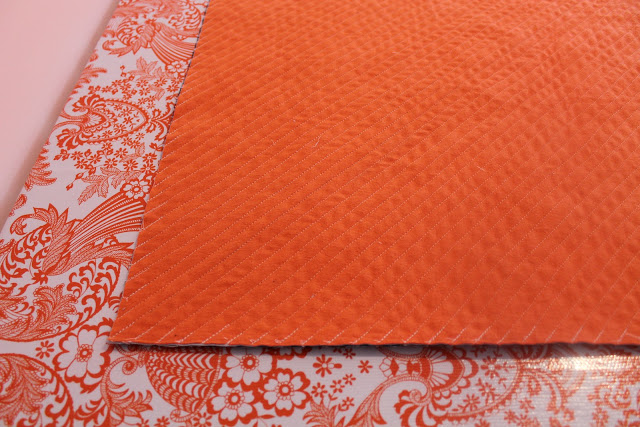
Here is a look at the flannel side after it was all trimmed and squared.
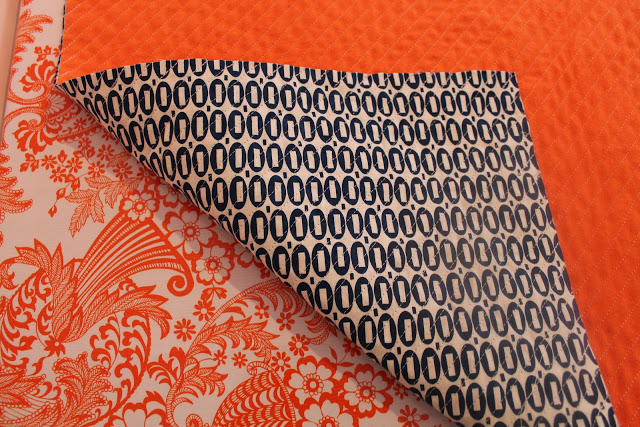
And here is the printed side.
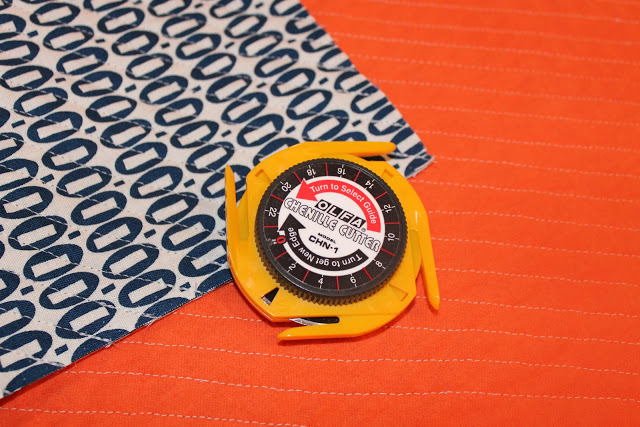
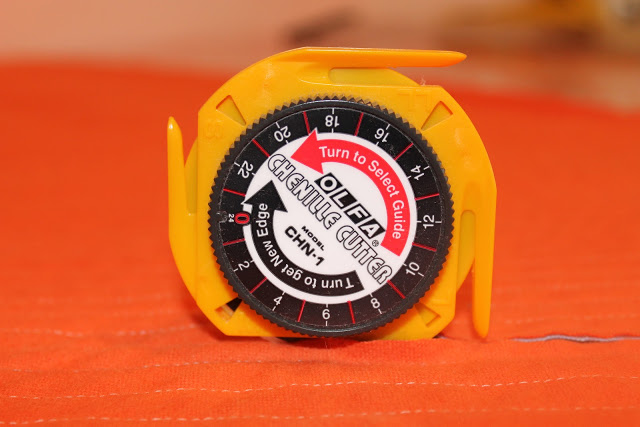
Now the fun part, time to make the chenille! I used this nifty chenille cutting tool I bought at Joann’s but you can also use very sharp scissors (It just takes longer).
This little tool is similar to a rotary cutter, but it has a little plastic guard to prevent you from cutting through your printed fabric.
Cut between each line of stitching making sure you cut through all three layers of flannel. Be sure not to cut through your printed fabric on the back! I found it was easier to use the cutter if I first made a little snip with my scissors through the three flannel layers at the start of each row.
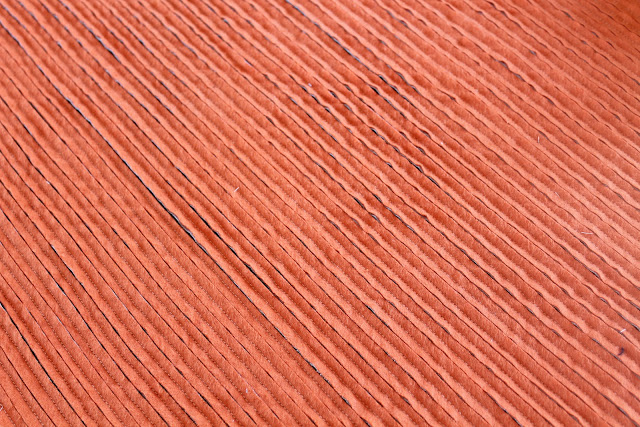
Here is what it looked like after I finished cutting.
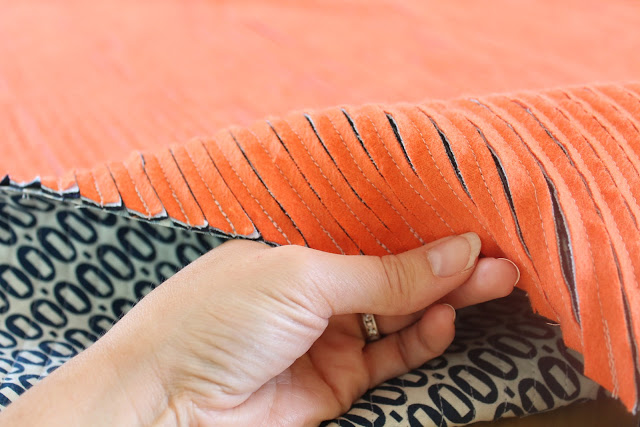
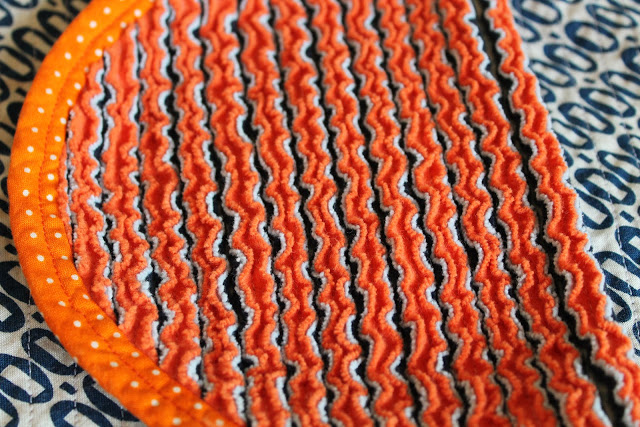
Another close up of the cut flannel.
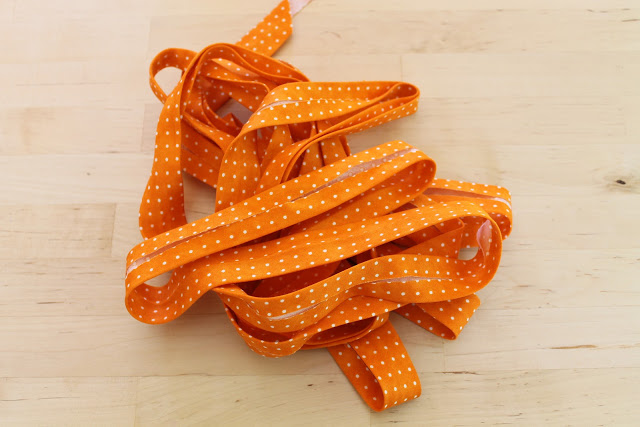
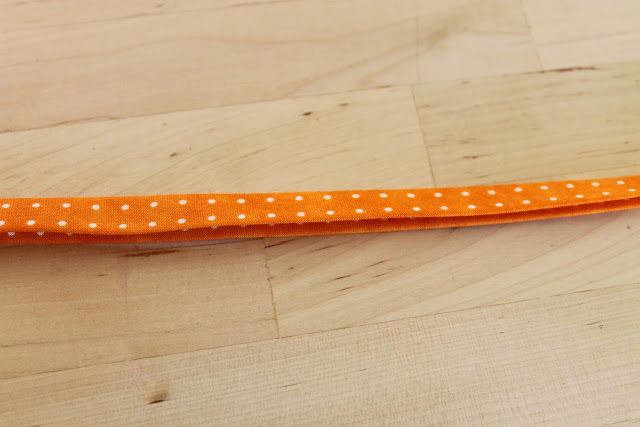
Once it was all cut and trimmed then it was time to bind it. I decided to make my own bias tape using this tutorial from Made. This is a fabulous tutorial explaining what bias tape is and how to make it.
Then I sewed the bias tape around the entire edge of the blanket. I am still trying to figure out the best way to sew on a binding. I used this tutorial from Dana. I used her “proper way” and it seemed to turn out pretty well.
Once the binding was finished, I threw the blanket in the washing machine and when it came out it had this beautiful chenille look!
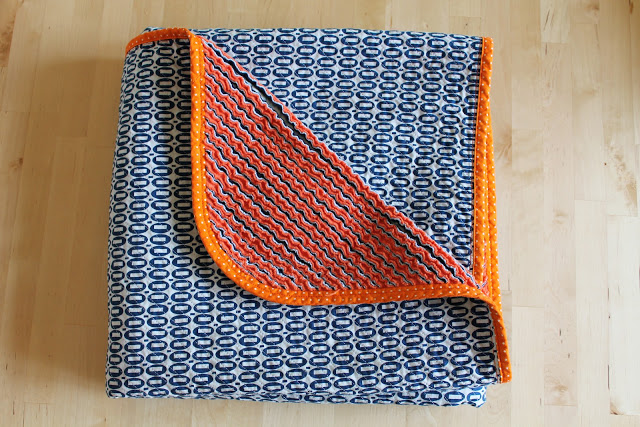
Here is the finished blanket all folded up.
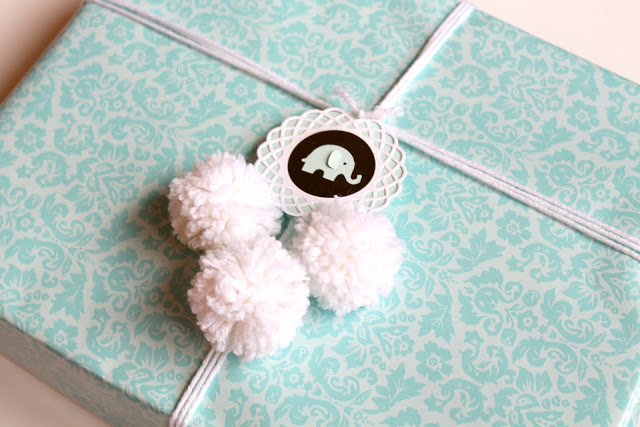
And here it is all wrapped and ready for the shower….
A great blanket for a little baby boy!
Happy Sewing!

view + leave comments . . .