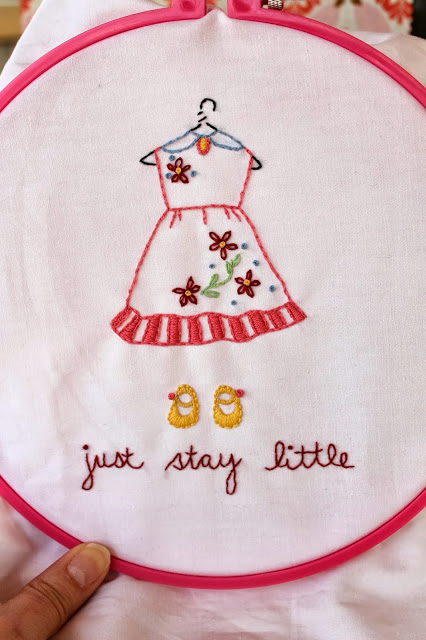
Recently I have fallen in love with embroidery. I find it so calming and relaxing. I love picking out the colors and seeing the image come alive. There is something so delicate and feminine about it.
I just love this pattern (above) from Sarah Jane Studios. You might recognise it from Emma’s Bedroom. I ended up turning it into a pillow.
If you have never tried embroidery, you should give it a try. Sarah Jane has some beautiful patterns in her shop. They are fairly detailed with color and stitch guides, and if you have trouble on a certain stitch, you can always look it up on youtube 🙂
Embroidery is such a great little craft because it is completely portable. It is the perfect project to take on a long car ride, or to bring to the kids’ various activities. Oh, and it’s cheap! You can buy the hoop, floss and needles at any local craft store for only a few dollars.
I have enjoyed toting around my embroidery, but my large Ziploc bag was less than desirable to hold my new found love. So I decided to create a special bag to hold all my handwork supplies.
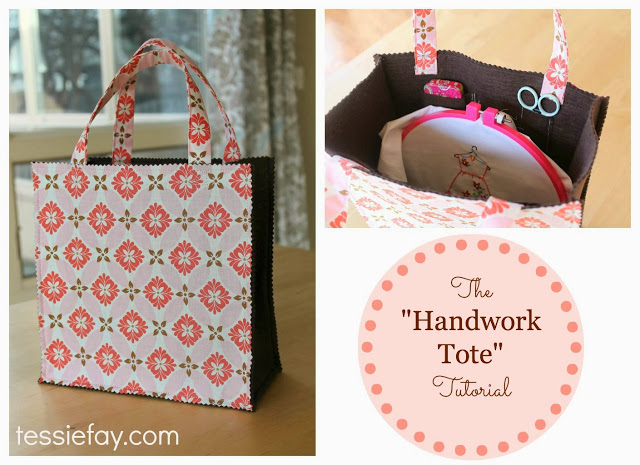
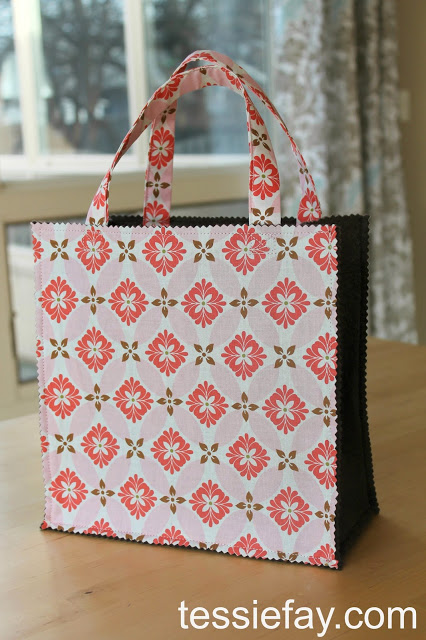
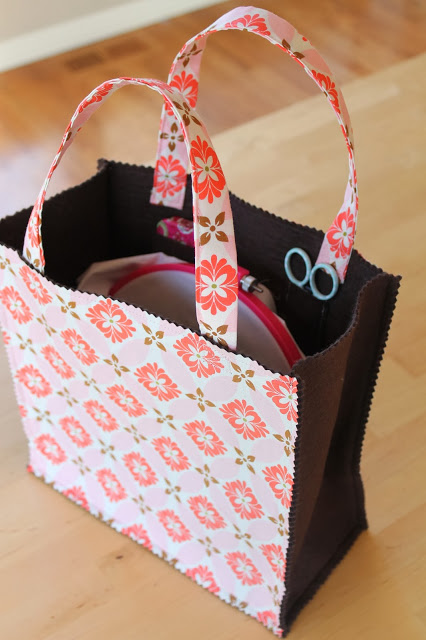
Introducing the “Handwork Tote”….
This small tote bag is perfect for little projects on the run.
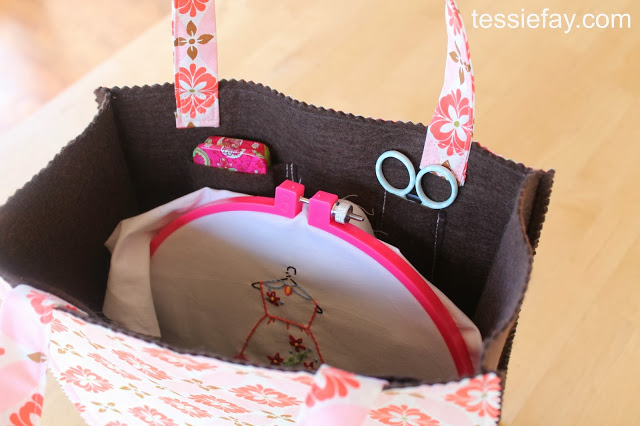
The inside pockets can easily be customised to whatever your needs are. I made pockets for scissors, needles, thread, and patterns. But you could easily turn this into a knitting bag by making larger pockets for knitting needles etc.
It keeps its shape and stands open so that you can easily reach inside while you are working.
Here is what you will need to make your own:
- 1/2 yard felt (good quality from the bolts- not felt squares)
- Cotton in a coordinating print for handles and faces
- Scissors
- Pinking Shears
- Thread
- Heat n’ Bond
- Small strip of interfacing or extra material to stiffen up the handles
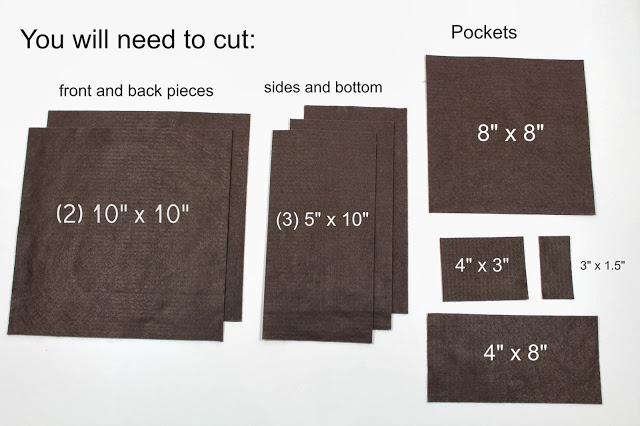
First, cut your felt pieces as shown (I included measurements for my pockets, but you can do these whatever size you would like).
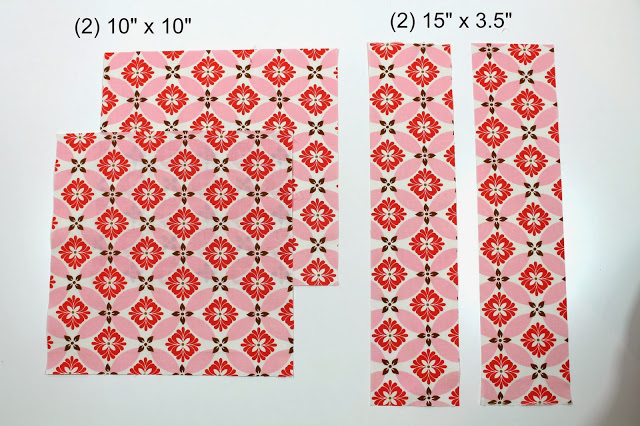
Next, cut your patterned fabric. The 10×10 pieces are for the front and back of the bag and the longer strips are for the handles.
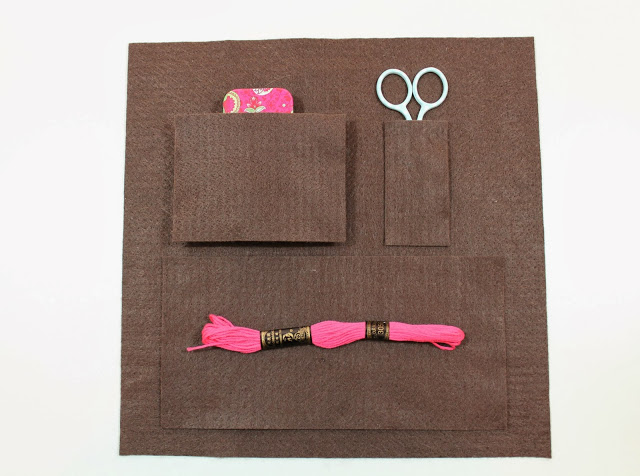
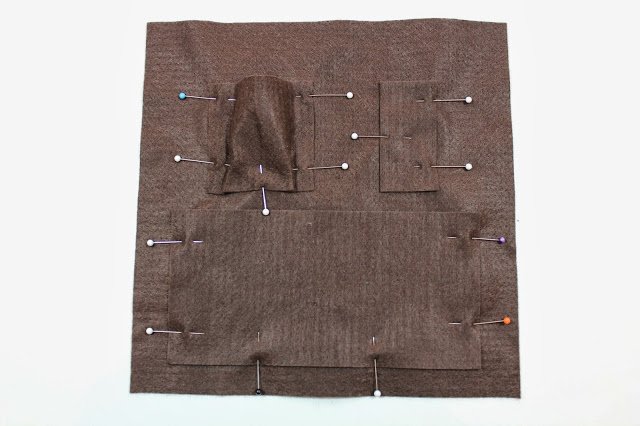
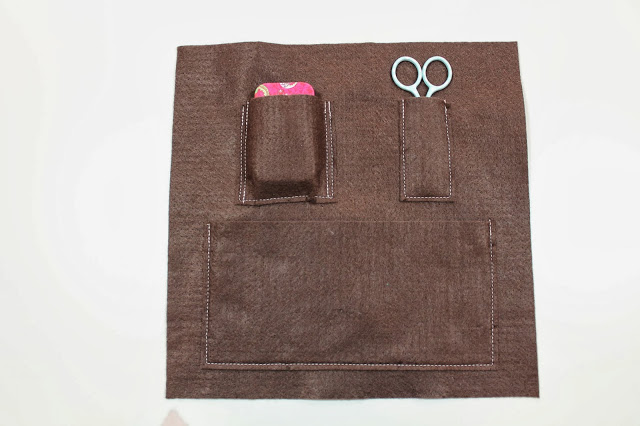
We will begin by sewing our pockets to the inside of the bag. To figure out how large you want your pockets, simply lay out your items and cut your felt pieces accordingly. I wanted a place for my scissors, my box of needles and my embroidery floss.
Pin down the pockets.
And sew around each pocket using a 1/8 inch seam allowance.
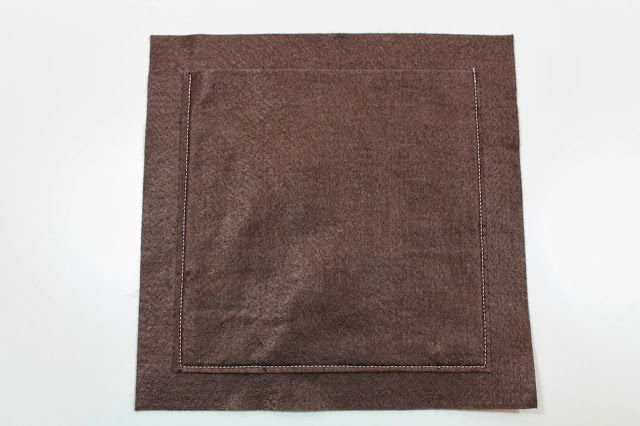
On the other square of felt, I made one large pocket to hold my patterns.
After you are finished sewing the pockets, you are ready to add the pretty patterned fabric to both of these square pieces. You could leave your bag as is, with just the felt, but I wanted to add a little pattern so I ironed on a patterned fabric. To do this I used Heat n’ Bond.
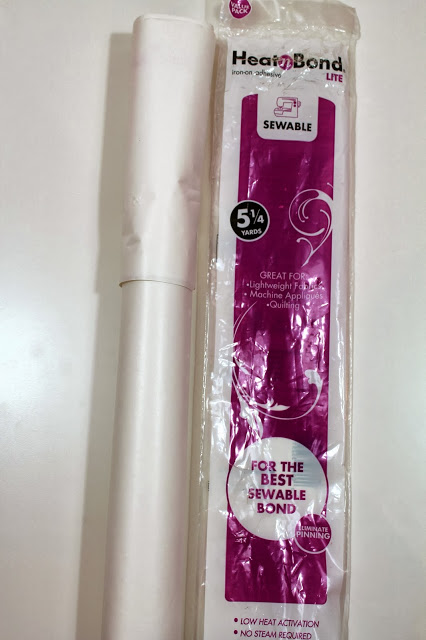
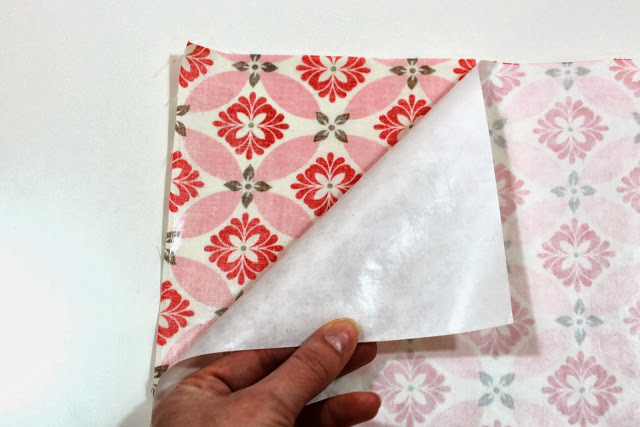
First cut out a 10″ square of “heat n’ bond”. Place it on the wrong side of your patterned fabric with the shiny side down. Make sure you are ironing on the paper part and not on the shiny side. Once it is ironed, peel off the paper backing.
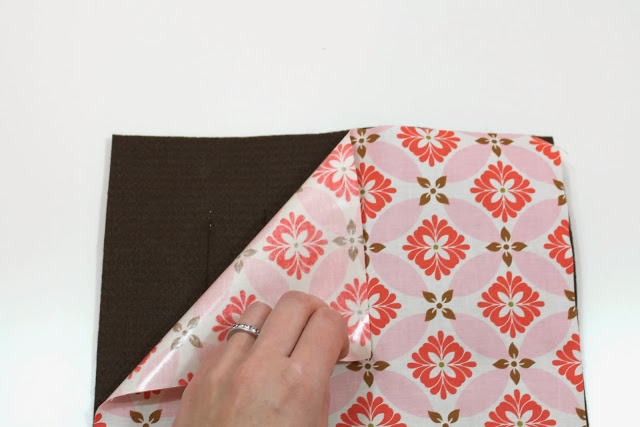
Next, place your pattern fabric on top of your felt square (you just sewed pockets onto these). And iron the patterned fabric onto the felt.
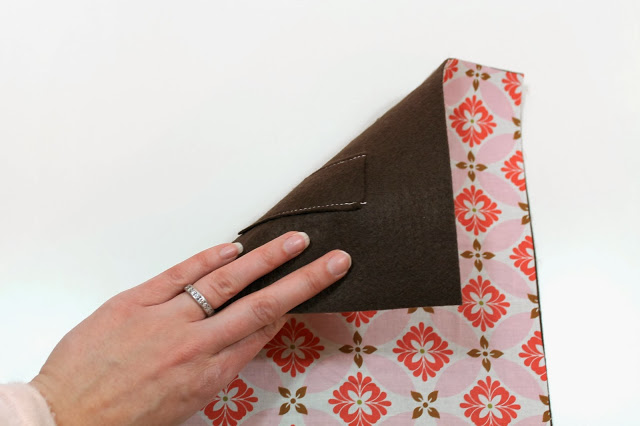
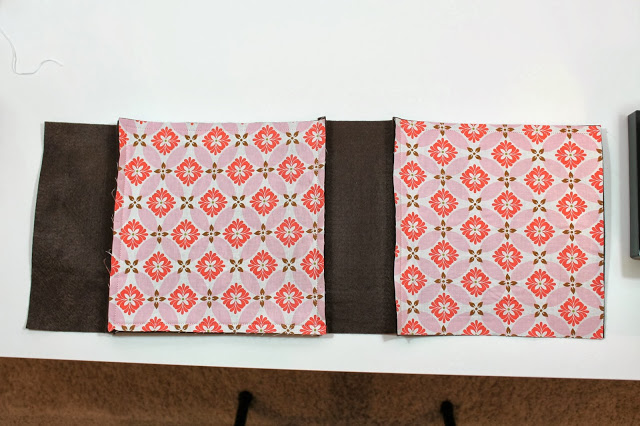
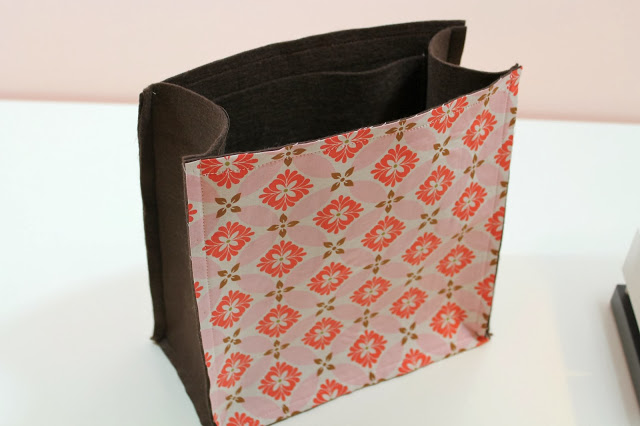
Now, it should look like this (below). On one side you have your pockets and on the other side you have your pretty patterned fabric.
Repeat this process with the other square piece of felt. Then we are ready to start sewing our bag together.
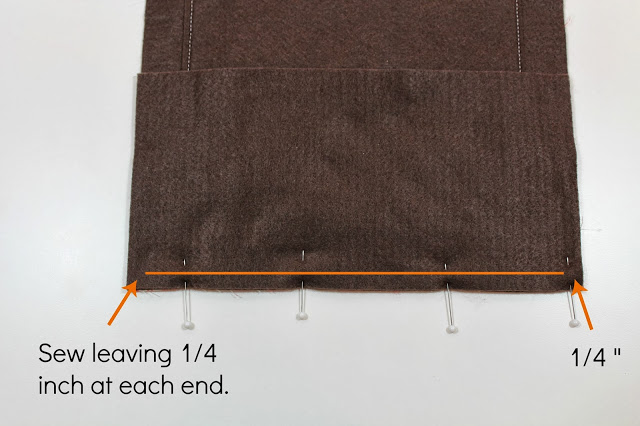
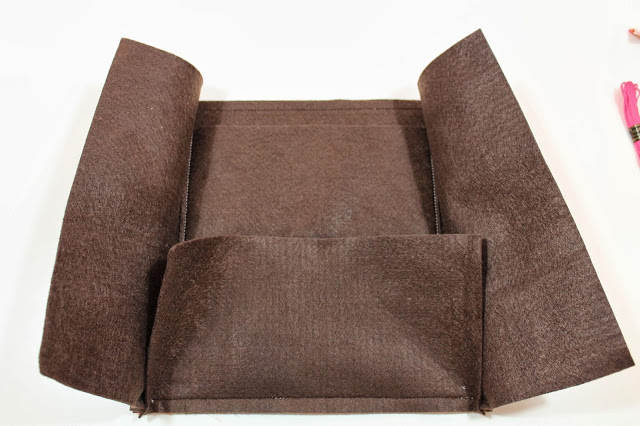
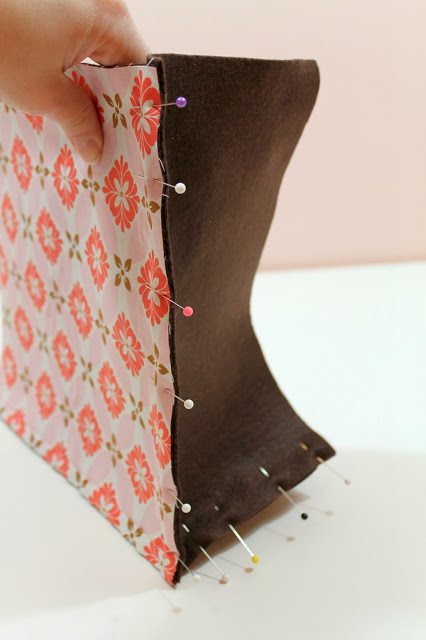
This process is very easy. Just piece each of the felt pieces together in a bag shape. Remember that your seams will be on the outside of the bag. So you will pin each of your rectangle felt pieces to the wrong side of your felt squares (the side with the pockets) like so…
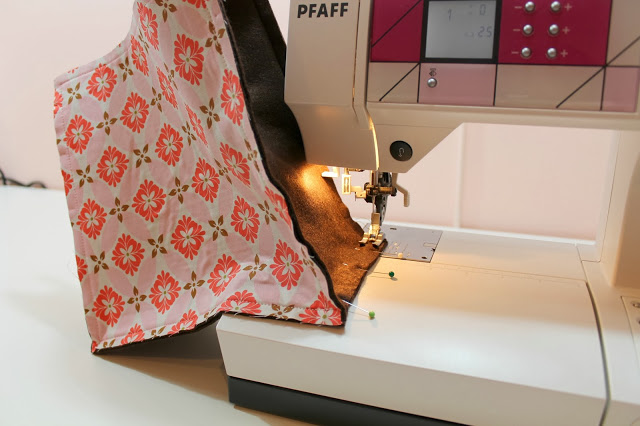
Sew each seam with a 1/4 inch seam allowance and stop sewing 1/4 inch from each end. Continue sewing on each of the rectangle pieces: two sides and one bottom, remembering to leave 1/4 inch at each corner.
Sew on your second patterned piece..
Then continue sewing all the edges closed to form a bag shape.
After you finish with all the seams it should look like this….
*Note- I also sewed along the top edge of the bag, just to ensure that my patterned fabric stayed put.
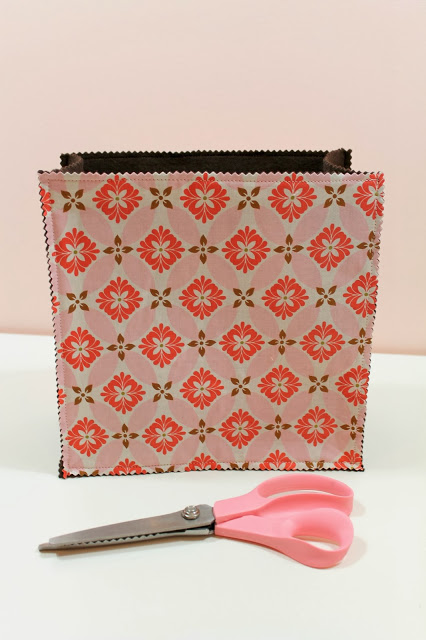
Now use pinking shears to trim all the edges. This adds a cute little detail and prevents the edges from fraying.
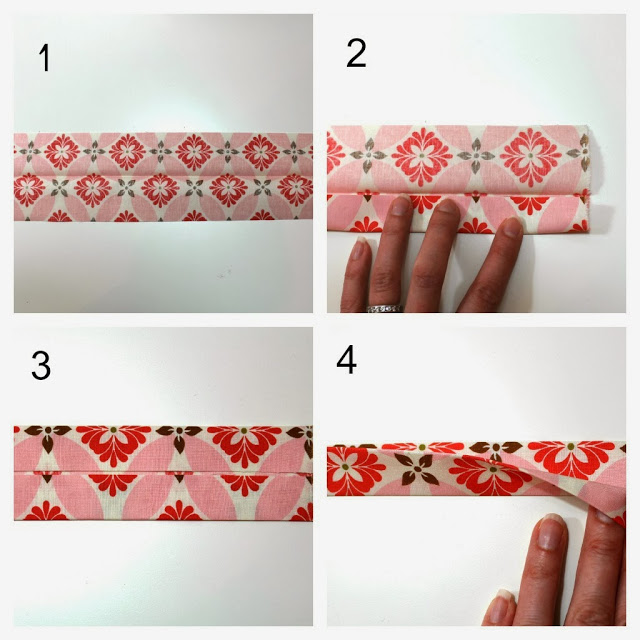
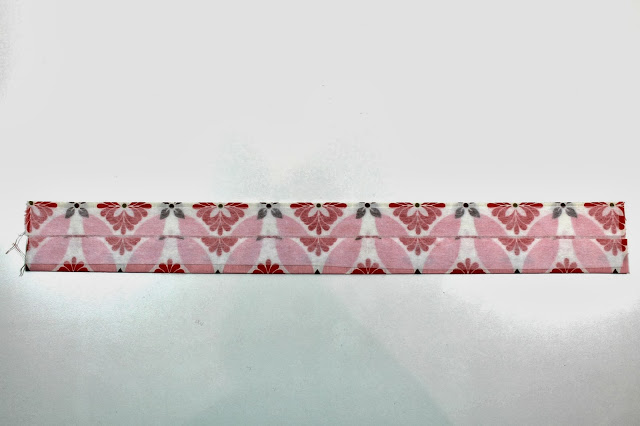
We are almost done! Next up is the handles. Take one handle piece and iron it in half lengthwise (1). Open it back up and use this middle line to fold each of your edges in (2) and press (3). Last fold your fabric in half again and press (4).
My handles were a little flimsy, so I added a small piece of interfacing to the inside. If you don’t have any interfacing around you could also use a piece of scrap fabric. If you are using a heavier fabric you can probably skip this step.
Now fold each end down 1/4 inch and sew 1/8 inch around your openings.
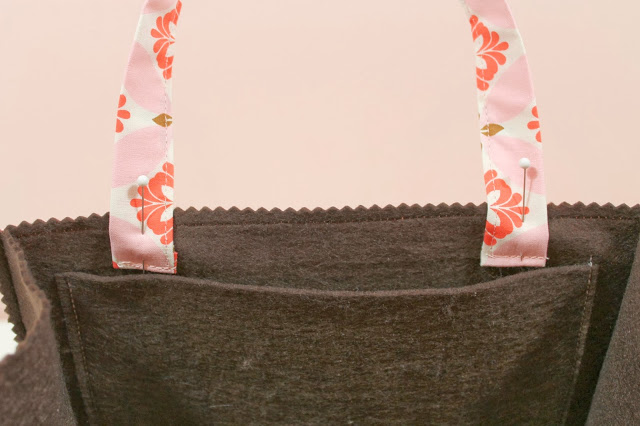
Pin handles to inside of bag….
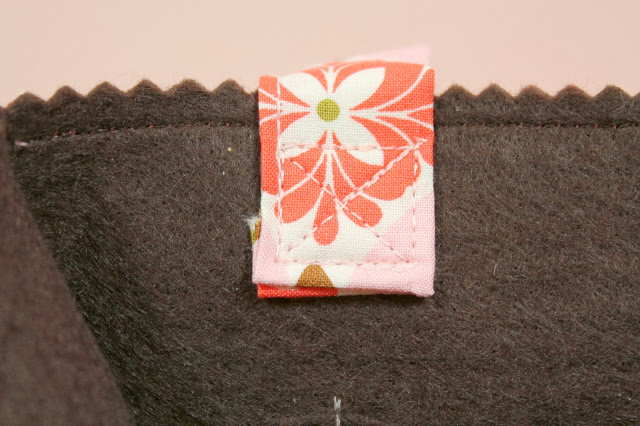
And sew the handles to the bag in an “x” shape.
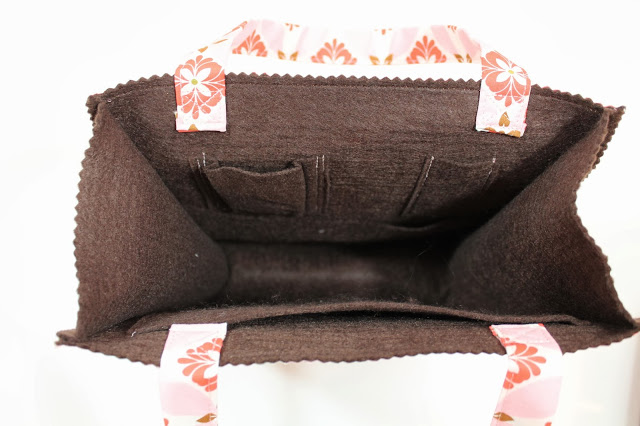
Here is a shot o f the inside of the bag…
Fill up your pockets and you are finished! Now you have the perfect tote to carry around those great little projects.
As always, feel free to ask any questions you may have. And if you make your own, I would LOVE to hear about it!
Happy Sewing!


view + leave comments . . .