Well hello there! I know I have been a bit sporadic with the blogging lately, but since returning from Alt Summit (blogging conference) I have a renewed desire and enthusiasm to make my little corner of blogland the absolute best it can be! My first goal is to be more consistent with my post frequency. My goal is to post every Friday so that you can have a little weekend reading 🙂 Also, I would love to hear from YOU! Leave me a comment or send me an email and let me know what you would like to see more of here on the blog.
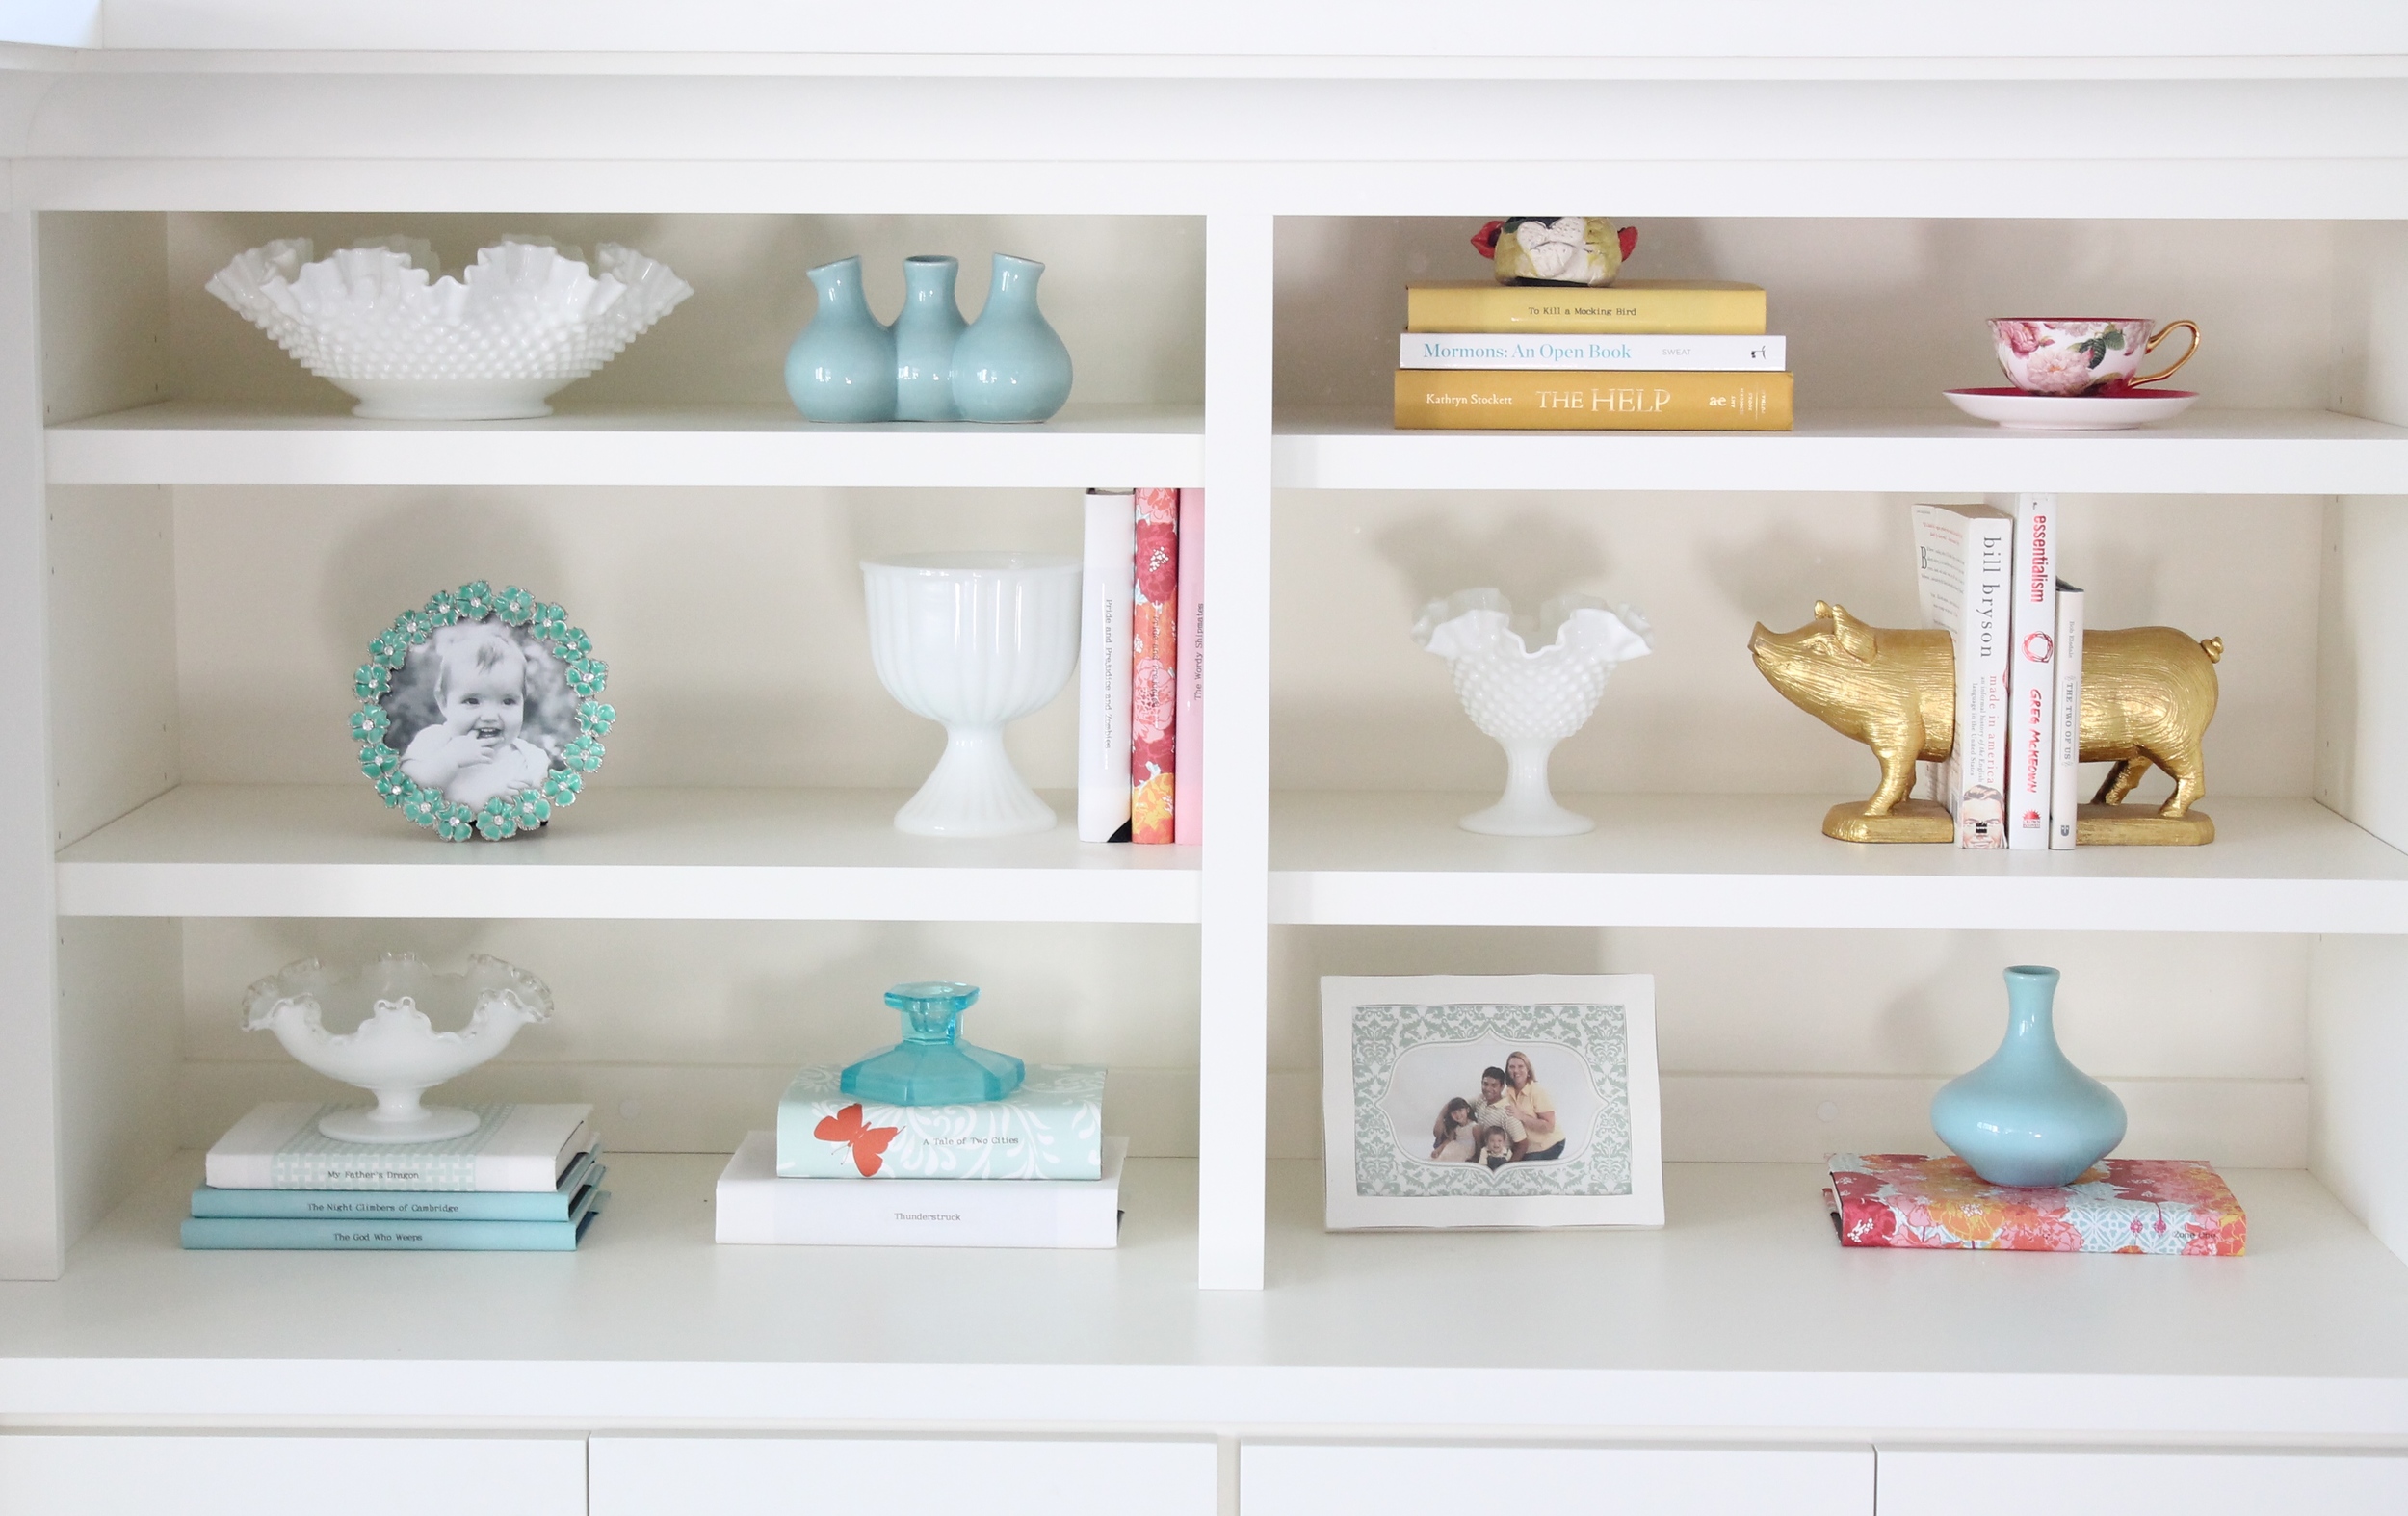
Now onto more exciting things… One of my favorite spaces in my home, the built-in bookshelves!

These built-ins sit proudly in our main living room on either side of our fireplace. The cupboards below are stuffed with our family’s vast collection of board games and the shelves above are filled with pretty books and favorite treasures.


I wanted to make sure the books were usable, so having their titles on the outside was important.

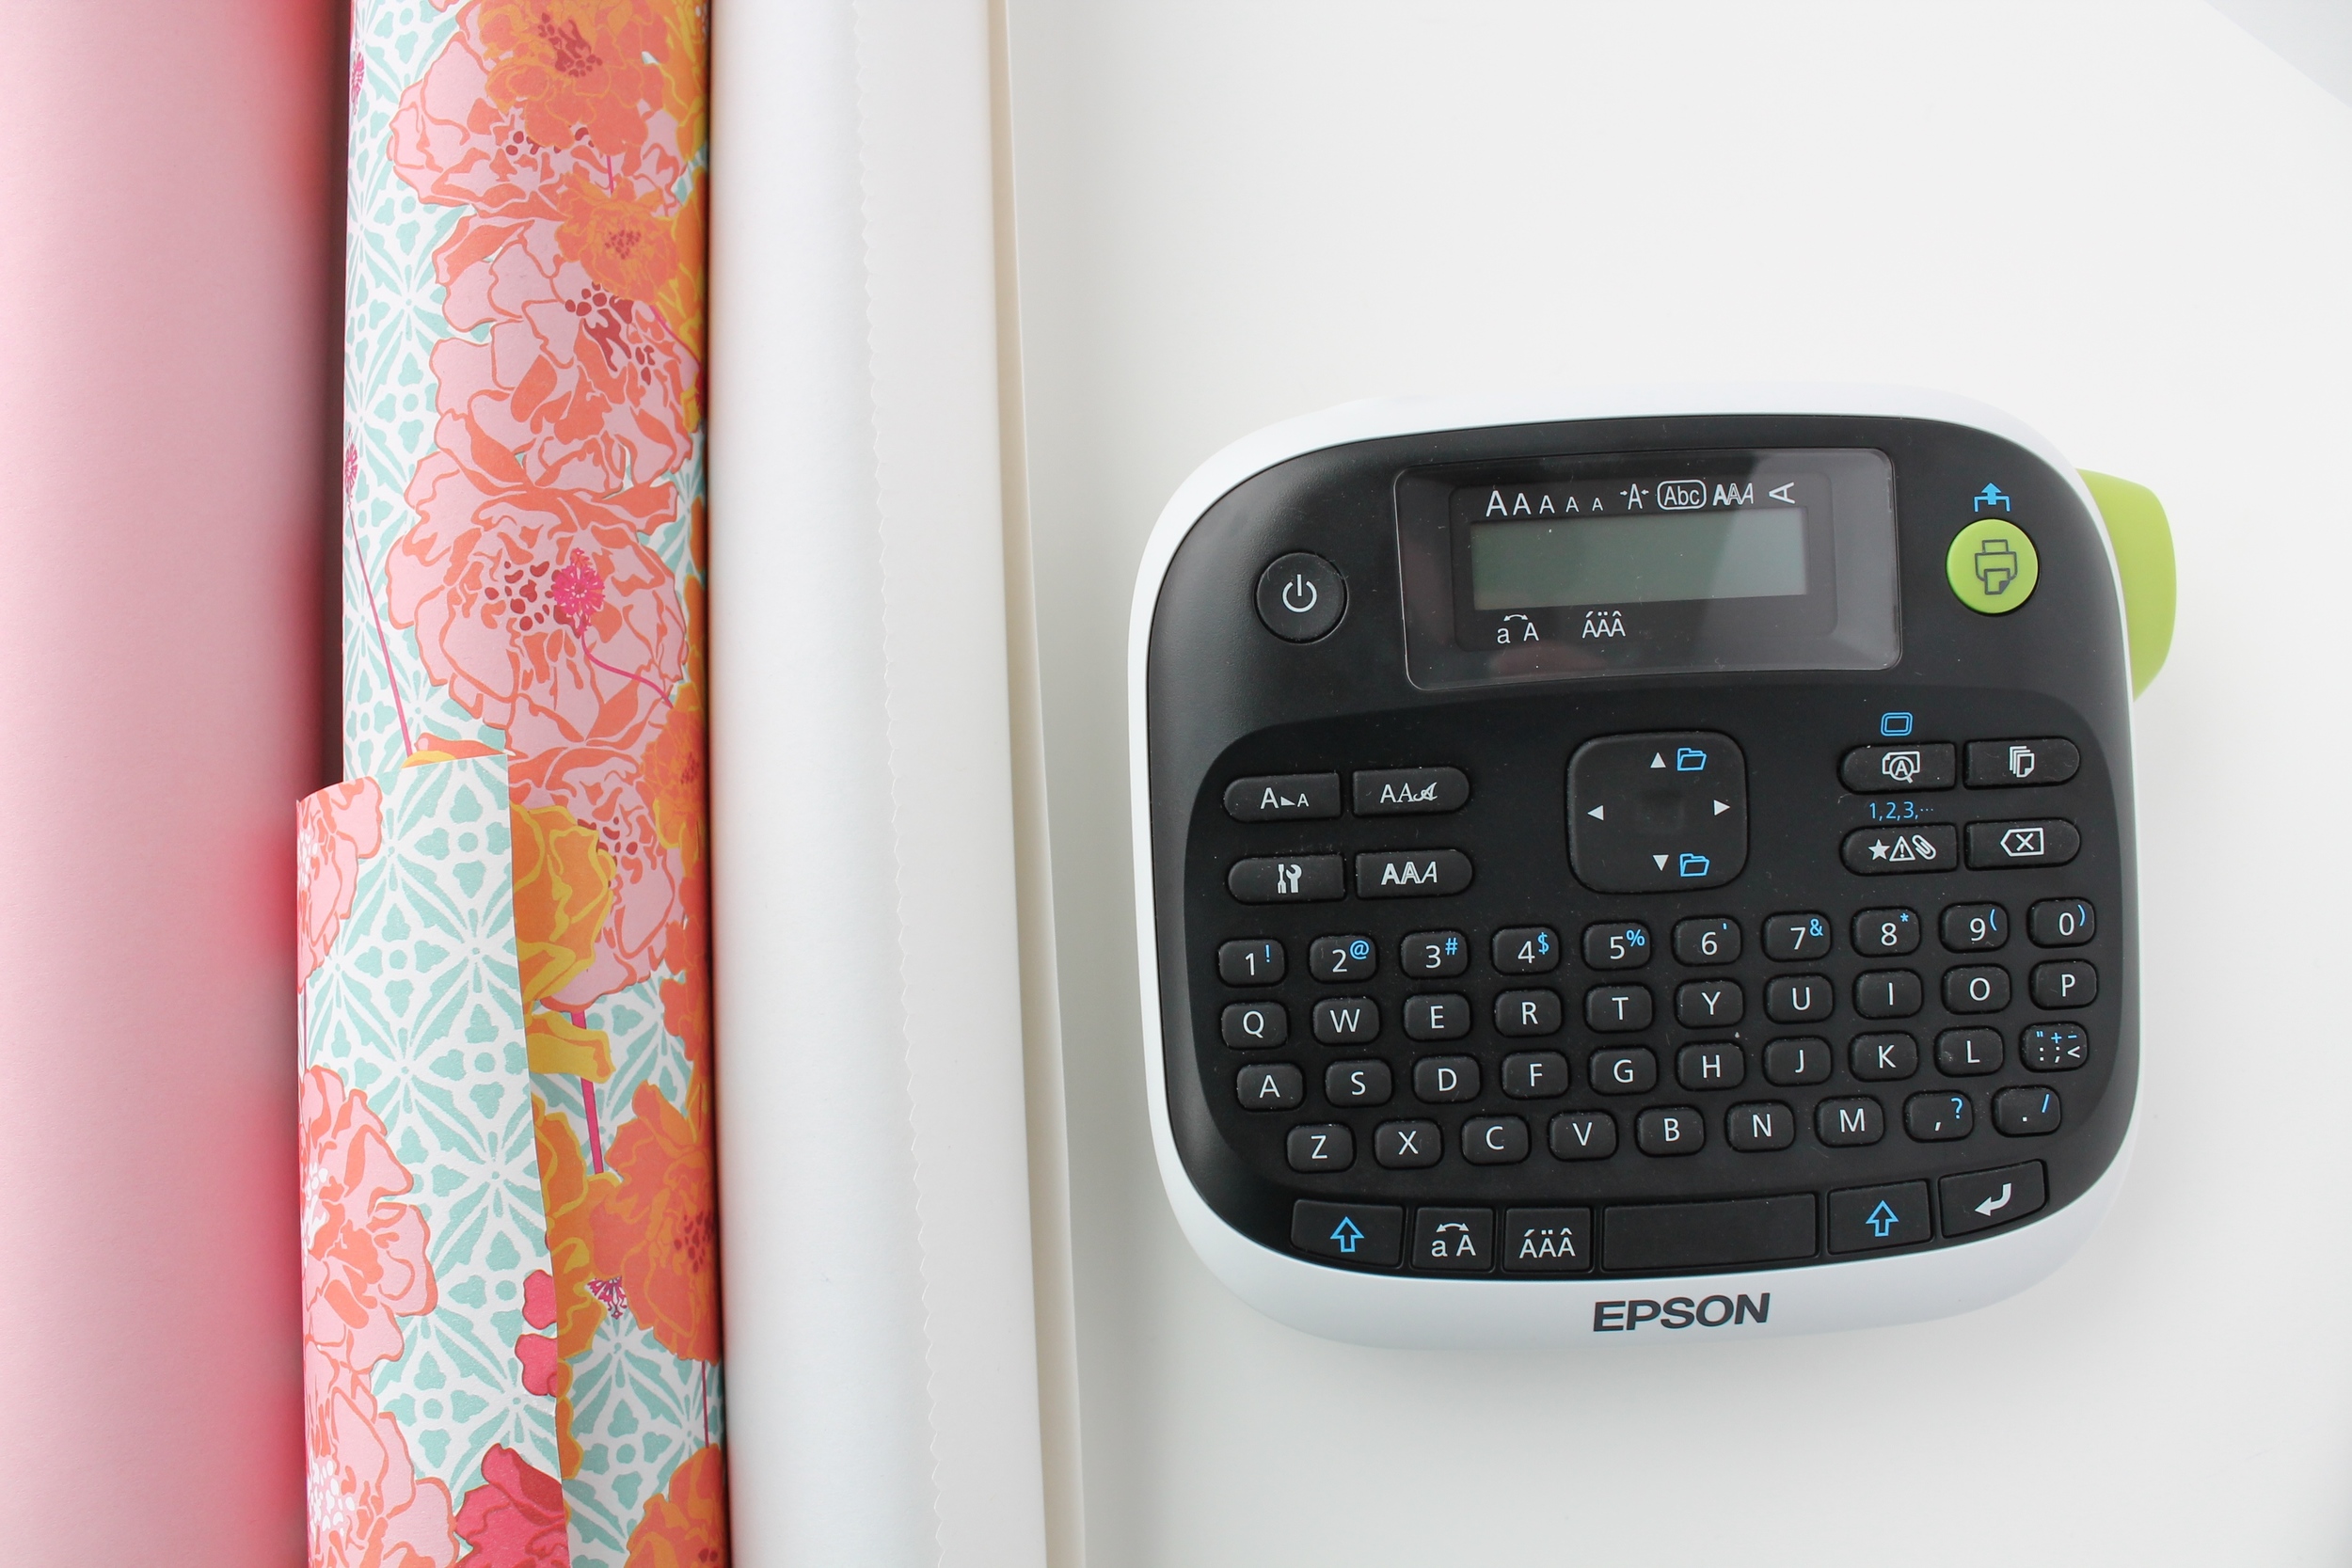
I used my Epson label maker to print the titles onto each book. The trick is making sure you use clear printing tape so that the color of the book can shine through. I seriously love this label maker! It is simple to use and prints nicely for the price. So far I have labeled all the bins in my panty, the kids toy bins, all the craft supplies and lots of file folders.

Just make sure if you get one for yourself that you also get an extra tape cartridge(clear) because you will love it and you’ll be sad when you run out of tape!
Epson LabelWorks LW-300 Label Maker
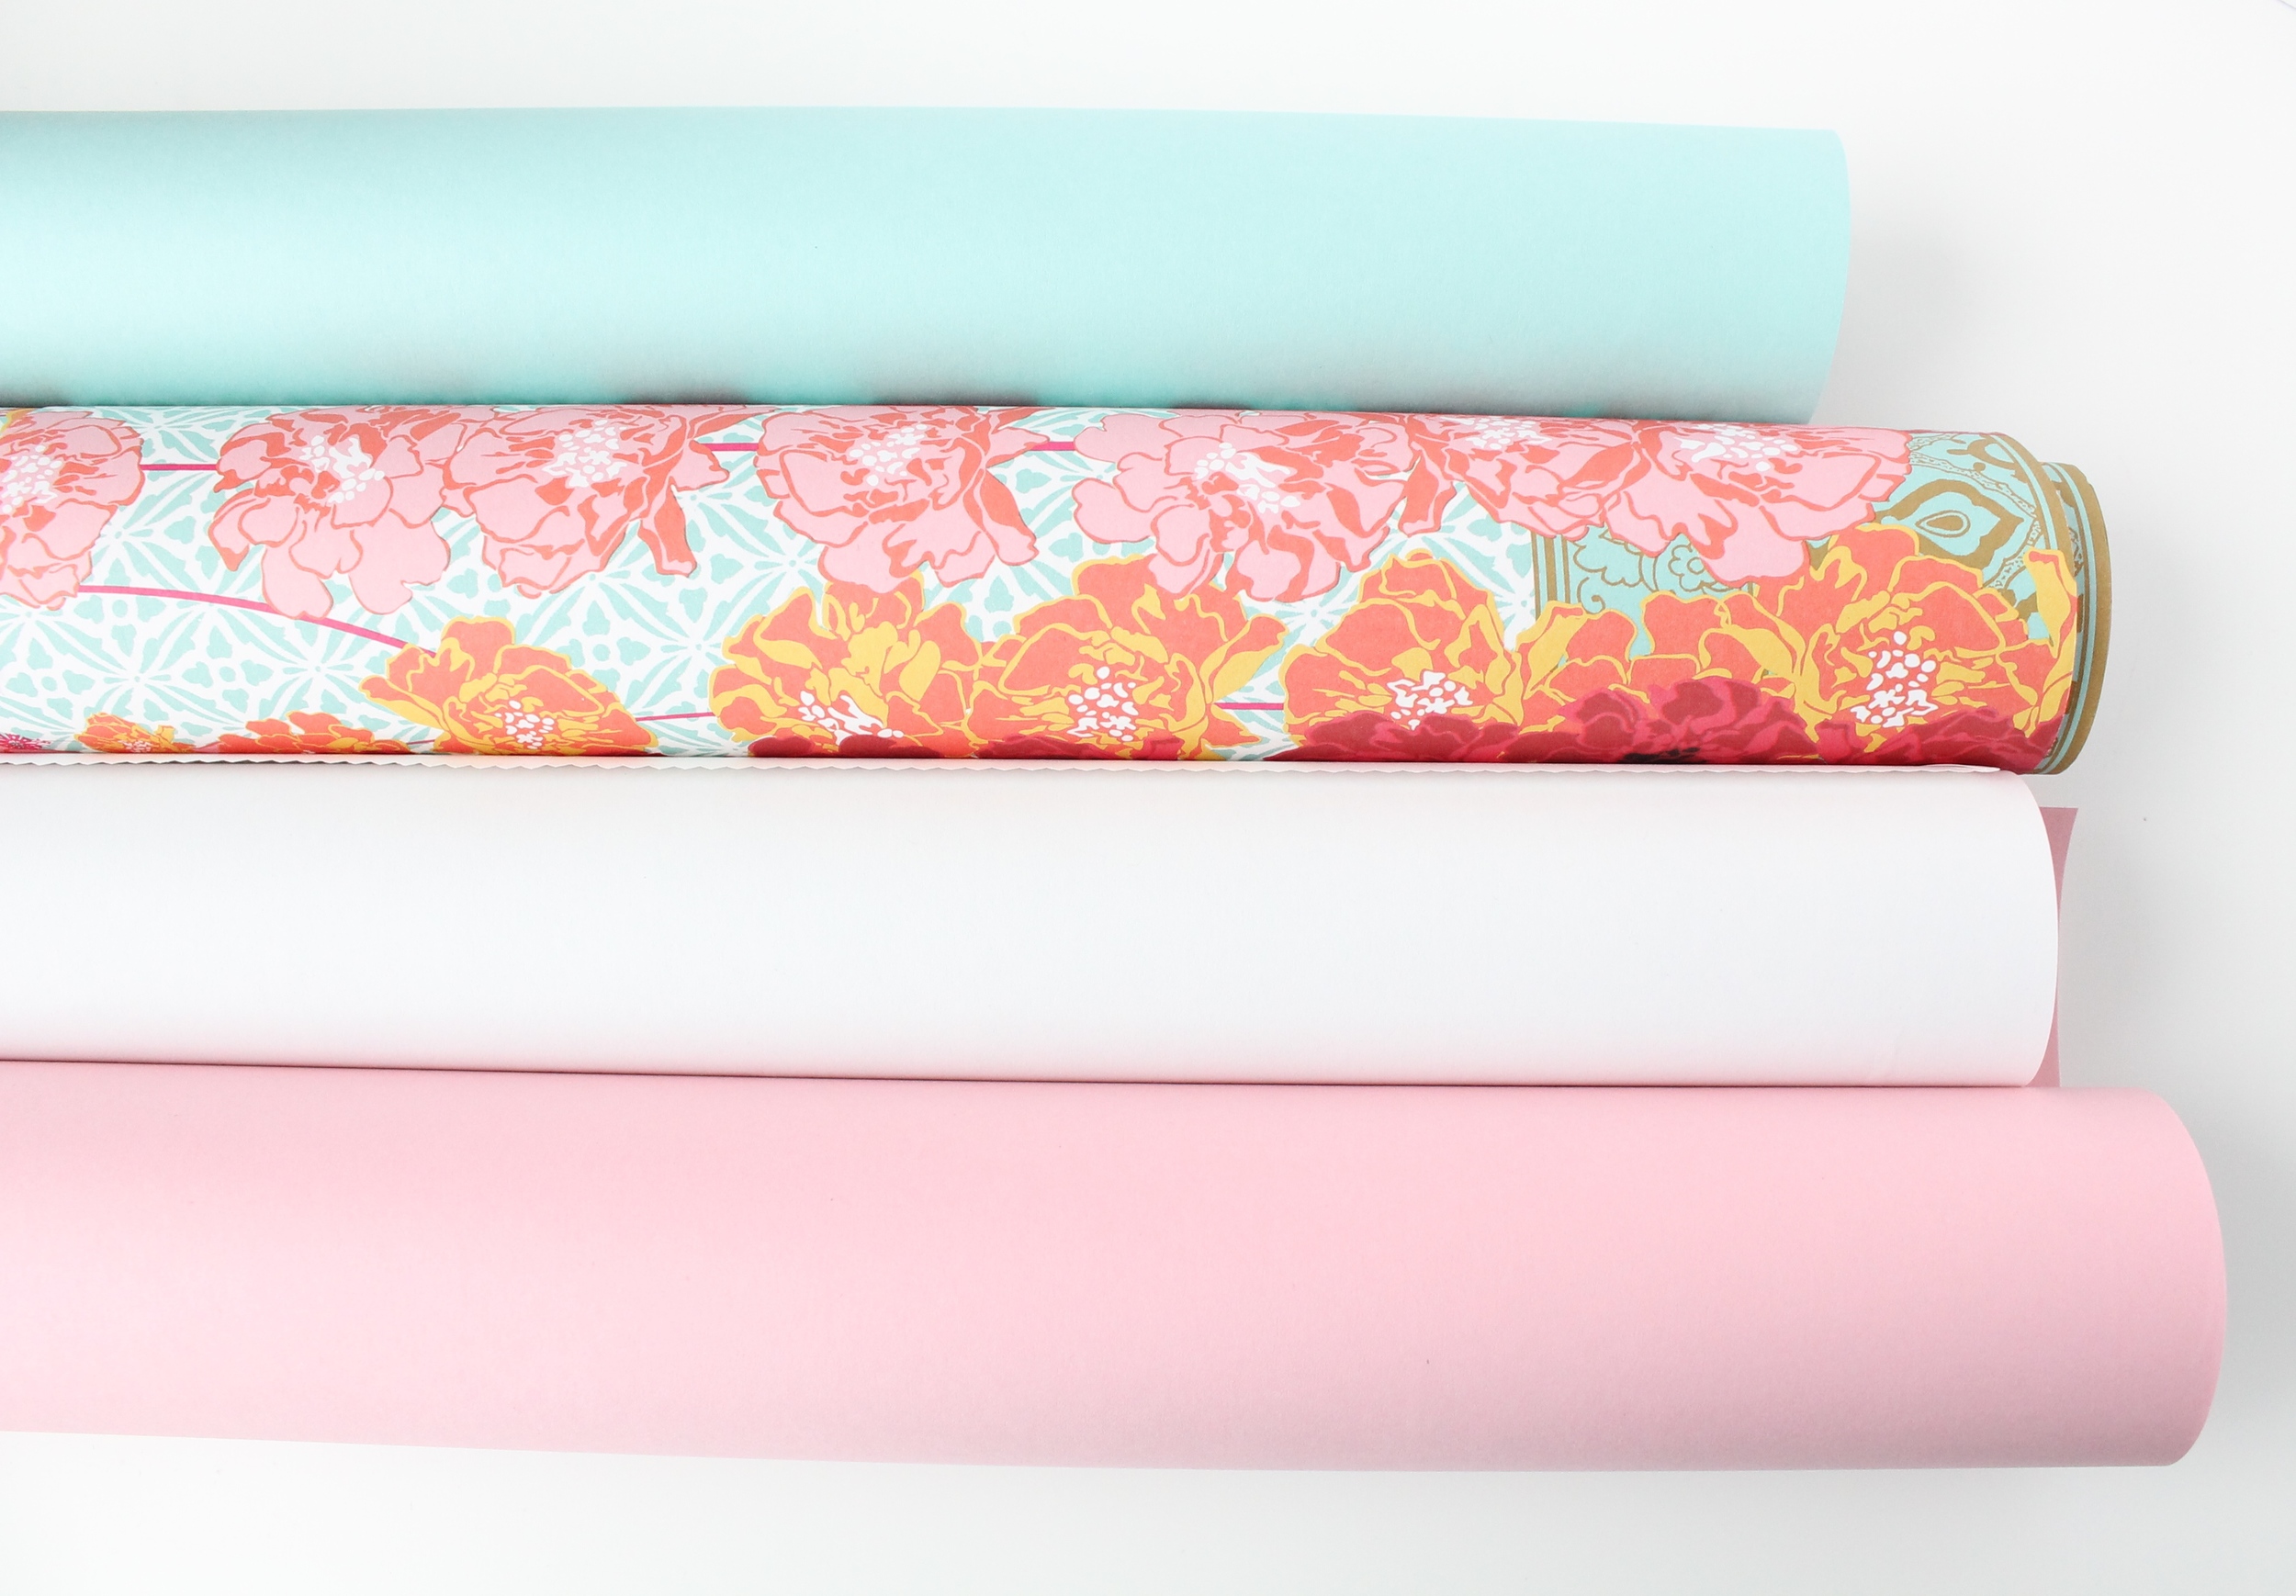
To cover all the books I used this lovely paper from Paper Source. I covered them just like I did in Jr. high… remember those paper bag covered books? I didn’t do a tutorial on how to cover the books but if anyone is interested, I would be happy to whip one up.

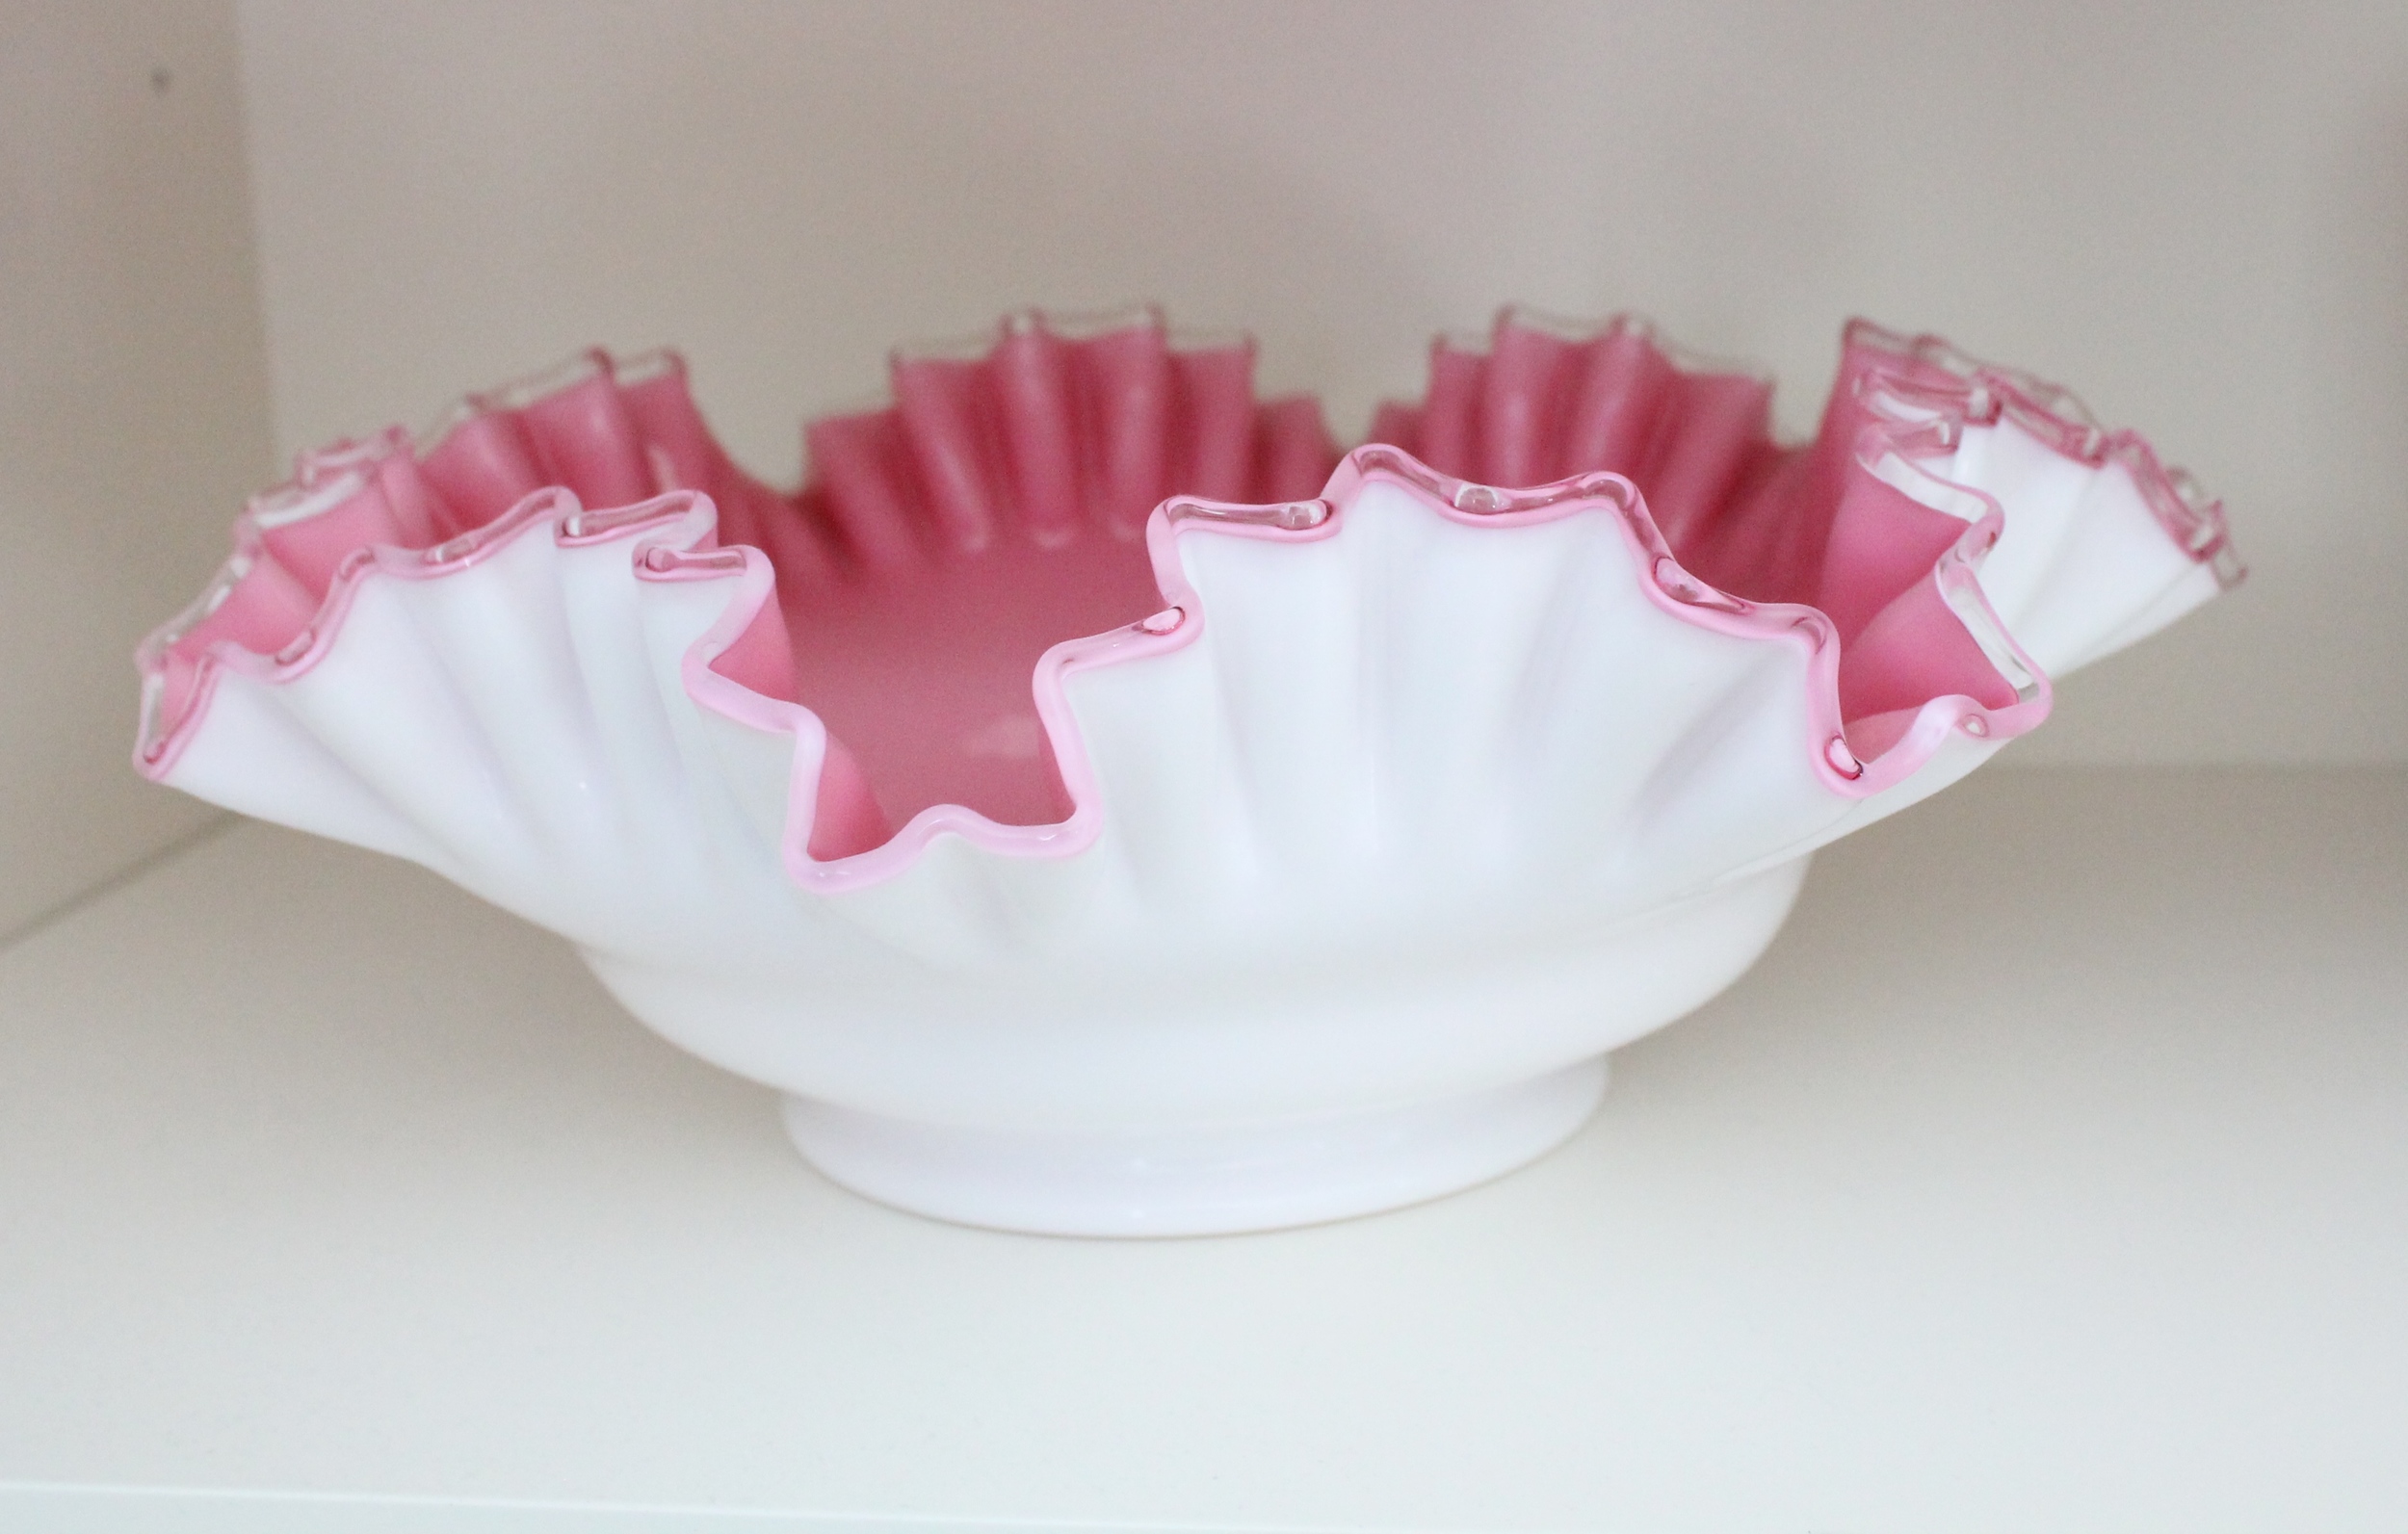
Now that the books are all wrapped up and looking fabulous, all that’s left is to fill the empty spaces with your favorite treasures. A few of my favorites include my golden piggie from CB2, my teacups, pictures of my family and my growing collection of ruffled bowls (read all about the ruffled bowls here).


If you would like to follow along on more of my home decor, DIY, lifestyle and other posts I’d love to have you follow me on any of the following:
facebook / instagram / pinterest
Disclosure: This post contains some affiliate links.
view + leave comments . . .