


Hello and Welcome! For those of you joining me for the first time my name is Tessie. I am a watercolor artist and pattern designer with a passion for creating beautiful interior spaces. I am thrilled to be participating in Jeweled Interior’s Primp and Pamper Bathroom Refresh where a dozen bloggers are all tackling a bathroom makeover and documenting the process during the month of March. If you need to catch up you can read week 1 here and week 2 here.
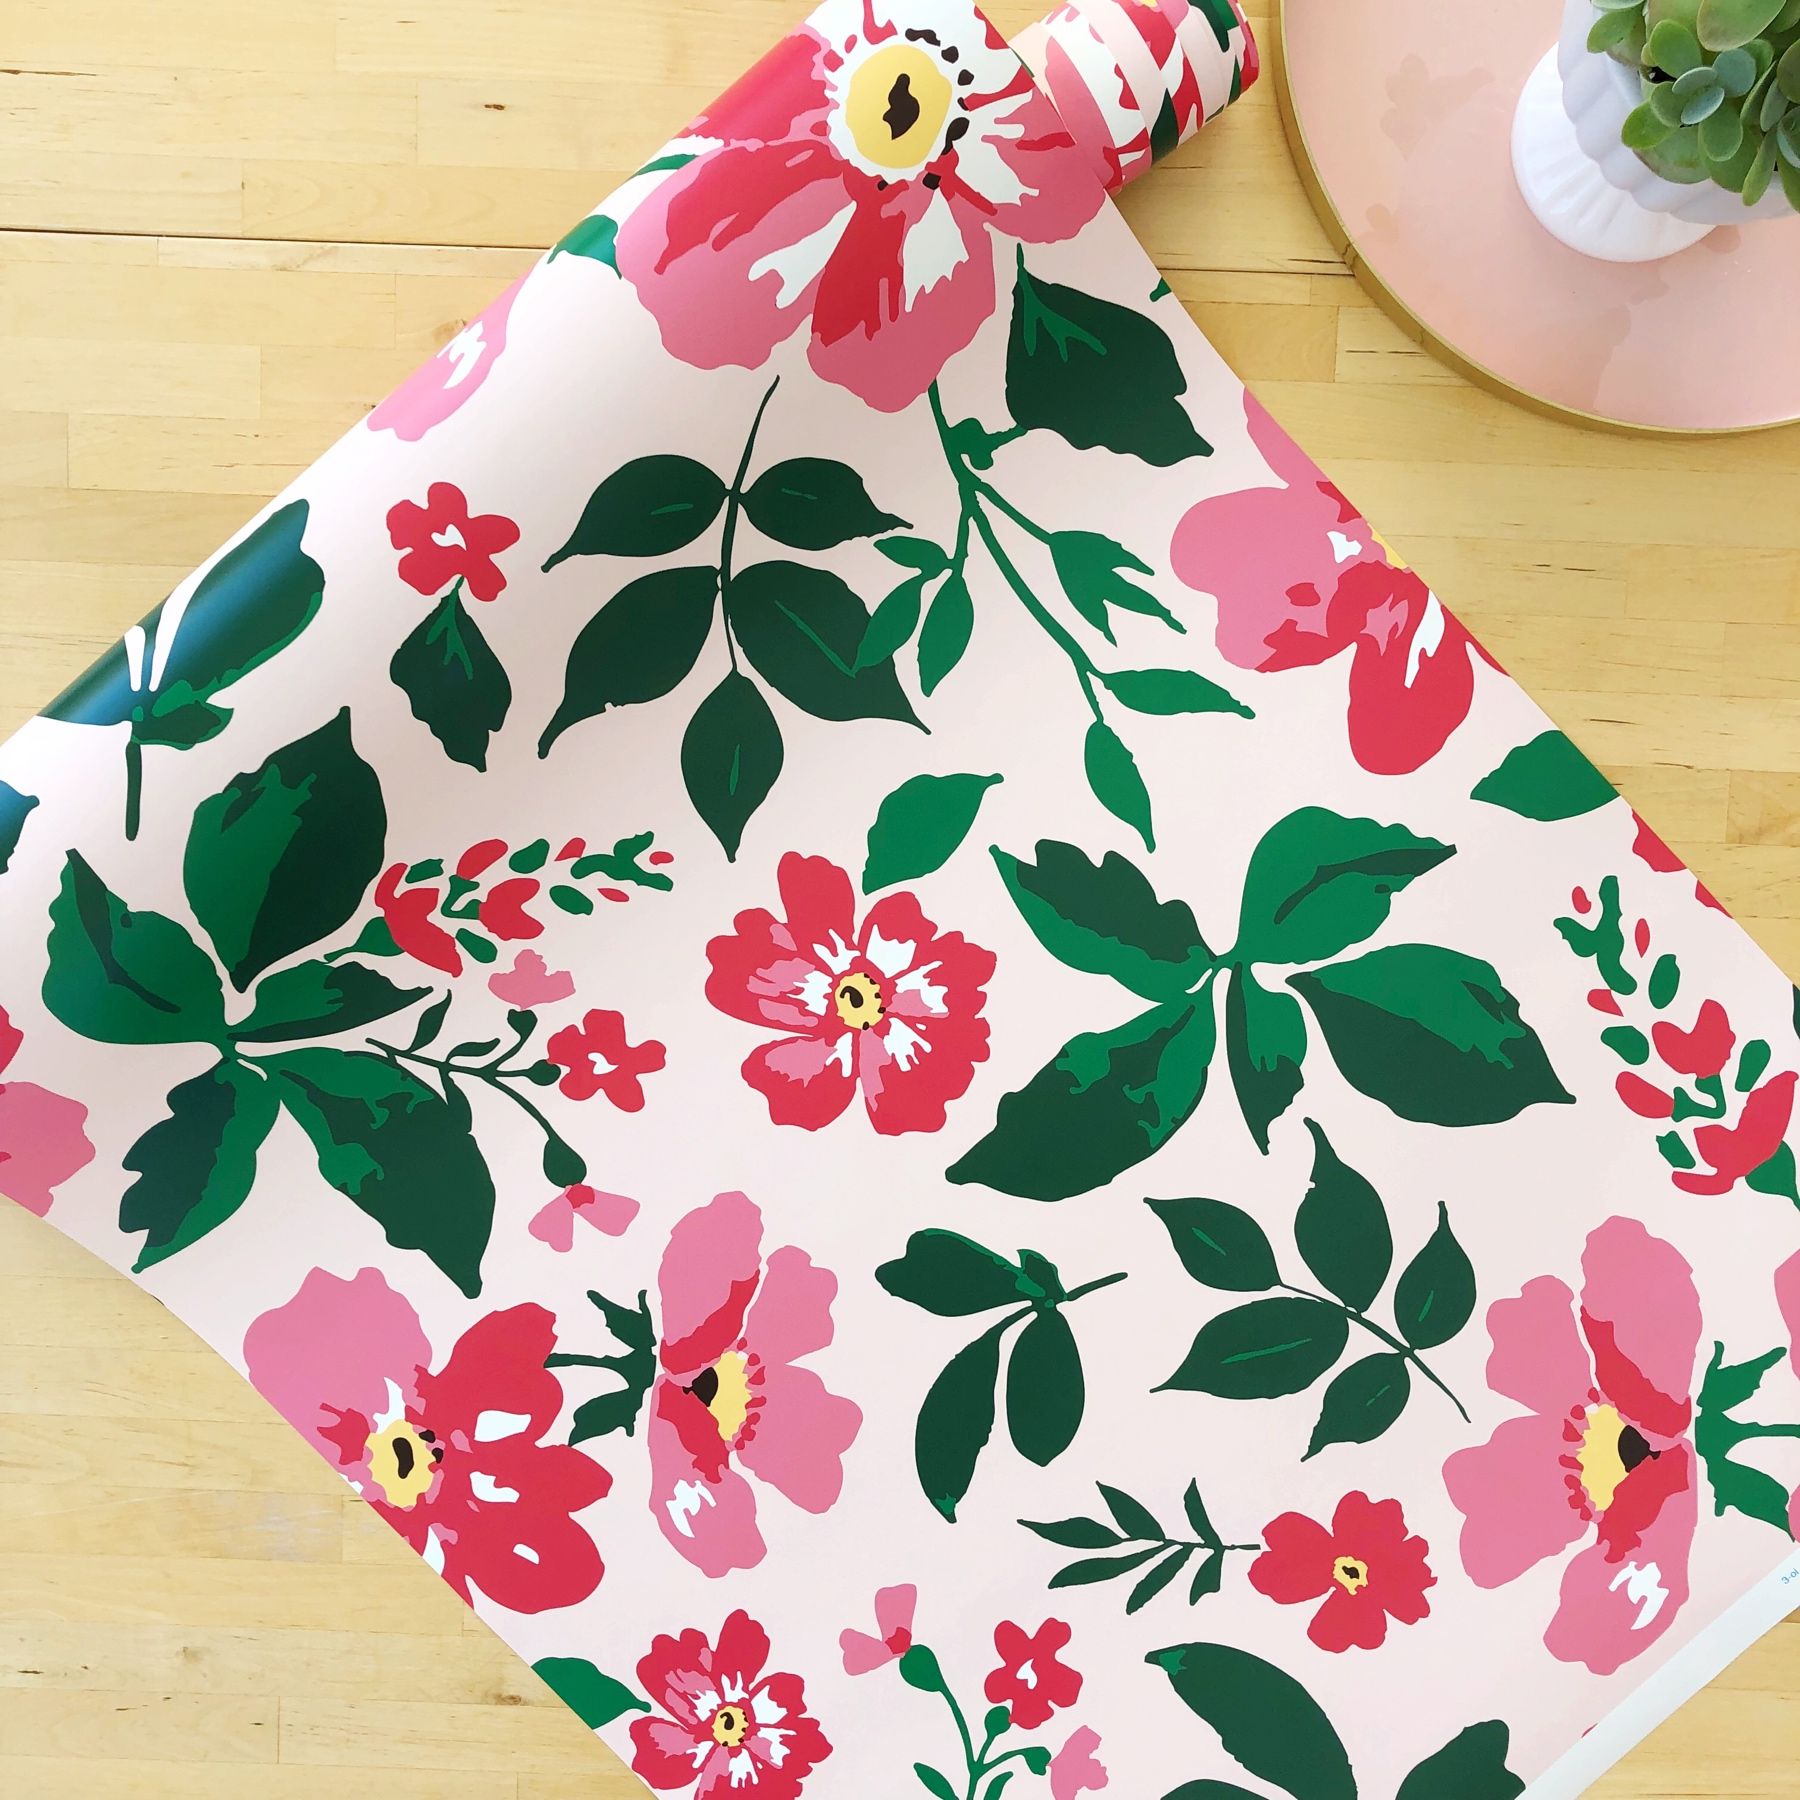
Last week I shared all about the process of designing my own wallpaper and I am happy to announce that the wallpaper FINALLY came!!! My wallpaper was printed from Spoonflower and although it took a while for it to arrive (about 3 weeks) it was so worth the wait!
There are two wallpaper options from Spoonflower. One option is a woven “peel and stick” and the other option is a smooth “water activated” wallpaper. I knew that the peel and stick would be easier to install but it was also more expensive. I also preferred the vibrant colors and the smooth texture of the more traditional water activated paper.
I decided on the traditional water activated paper and I am so happy I did. The colors ended up being absolutely perfect and smooth texture is quite stunning.
Ok, enough about the wallpaper let’s move onto the board and batten!
The Woes of Board and Batten
I’m going to be honest here and let you know that this week was difficult!! I felt like I was moving slow as molasses since I don’t have a lot of experience with things like taking down a mirror, removing towel bars and running power tools. Let’s just say that google and YouTube were my best friends. Also I would be perfectly happy if I didn’t have to set foot in Home Depot for a long long time. (On Friday I went to Home Depot three times in one day which was just a bit ridiculous.)
There are so many fabulous tutorials out there for board and batten like this one from Young House Love. I am not even going to attempt to do a tutorial because I honestly feel like I have no idea what I am doing. Ha! So Instead, I am going to show you some pictures of my progress and let you know some “lessons learned” at the end.
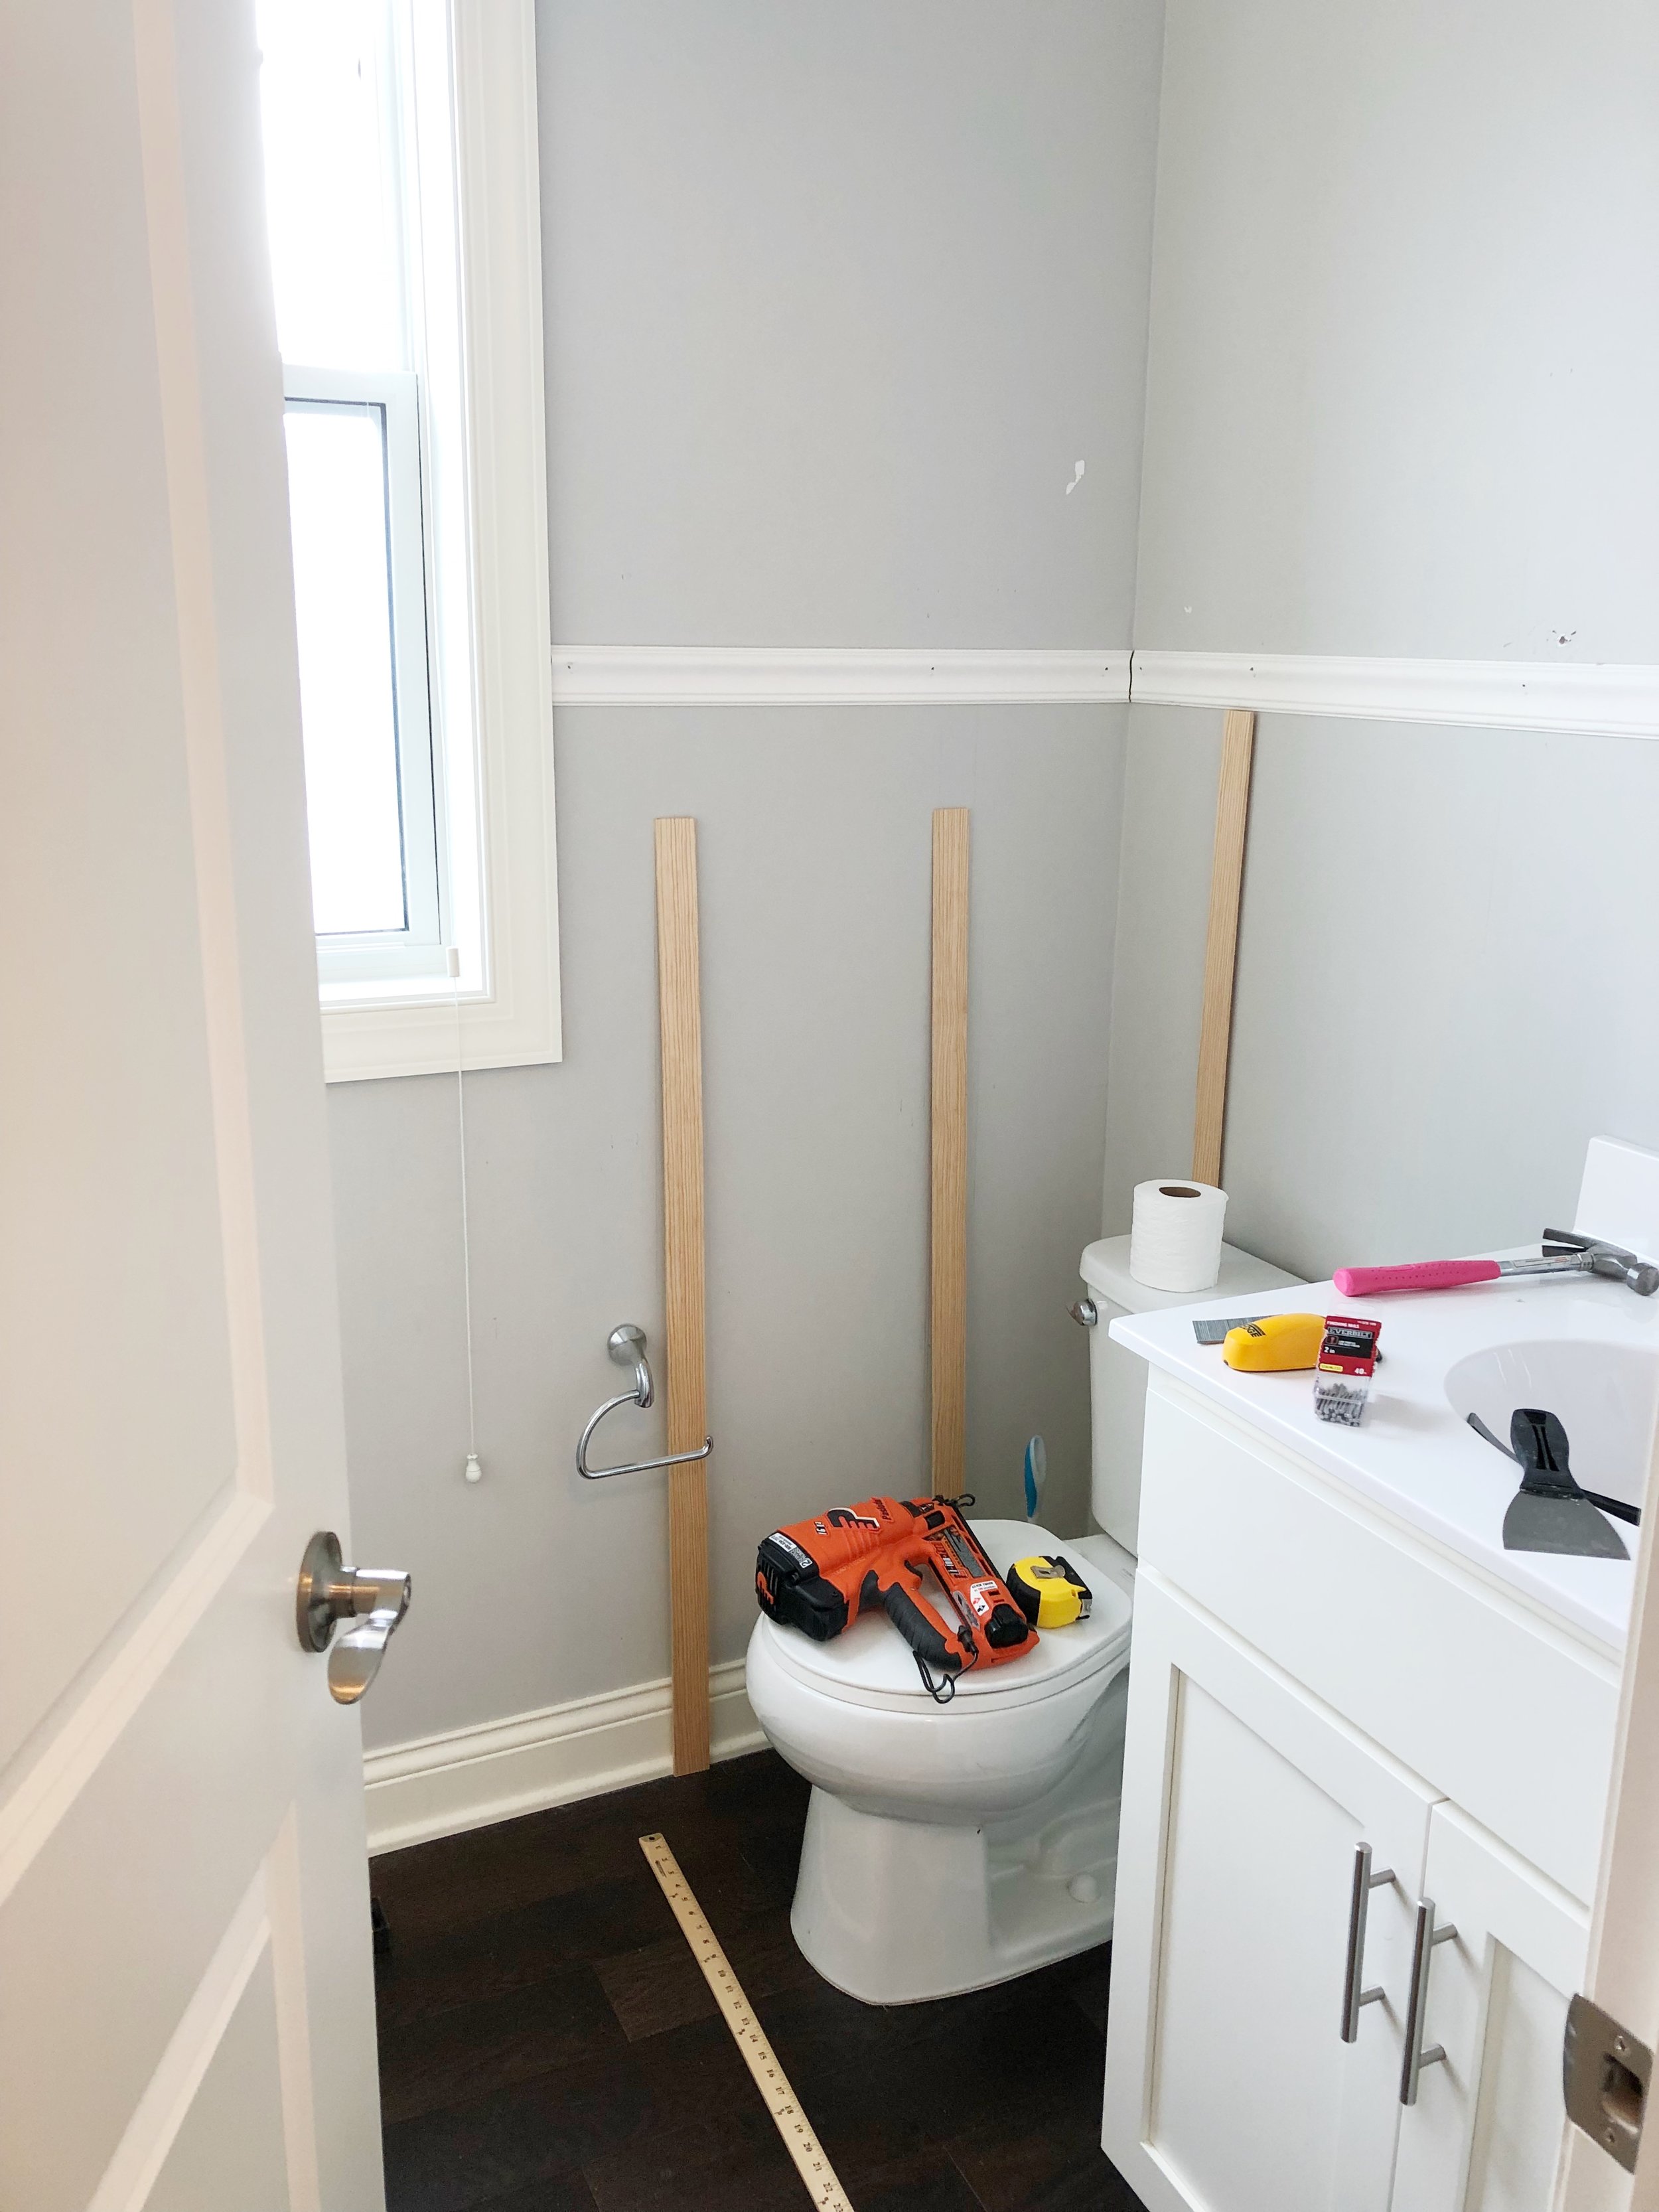
Just as a reminder this is how my bathroom started:
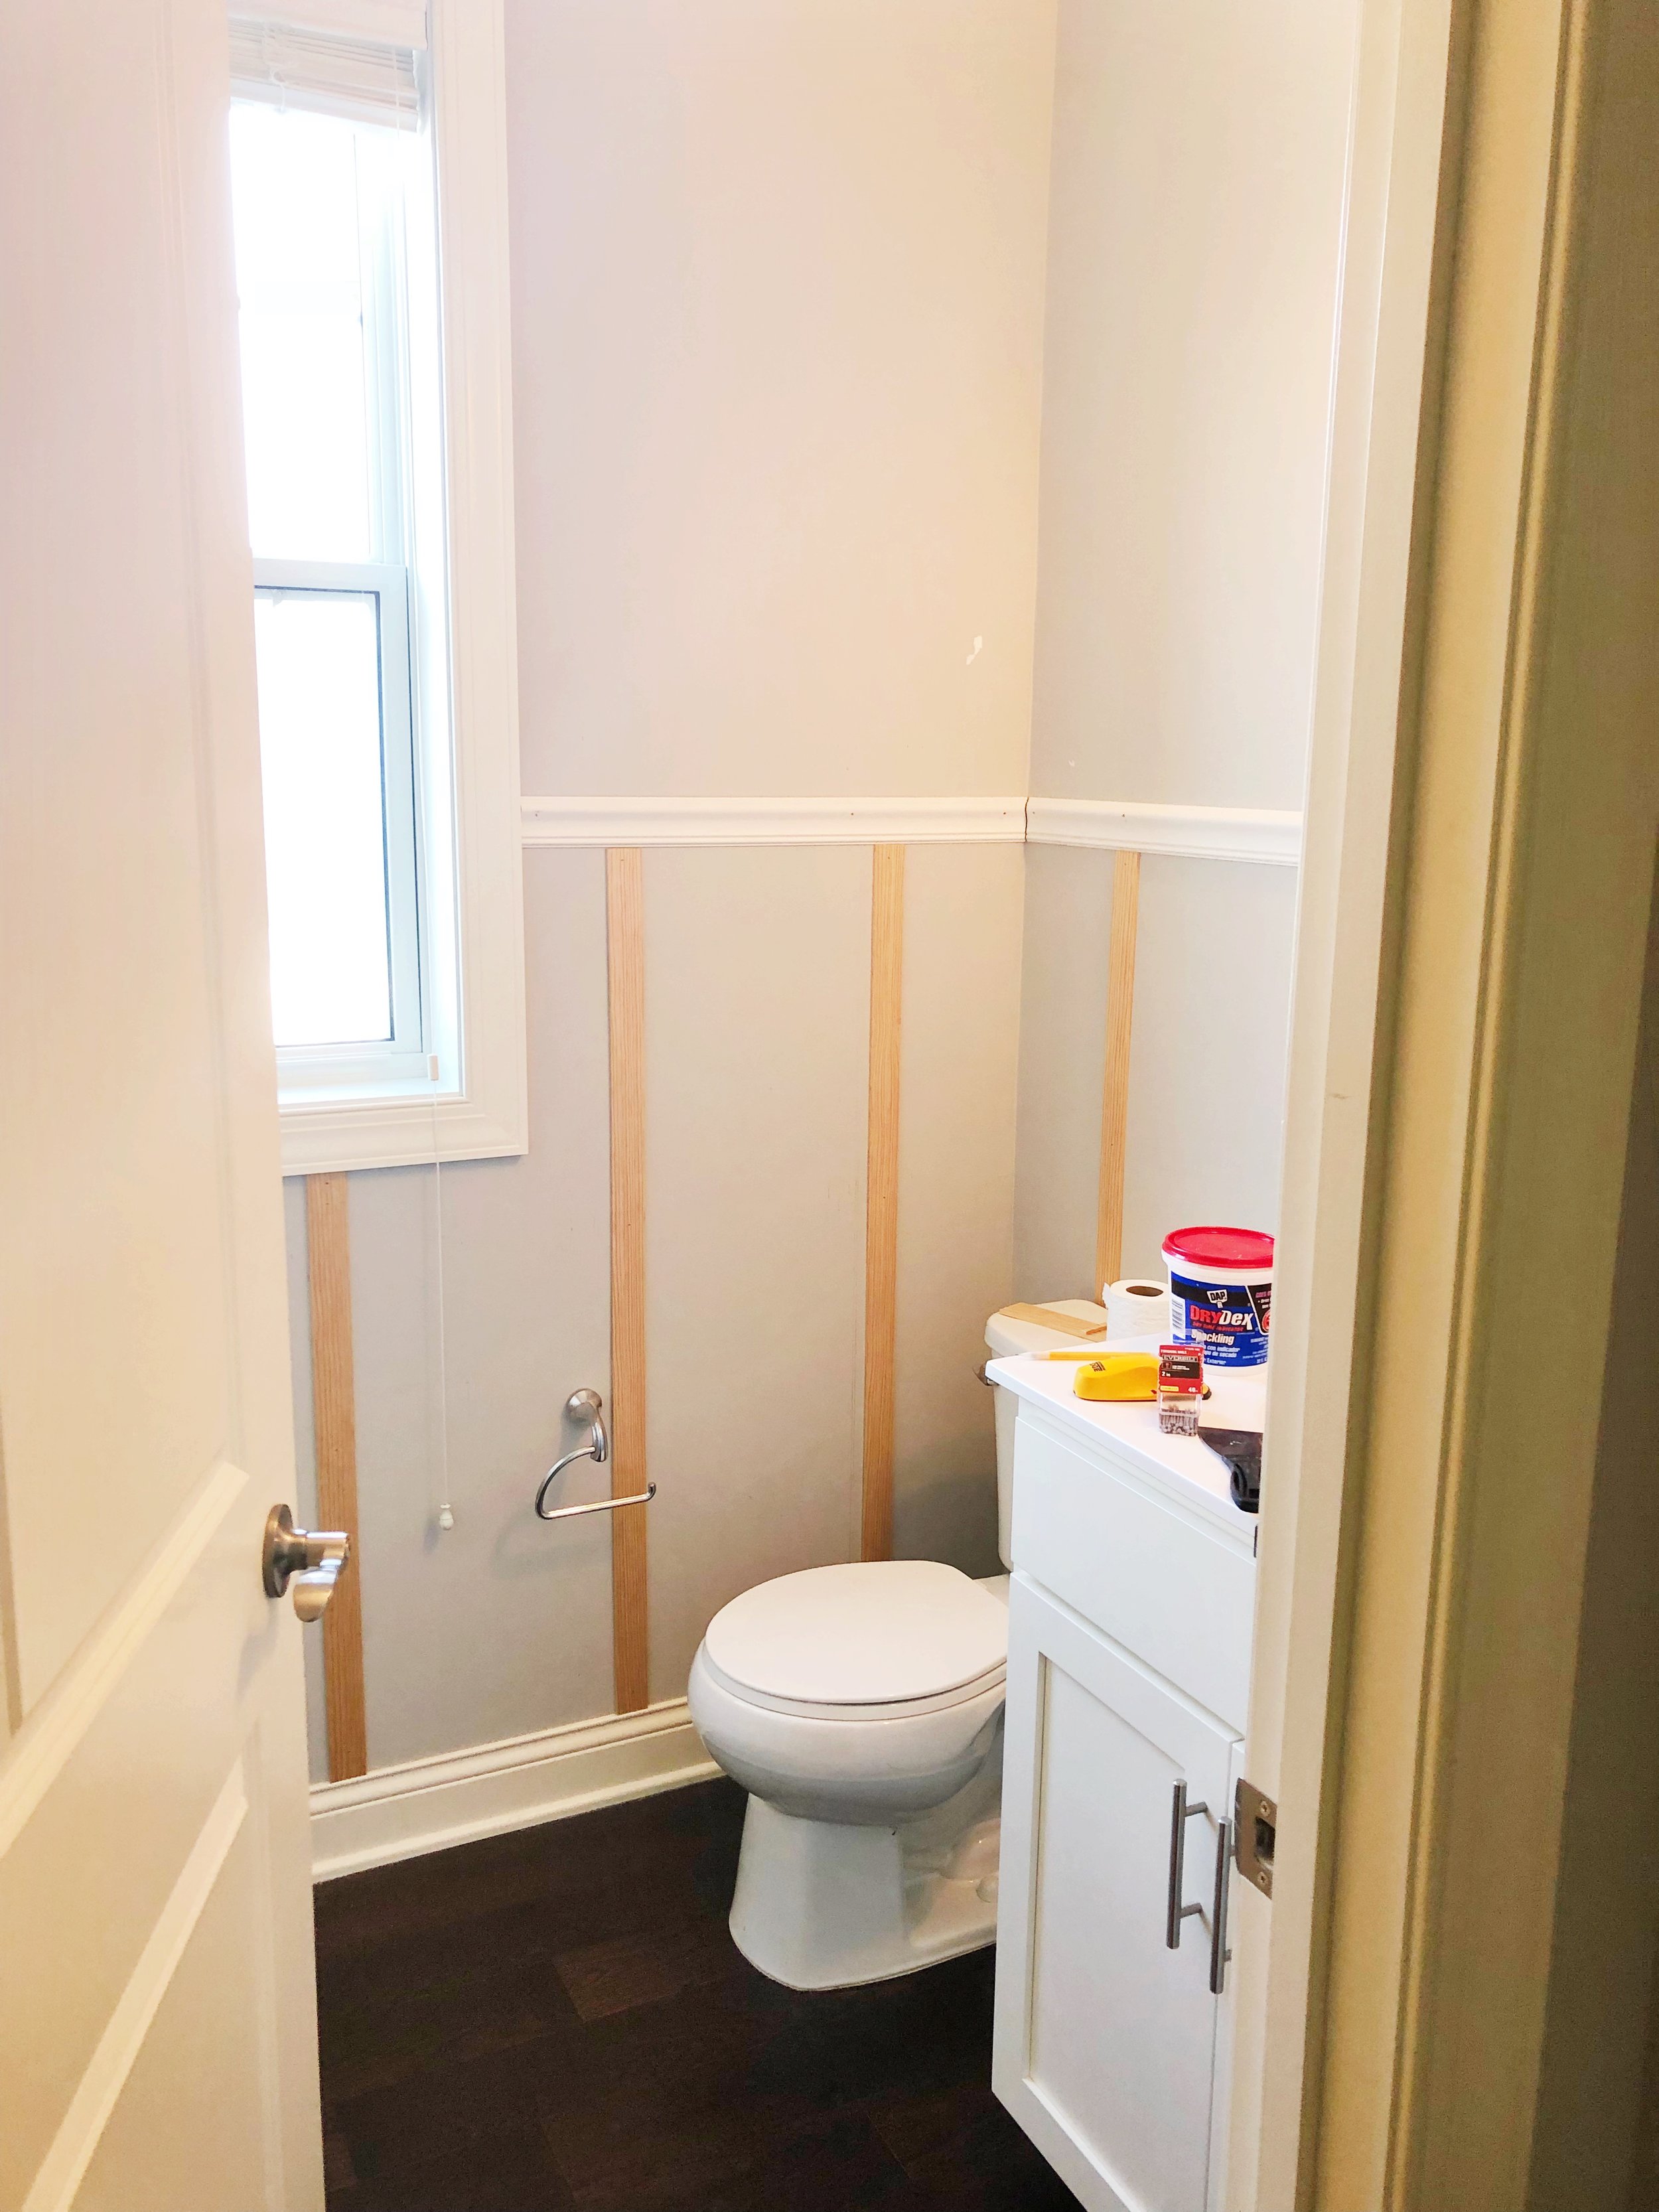
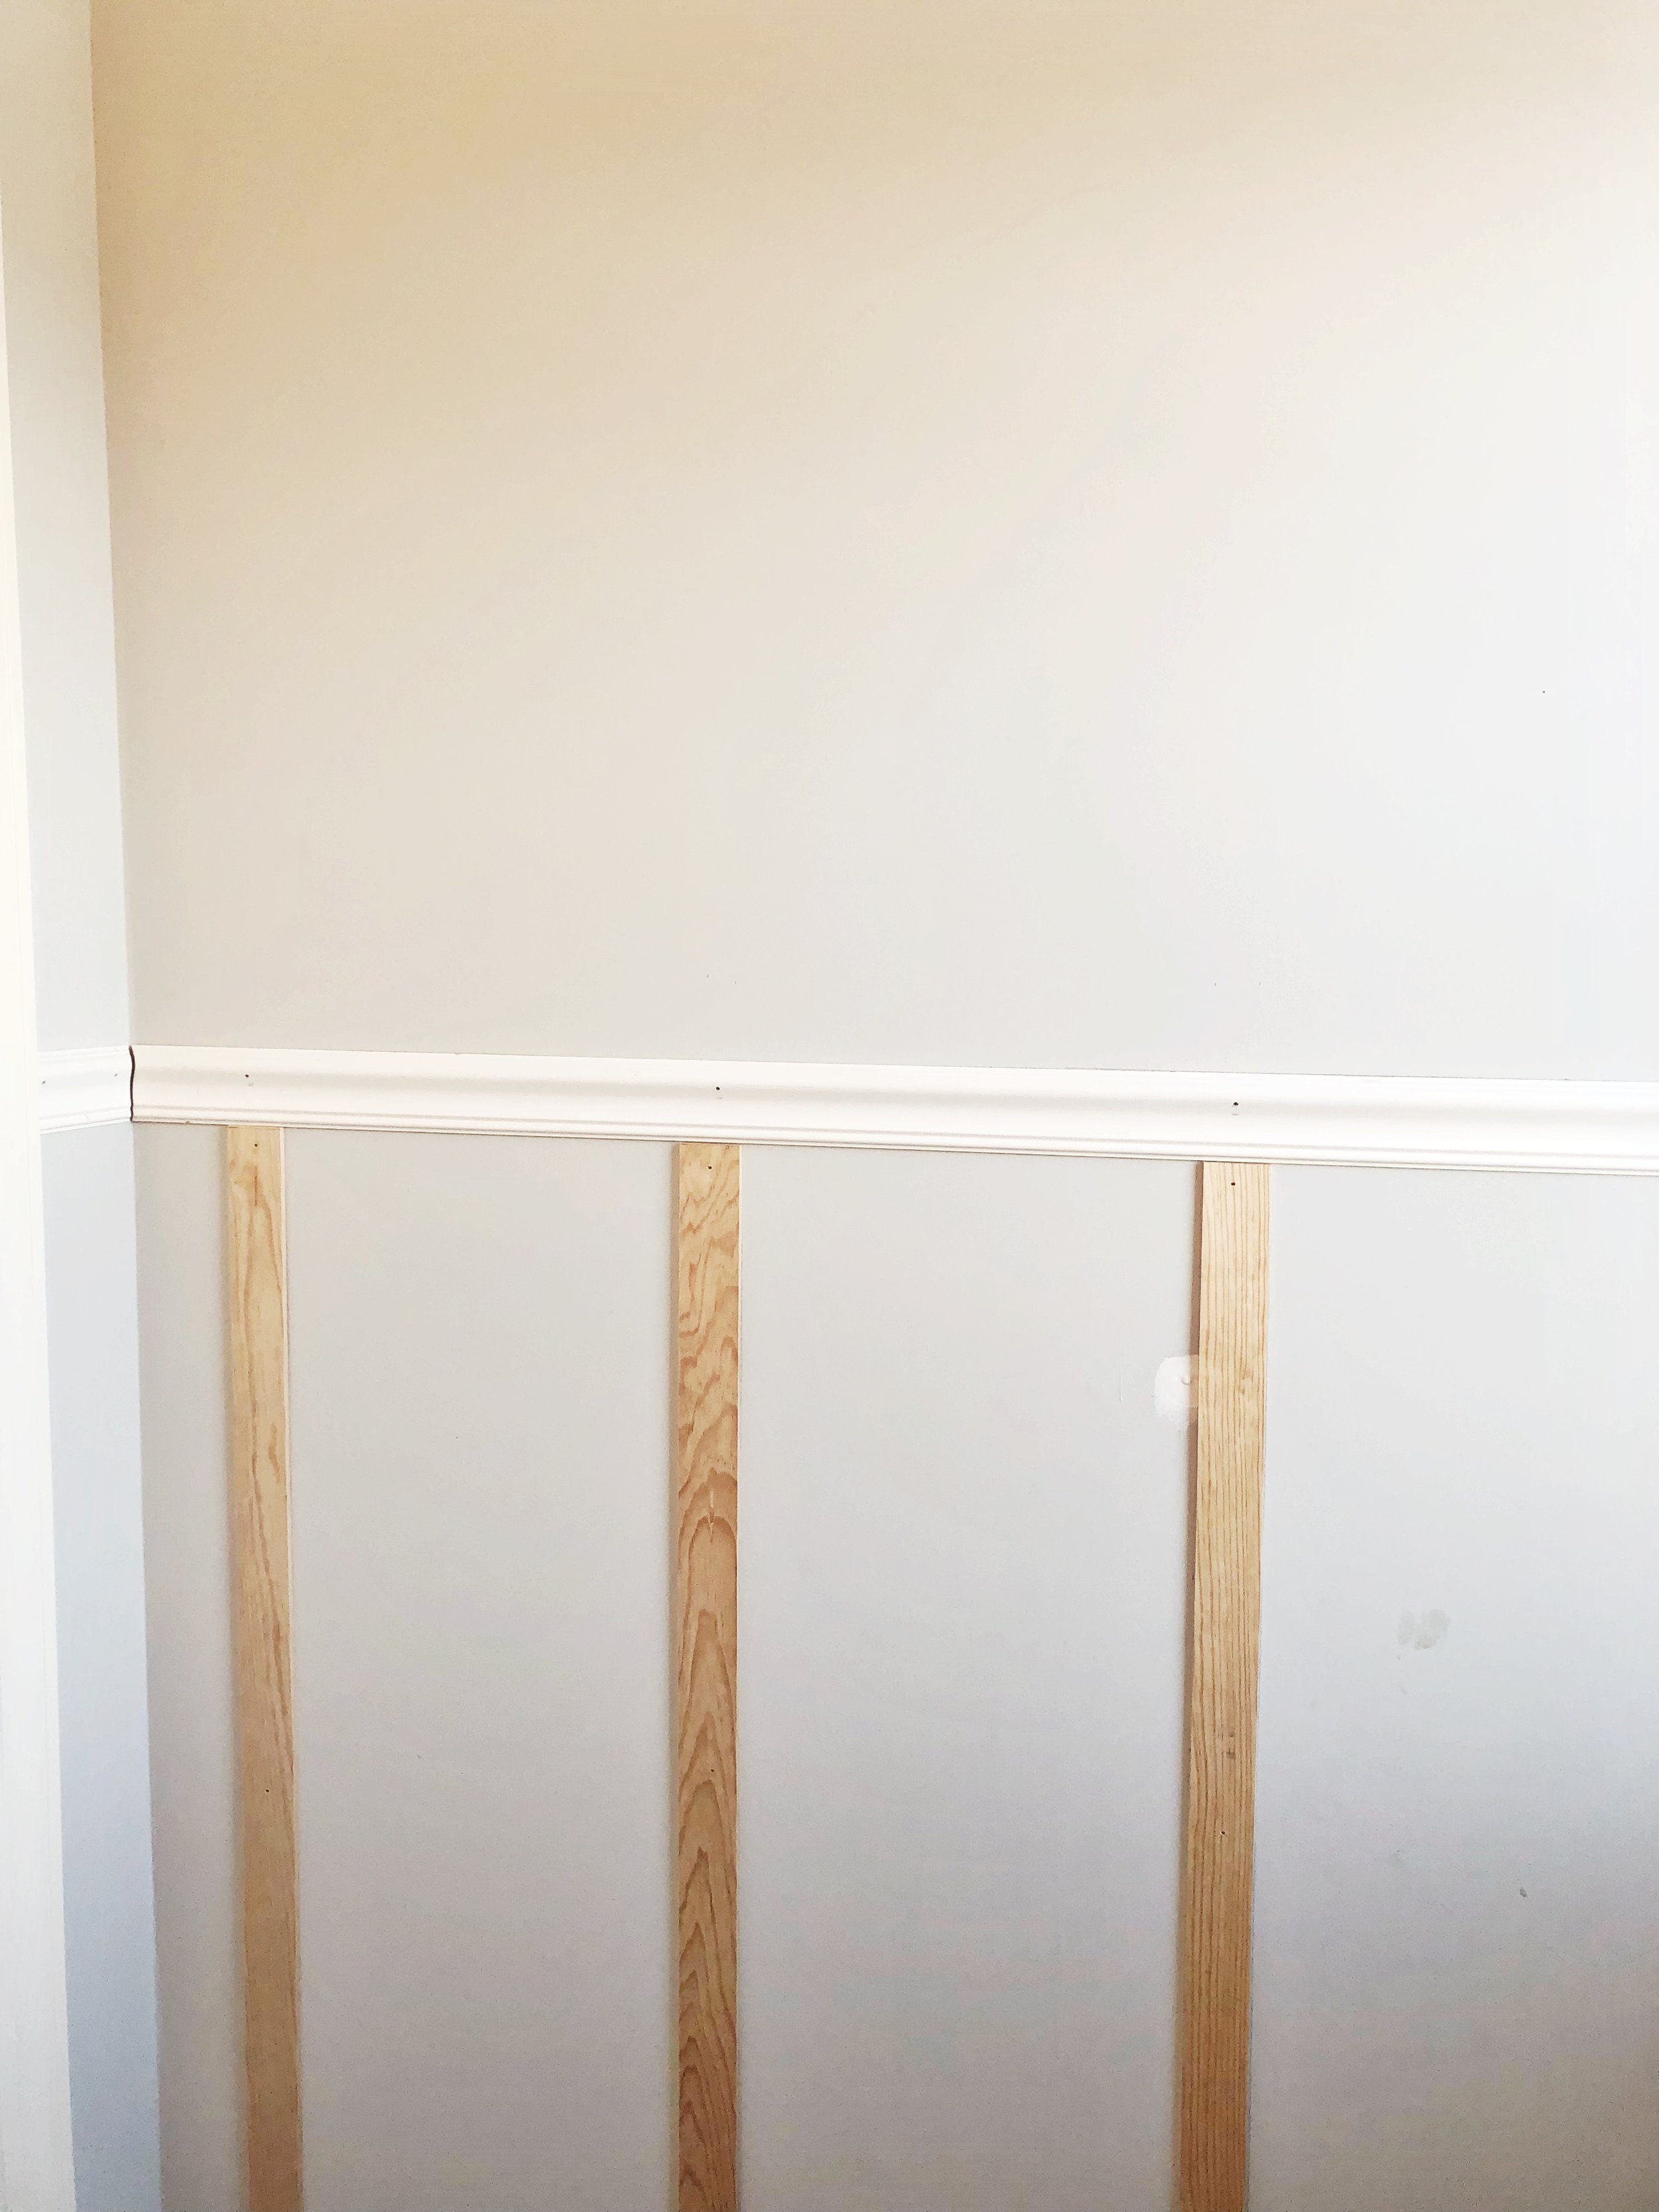
I decided to use a chair rail for the upper pieces and placed the top of the chair rail 57 inches from the floor.
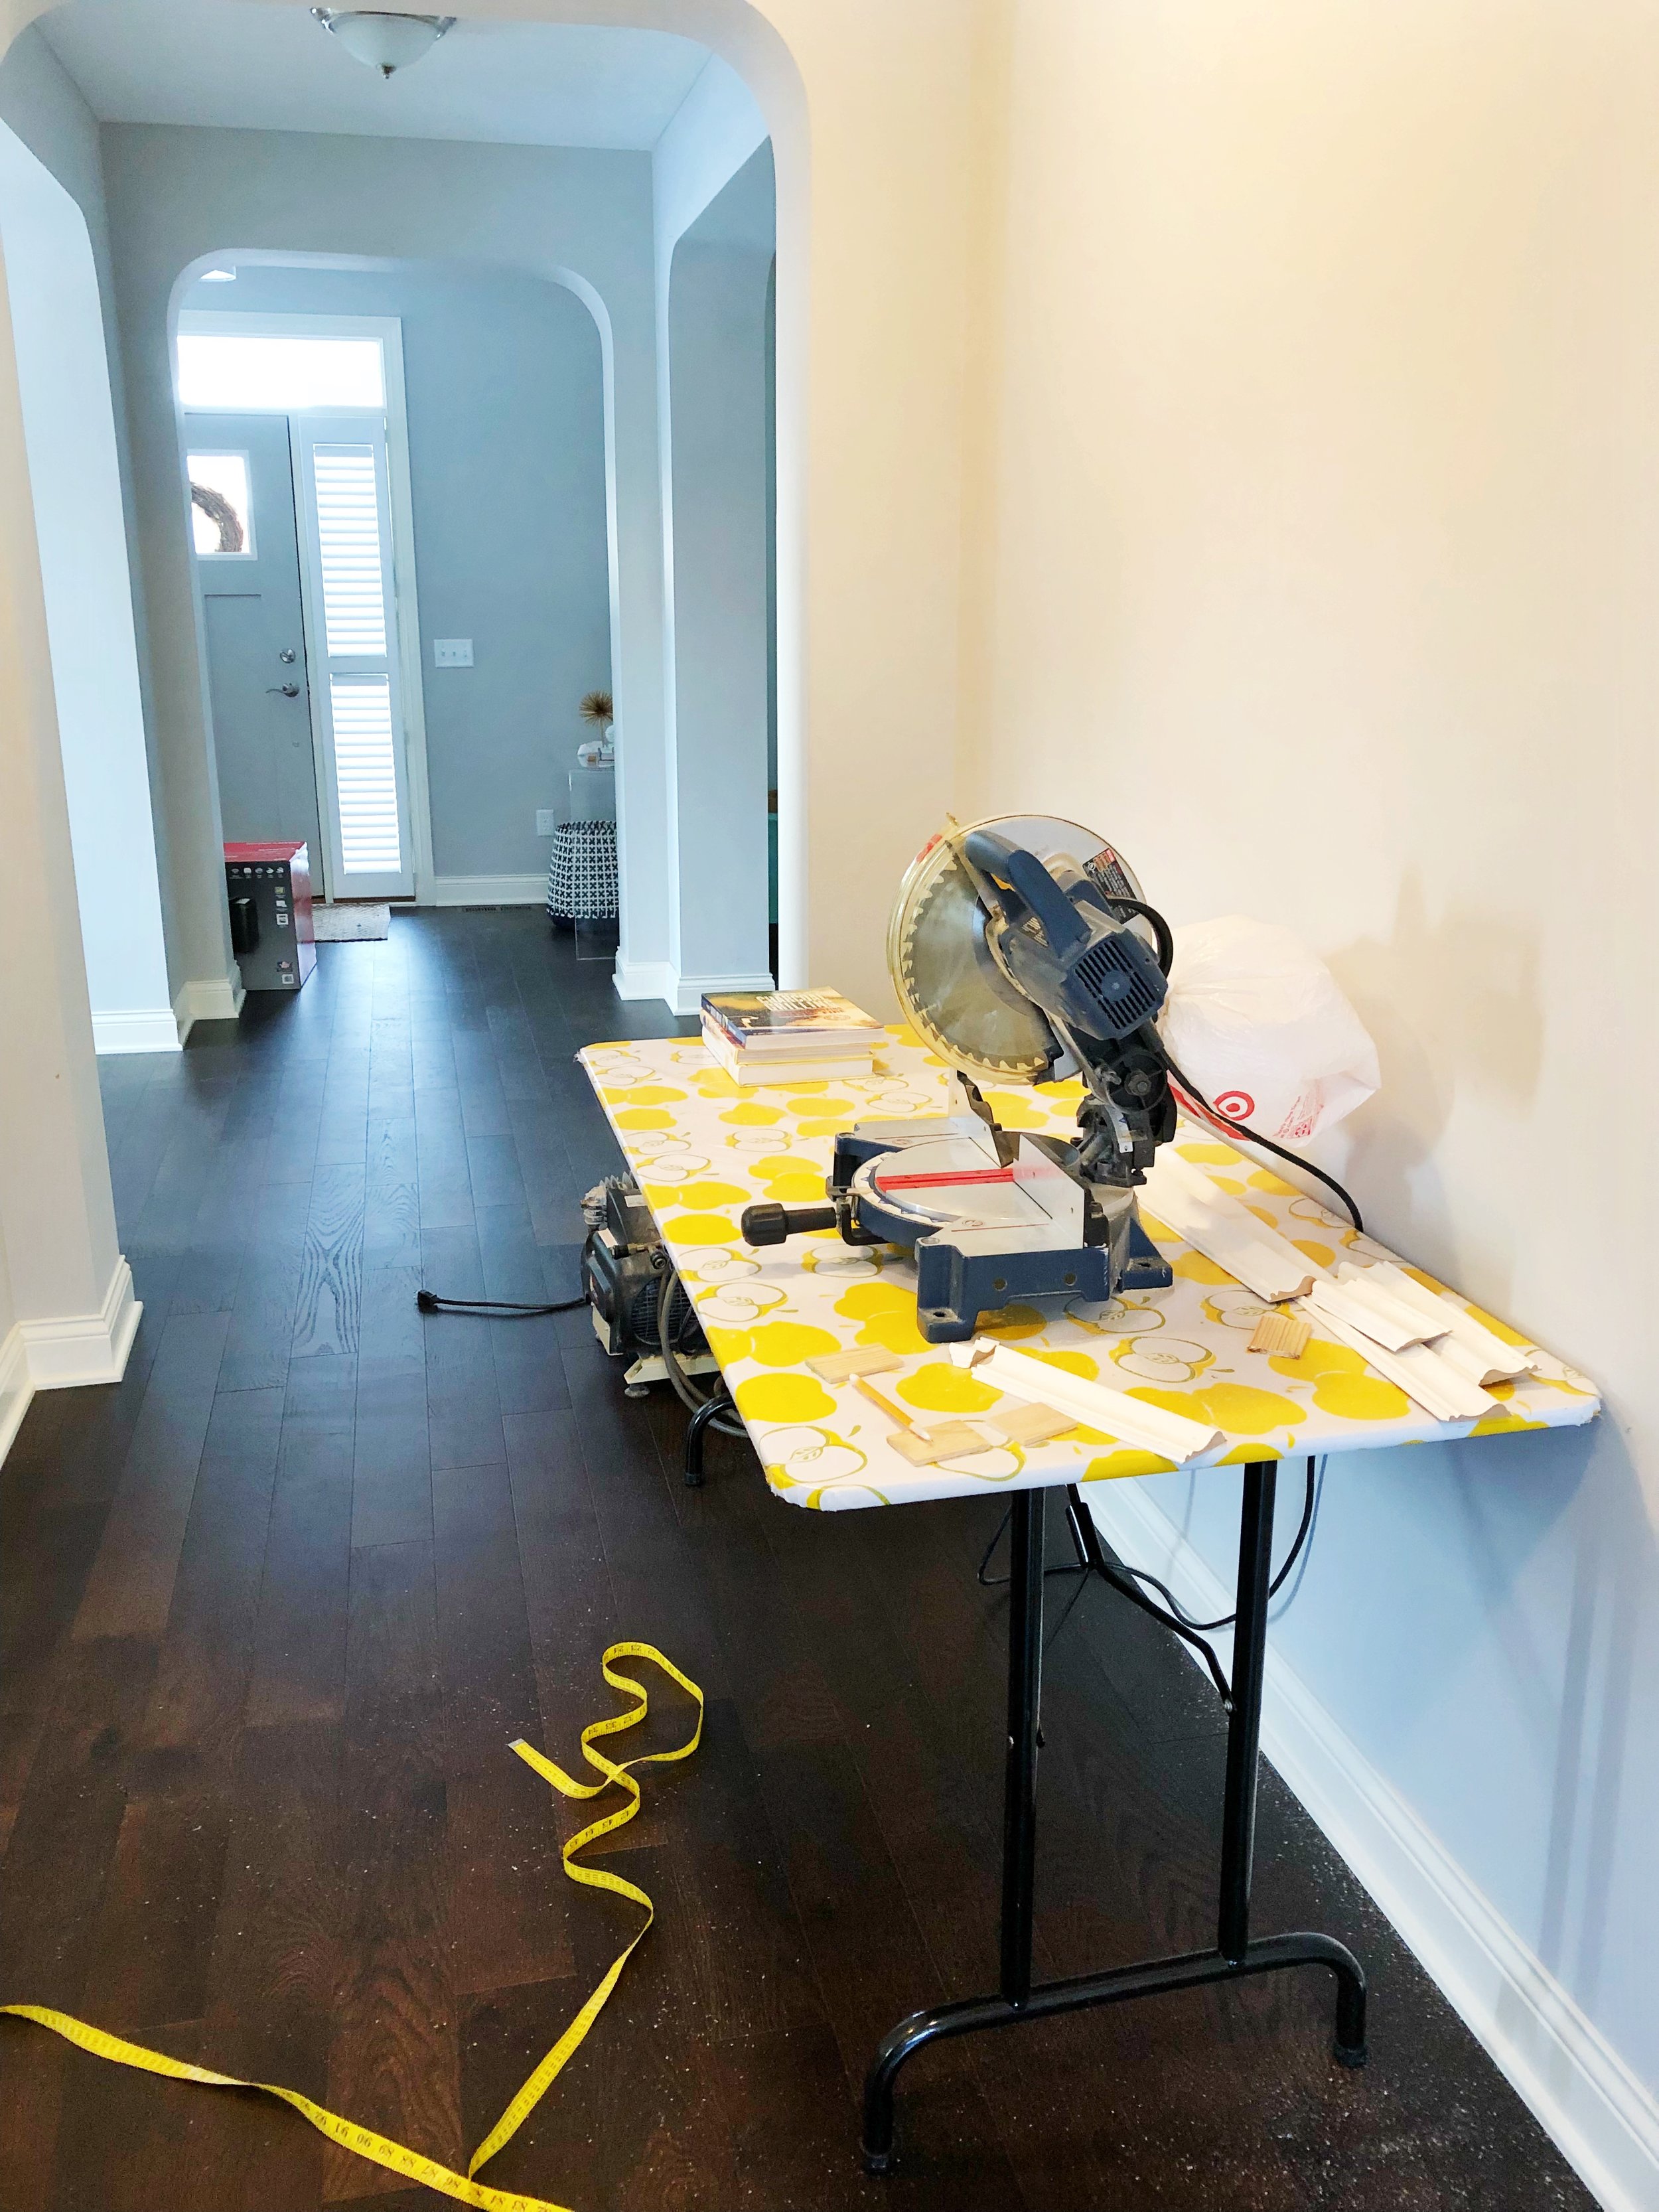
I knew I would need a miter saw to cut the wood so I borrowed one from a friend. Unfortunately it was missing that little bag on top that catches all the sawdust! Sawdust spraying all over the room with every cut? Umm…. not so fun.
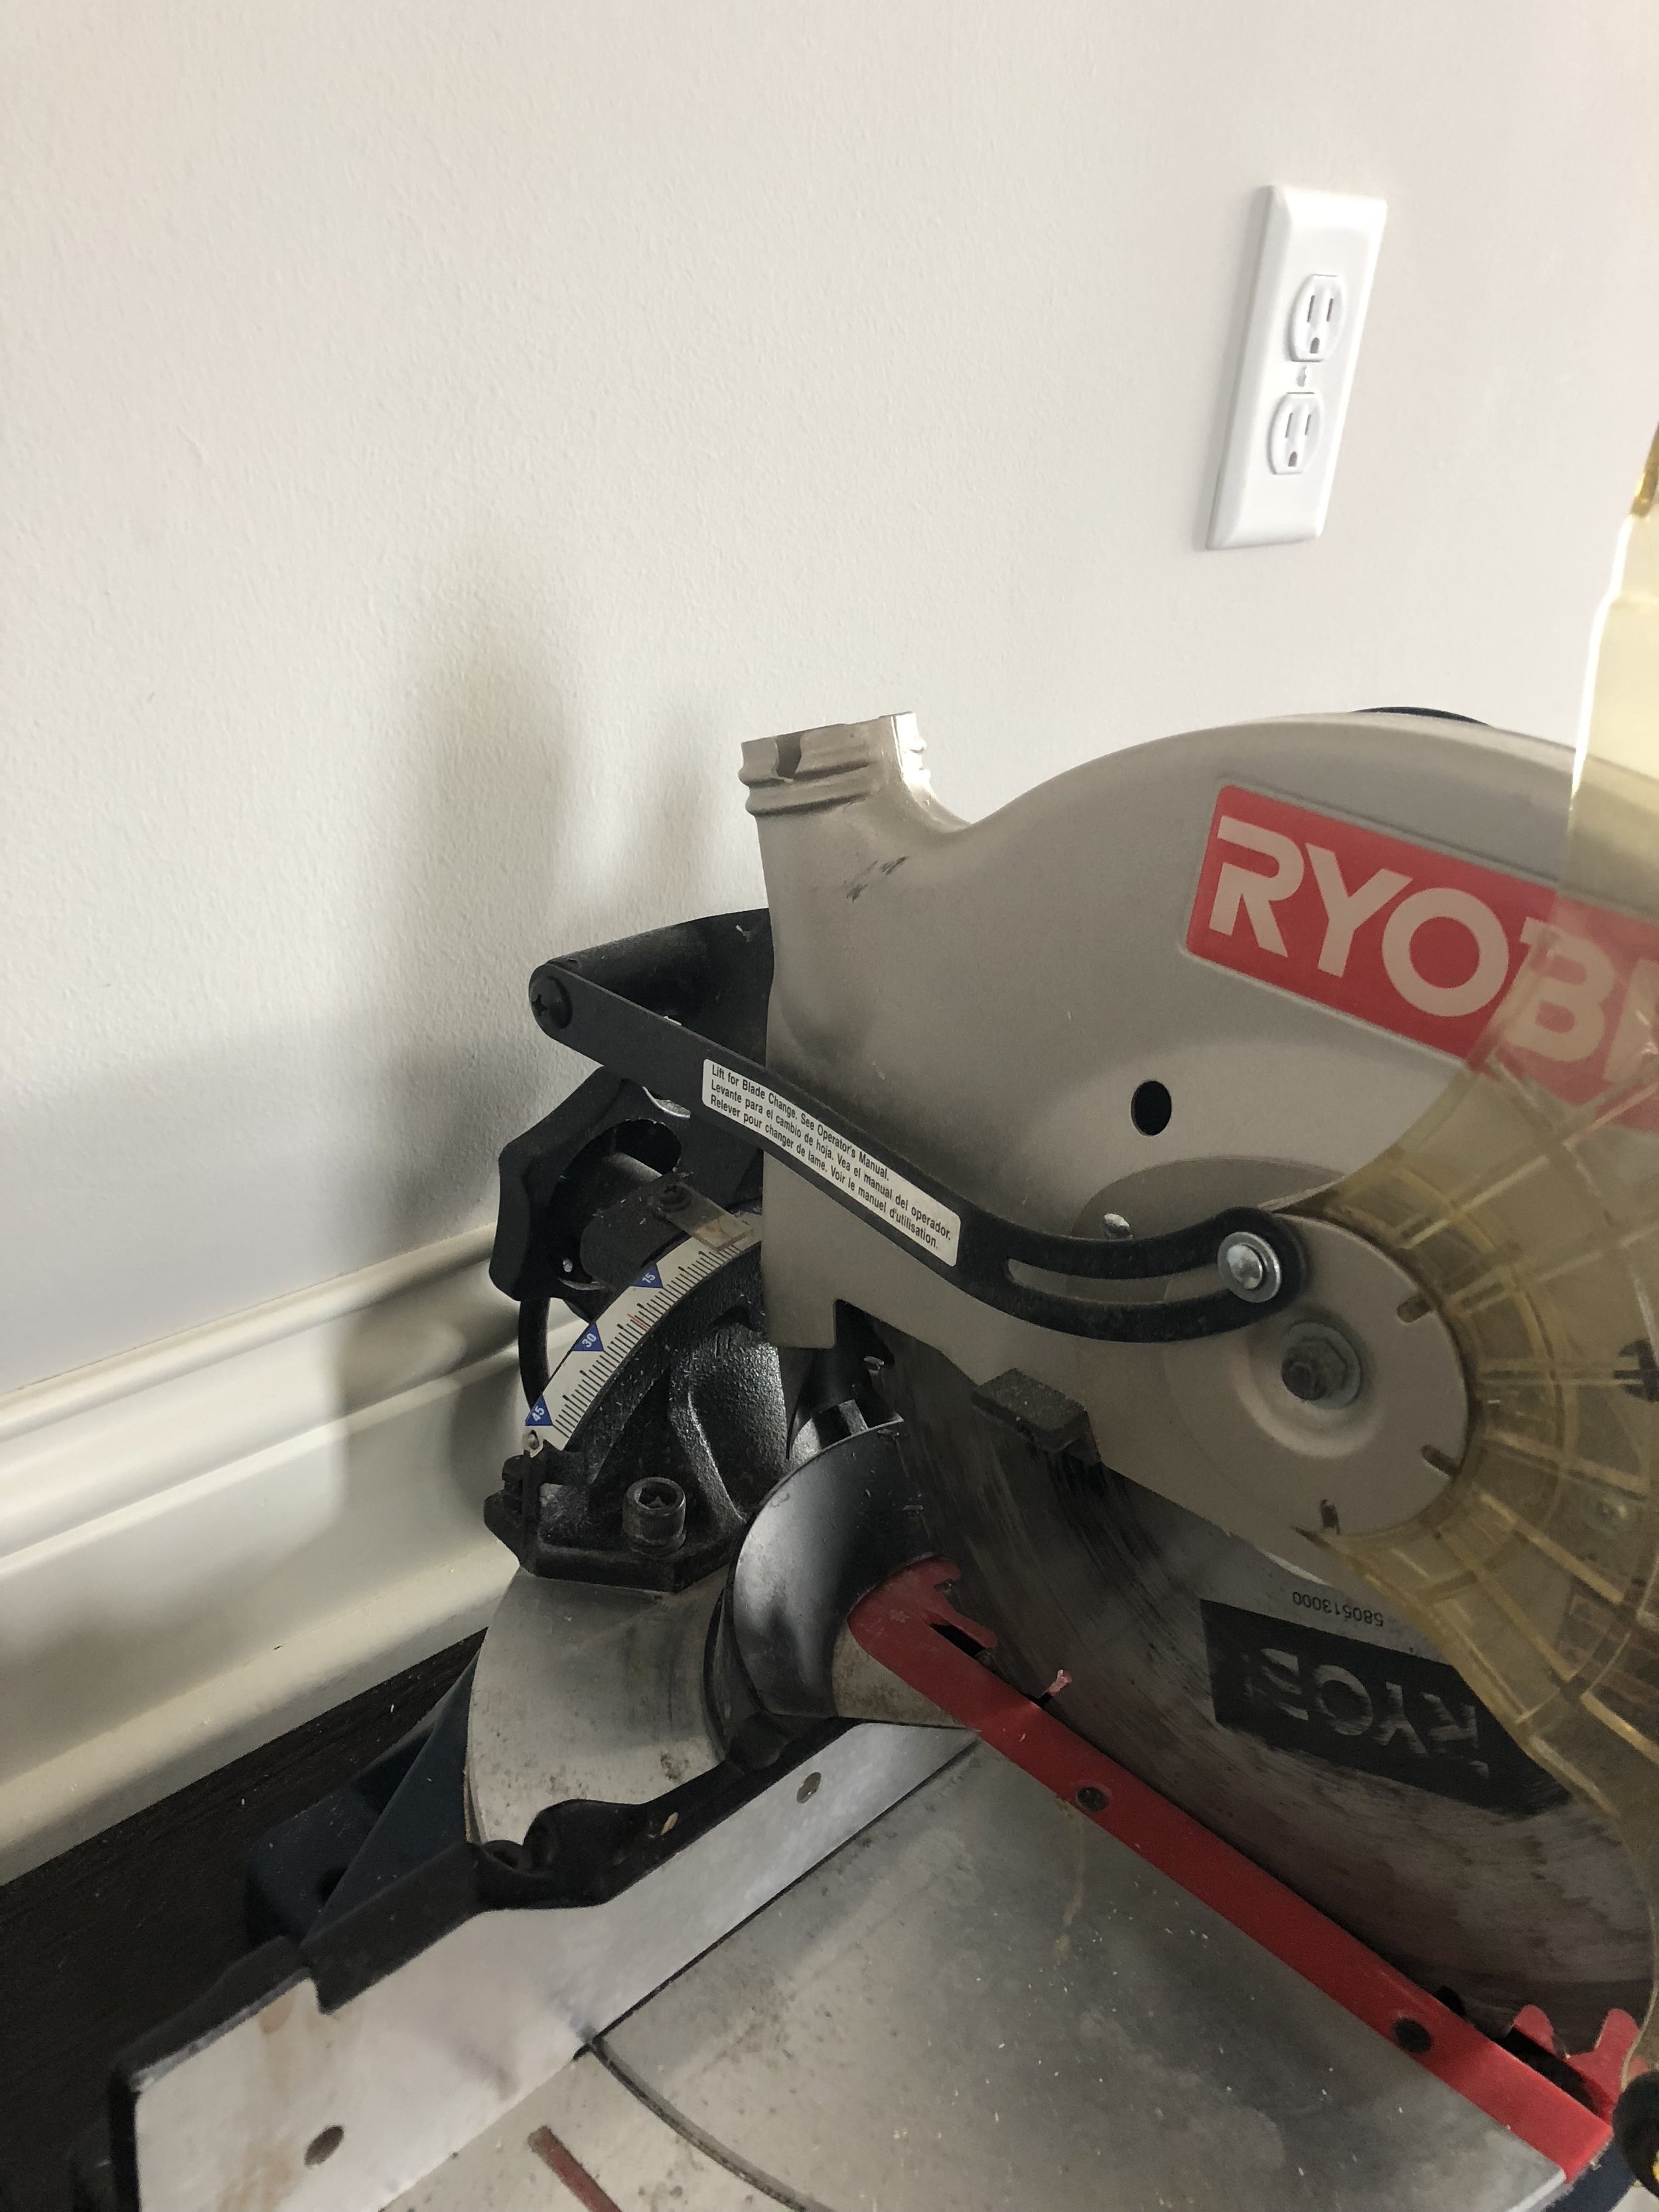
To fix this problem I rigged up a little Target bag attached with a rubber band. It wasn’t pretty but it worked a lot better than letting the sawdust fly everywhere! It still made quite a mess but the clean up wasn’t too bad.
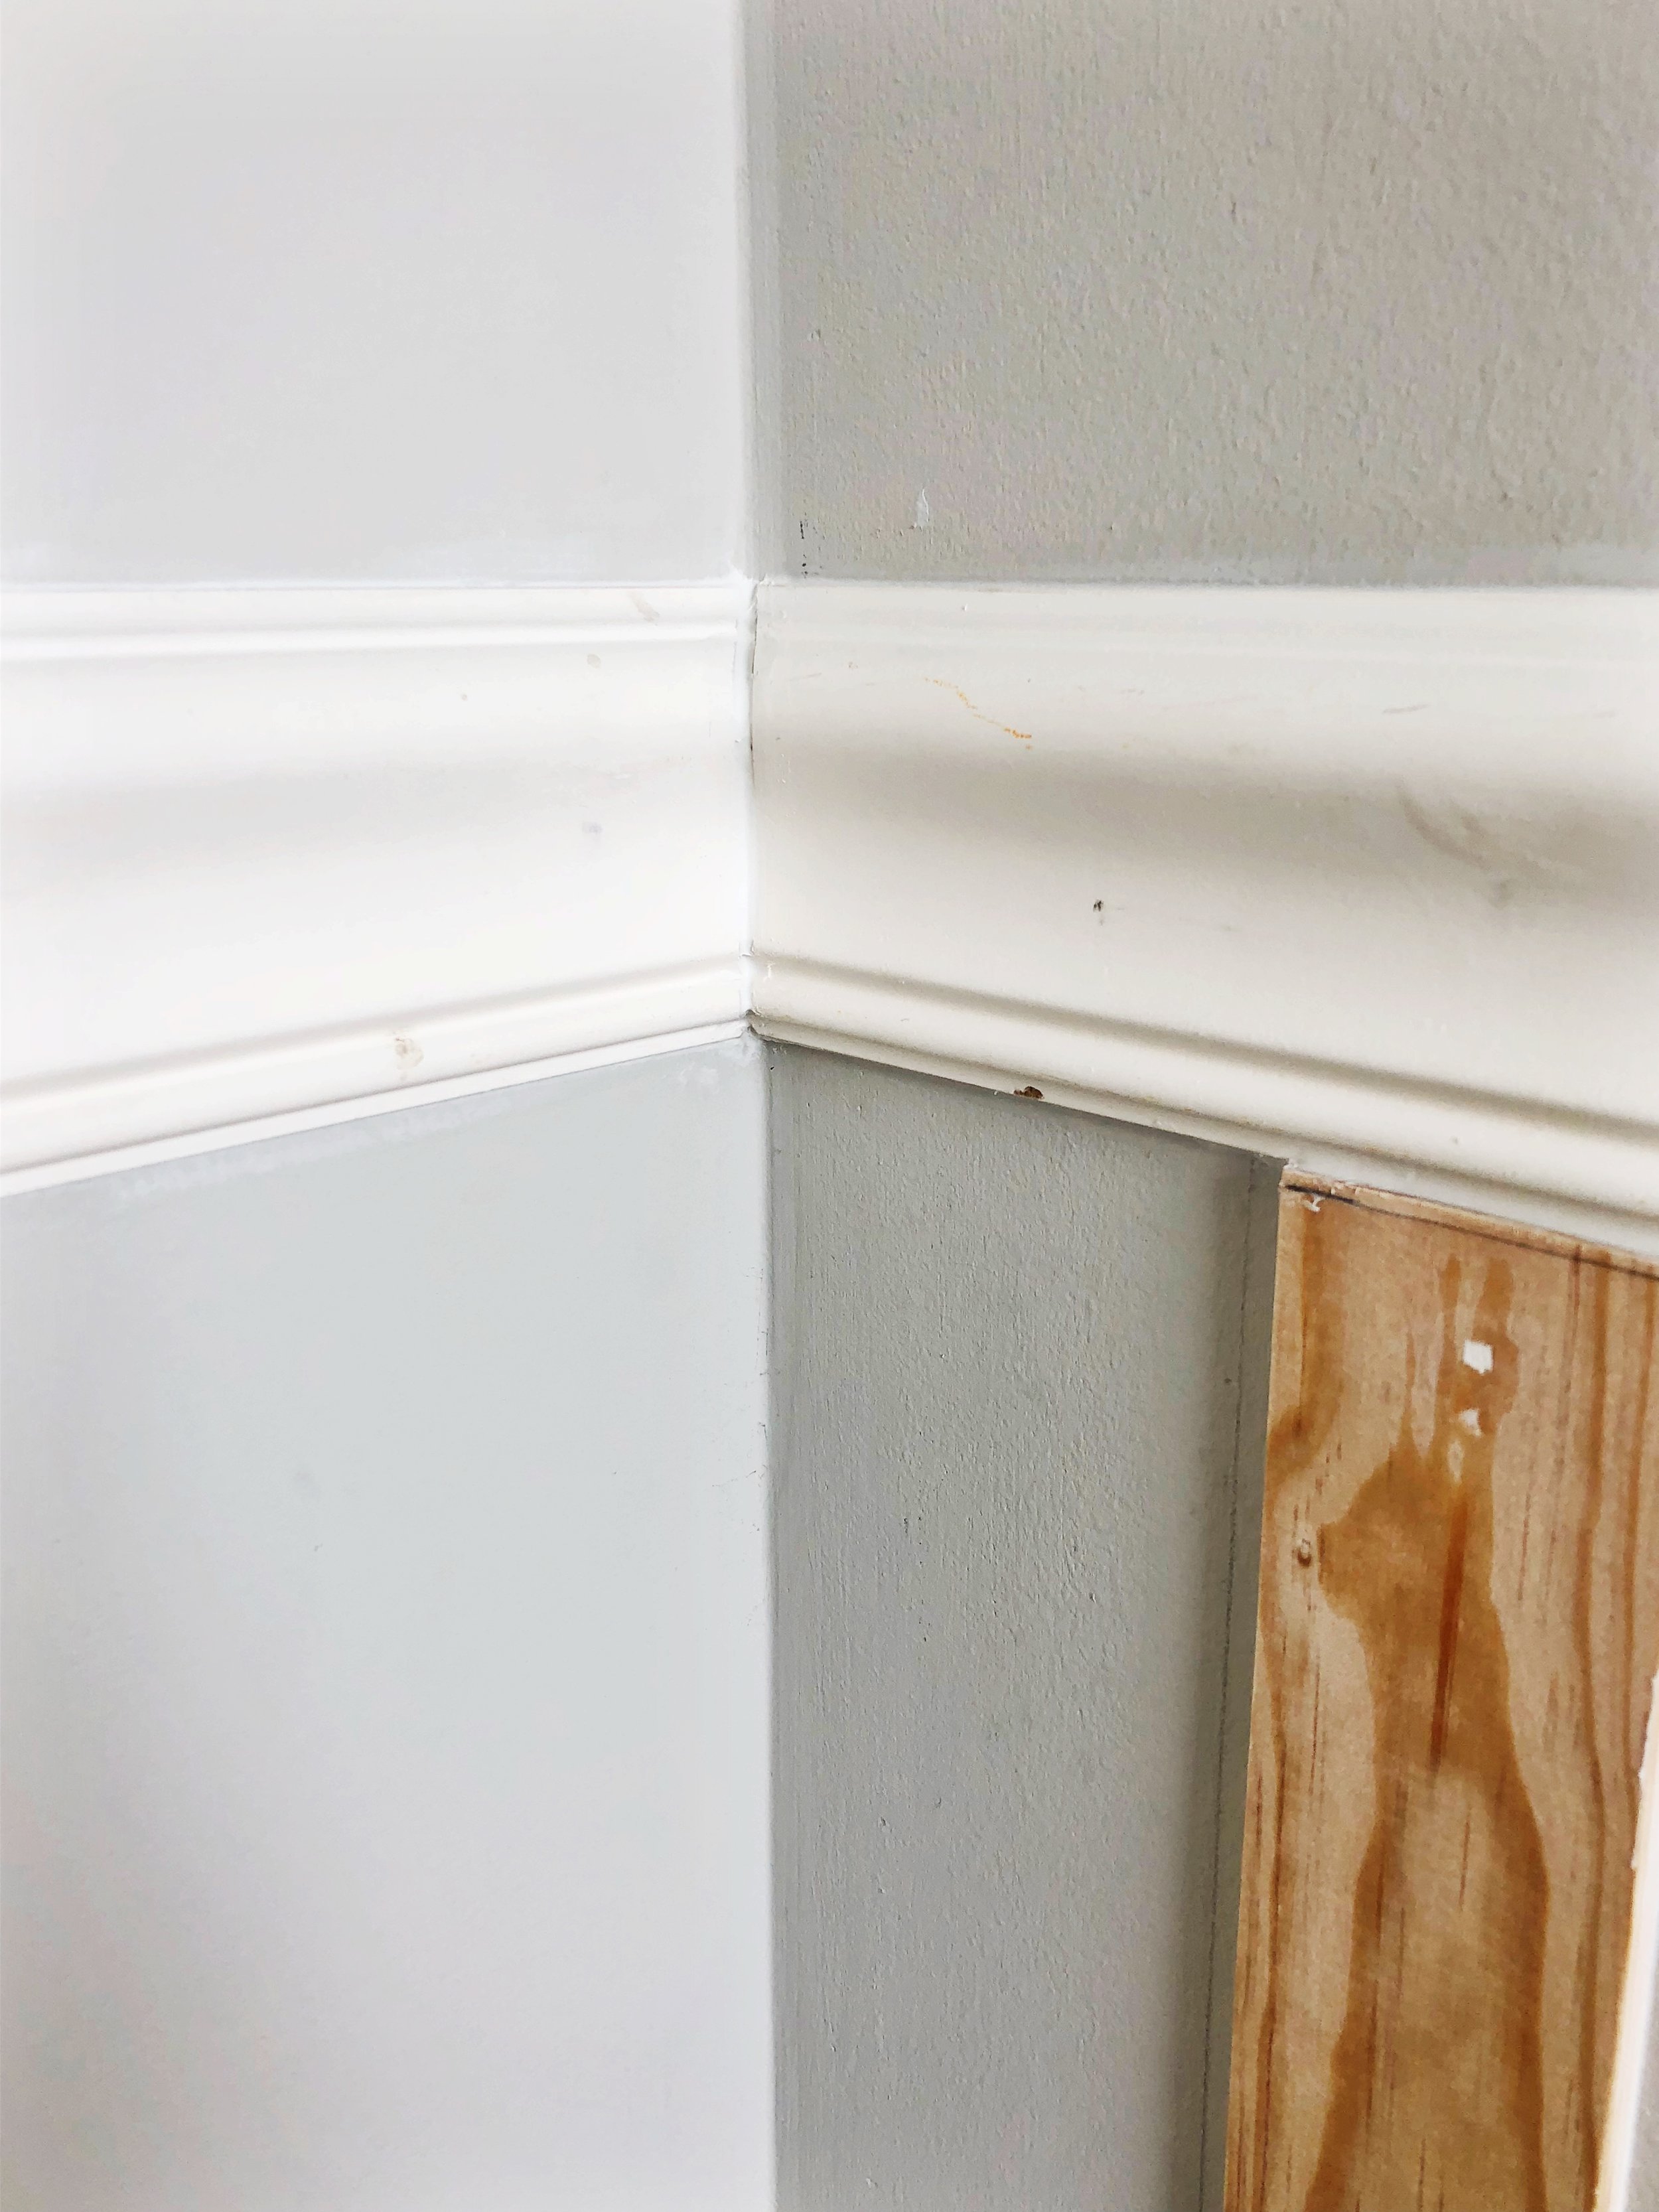
I’m a total novice at cutting wood and ended up with a few gaps.
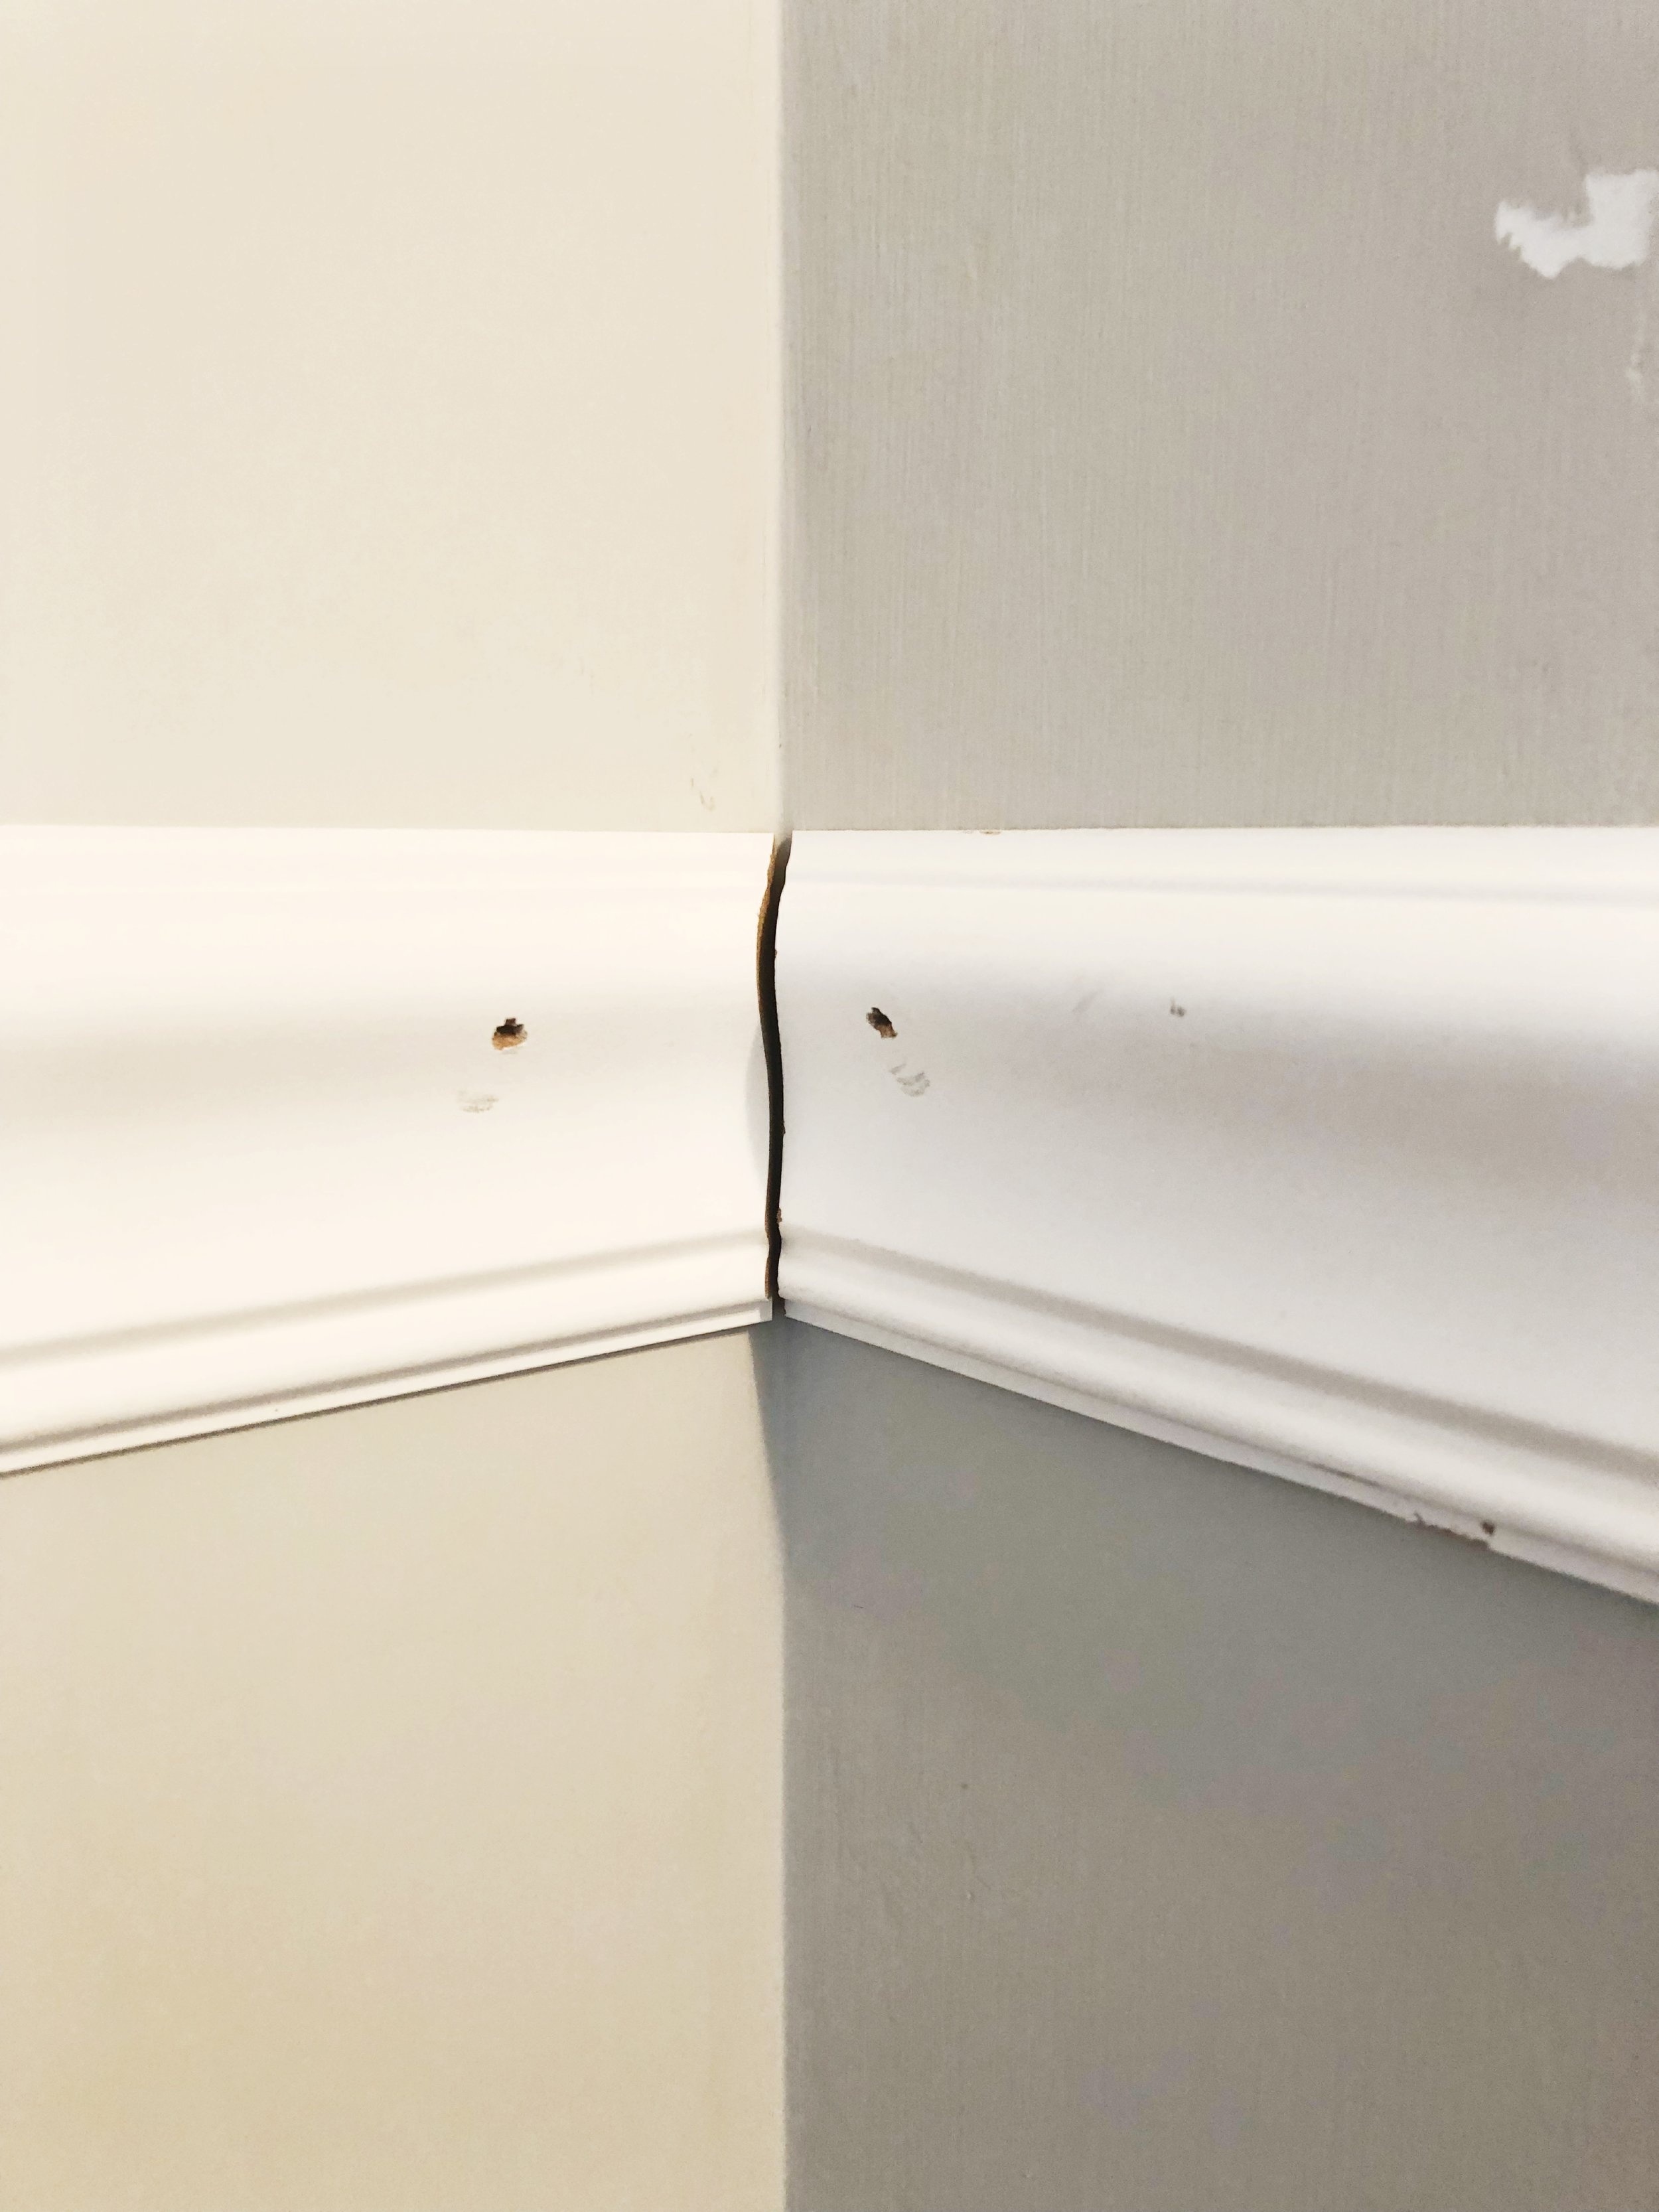
Thank goodness for paintable caulk 🙂
I finally got all the boards cut, nailed to the wall, filled the holes and caulked all the edges. I was hoping to be completely done with the board and batten by now but I still need to prime and paint it tomorrow.
Lessons Learned
- When using a nail gun the brand and size of nails really does matter. Don’t bring the actual nail to Home Depot thinking, “Oh, I’ll just find more that look like this!” No! No! No! Take a picture of your nail gun and write down the exact type of nails it needs.
- When you borrow tools from friends have them give you a little tutorial before you take them home. This would have saved me lots of YouTube time on simple things like “How to unlock a miter saw!”
- Measure once, cut twice. Also don’t forget that the blade takes up space!
- Even though this was WAY out of my comfort zone, I feel a huge sense of accomplishment for sticking with it and learning something new!
Checklist of things to still complete
- Prime and paint the board and batten.
- Hang the wallpaper
- Replace the light fixture
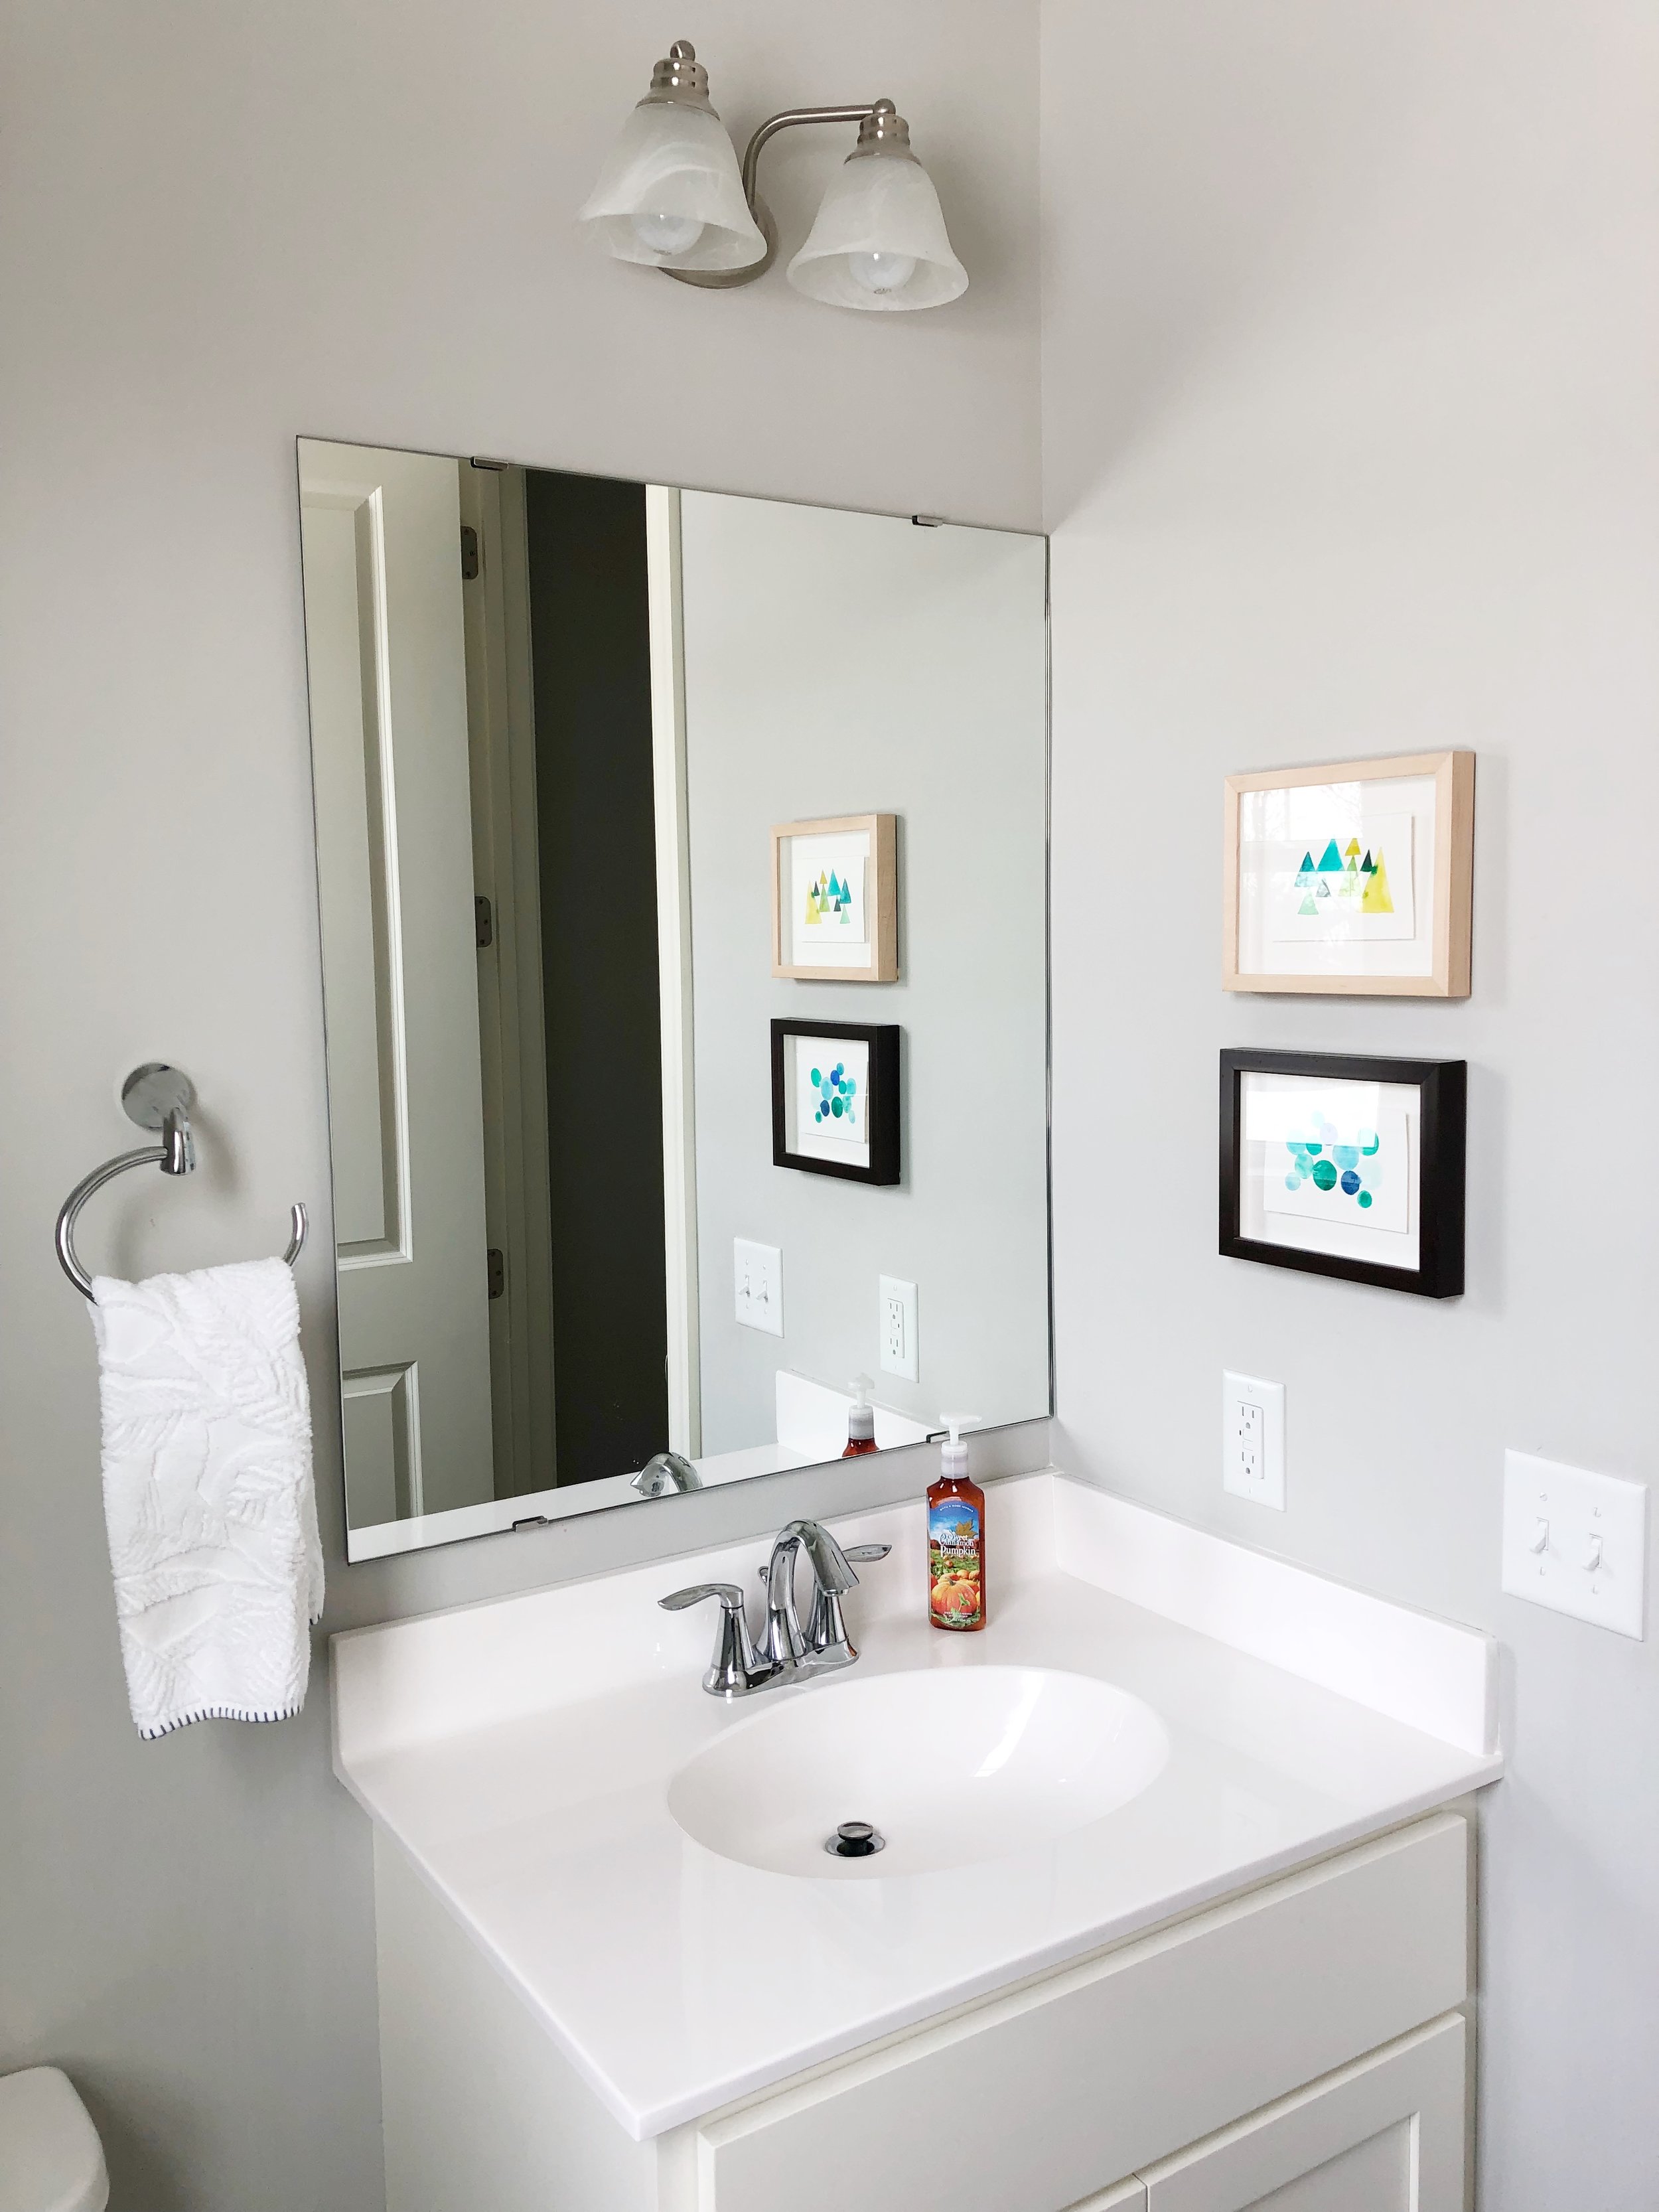
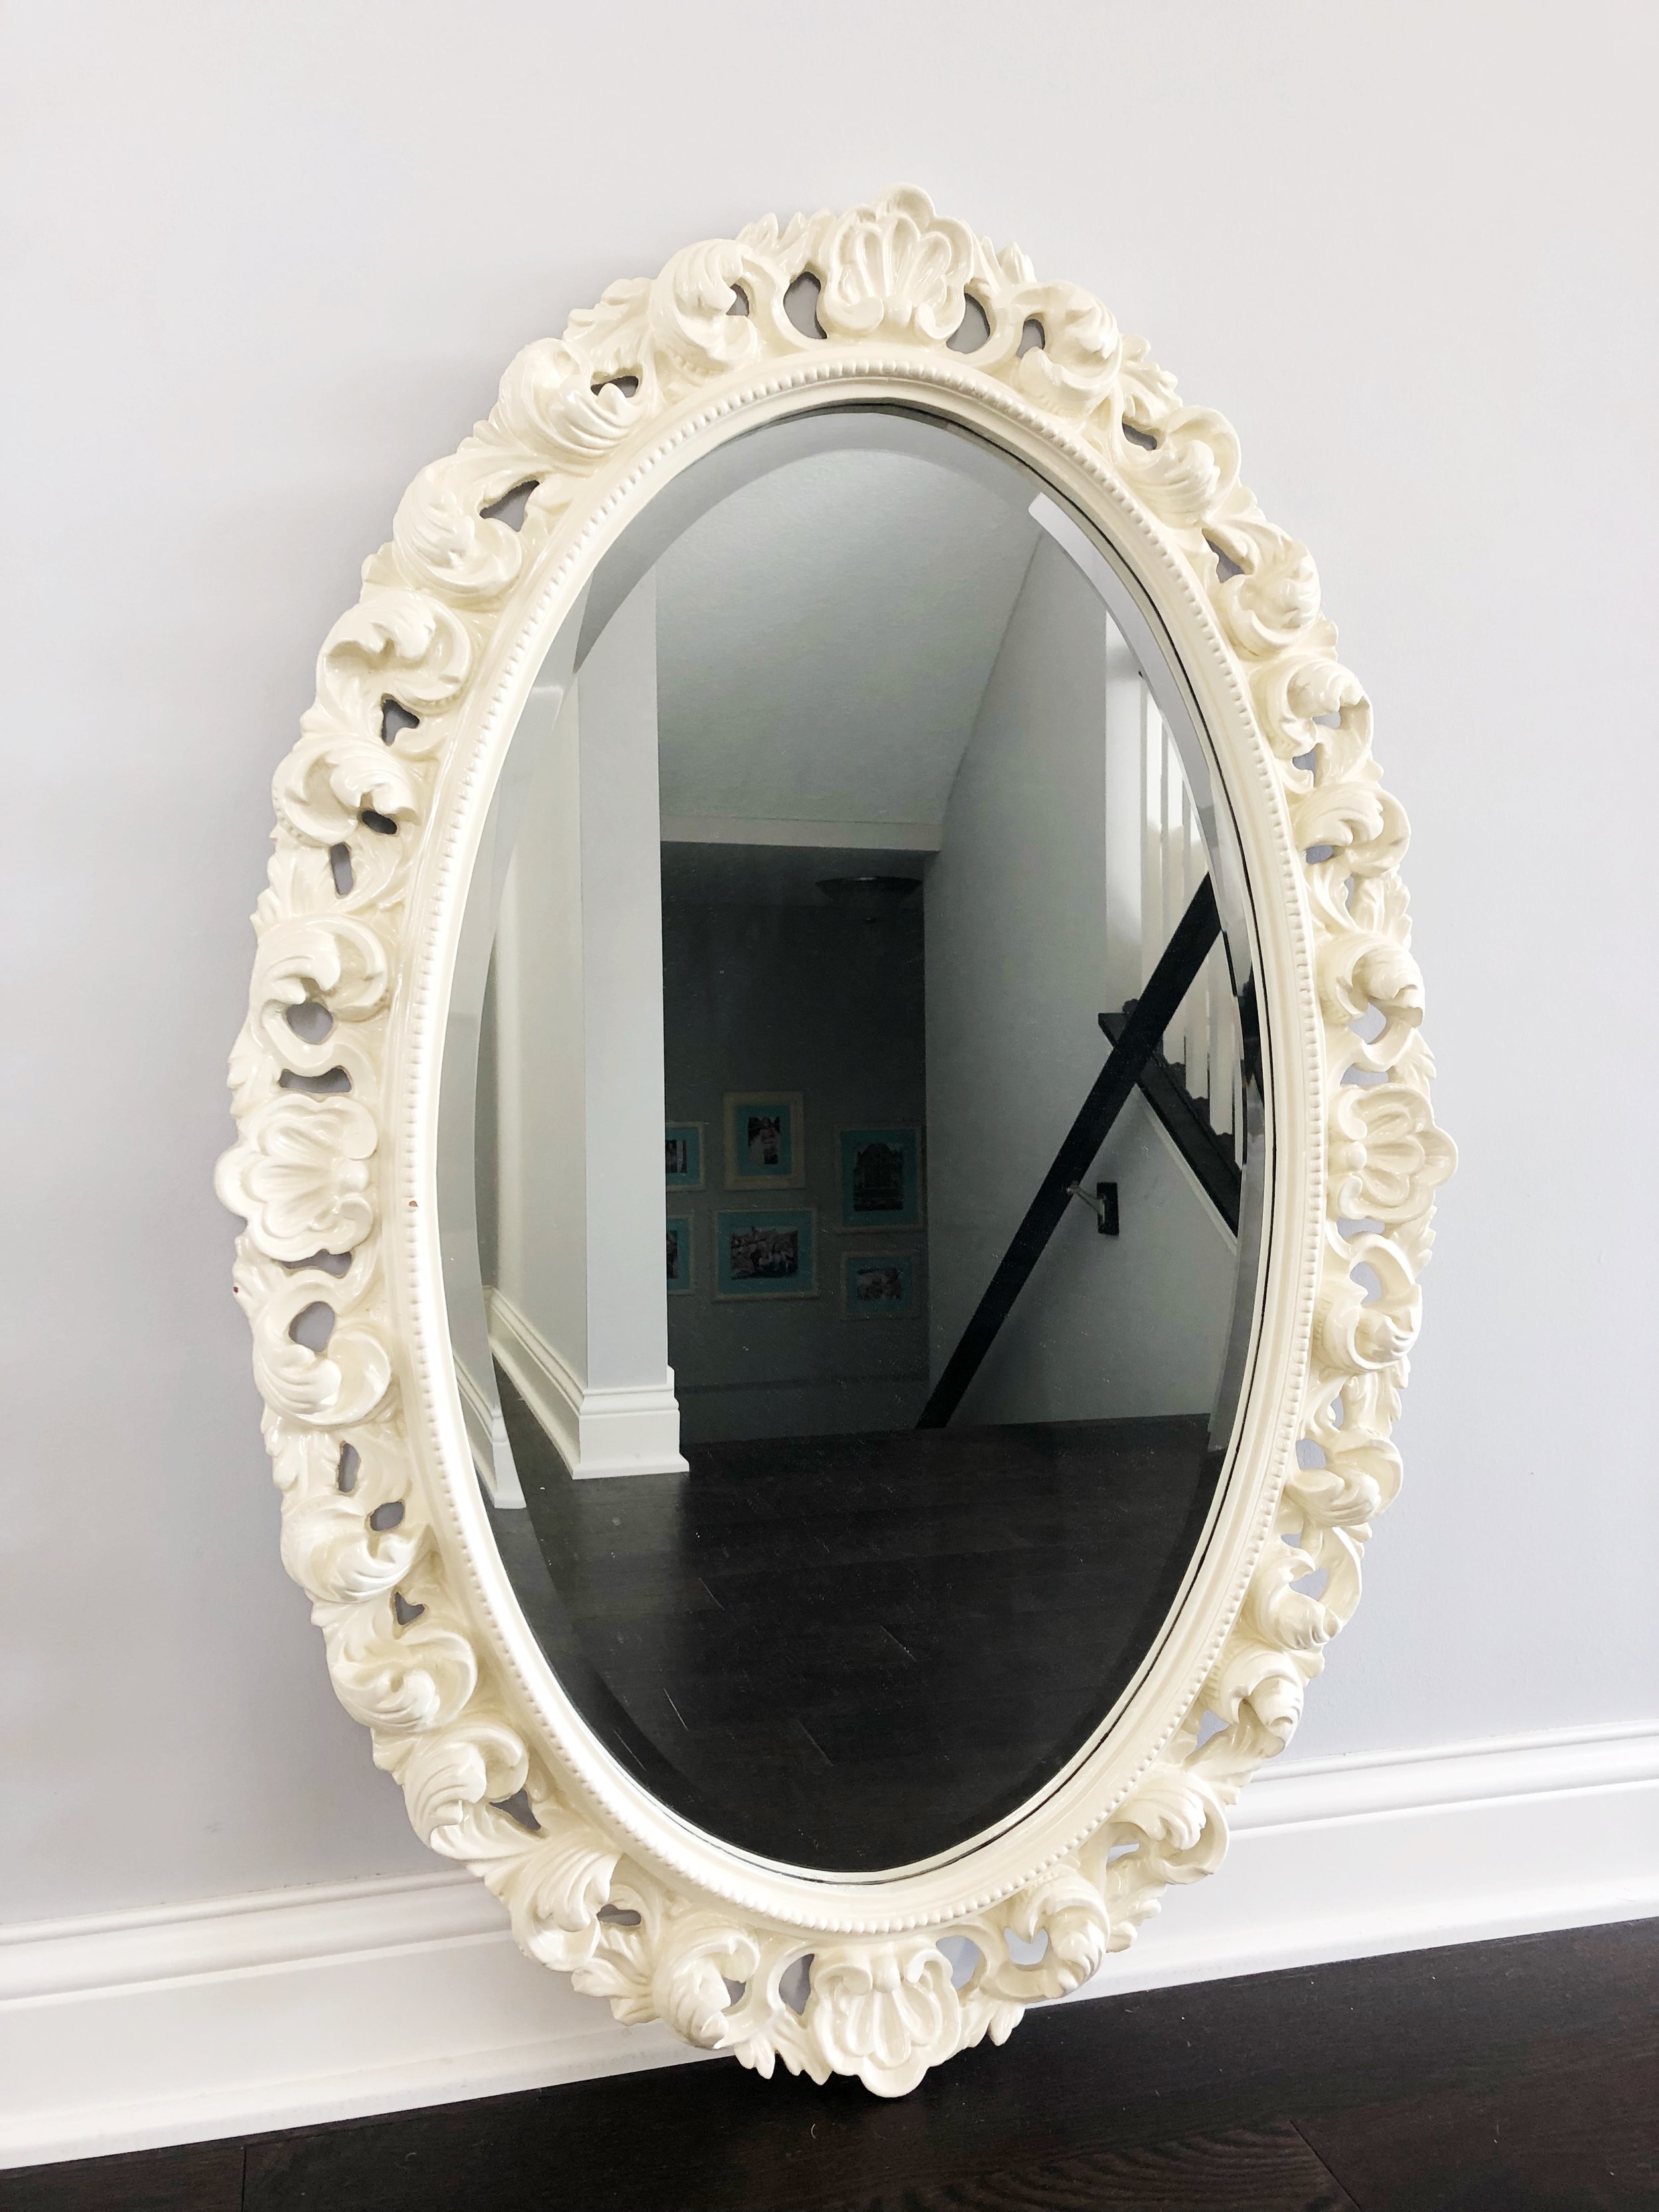
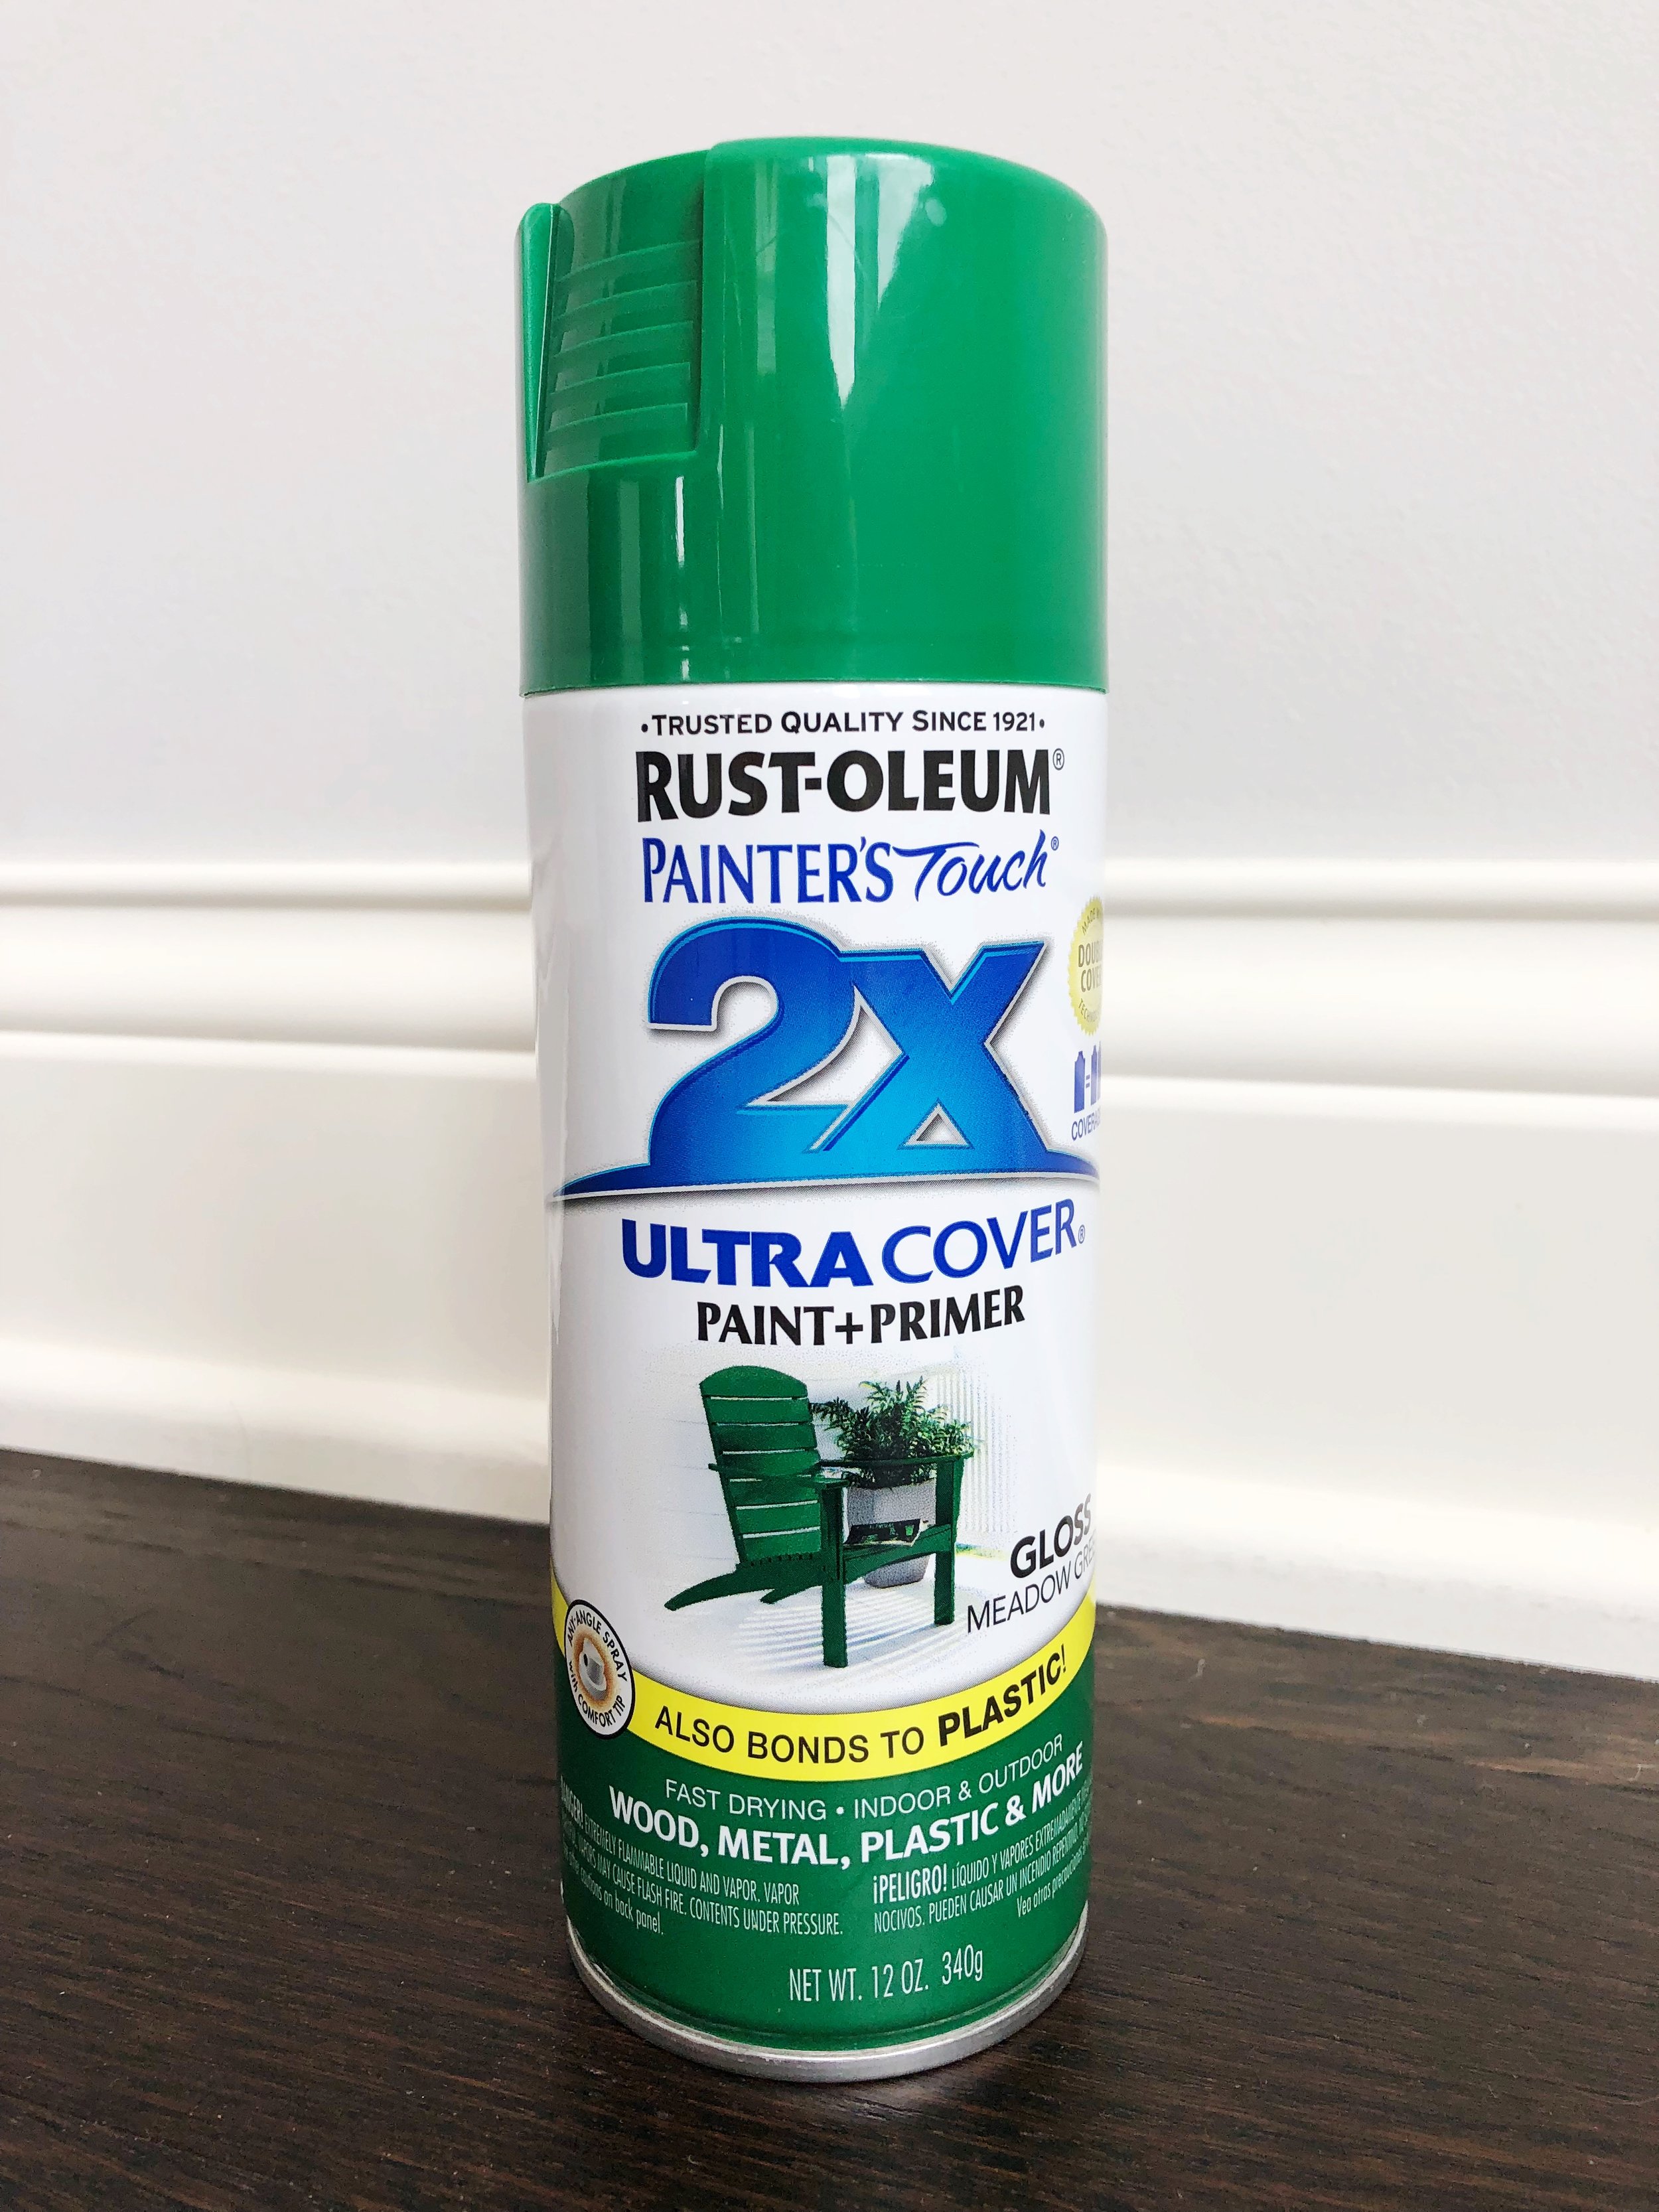
- Spray paint this fabulous mirror!
Here is a little sneak peak of my mirror. You can’t really tell from the photo but the color is quite beige. It won’t quite work with my white board and batten so I am planning on spray painting it a pretty kelly green.
Alrighty then. That’s it for today. I have lots and lots of work ahead of me for the big reveal next week!
To see more behind the scenes (or to just come hang out) you can find me on Instagram at Tessie Fay Design
Also, don’t forget to check out all the other AMAZING ladies that are redoing their bathrooms too! I have been absolutely blown away by their talent and the beautiful spaces that they are creating!

Jeweled Interiors Bathroom 1 | Jeweled Interiors Bathroom 2 | This is Our Bliss | PMQ for Two | Monica Wants It | I like it Lovely | Tessie Fay | Southern State of Mind | Maggie Overby Studios | A Designer at Home | Domicile 37 | My Eclectic Nest | Street Flea Style | A Pinterest Addict


view + leave comments . . .