


Oh happy day! It’s office renovation time! After years of dreaming of having my own separate space for an office/art studio/craft room and overall little Tessie house we finally made it happen! In this post I’ll walk through the “before”, the “plan” and the “process” of transforming this little green cottage into the studio space of my dreams 🙂
My office in our last home was a beautiful space but had one major flaw… no door!! Once COVID hit (with everyone home 24/7) it became clear that I needed a space that was contained. A space I could escape to and work uninterrupted.
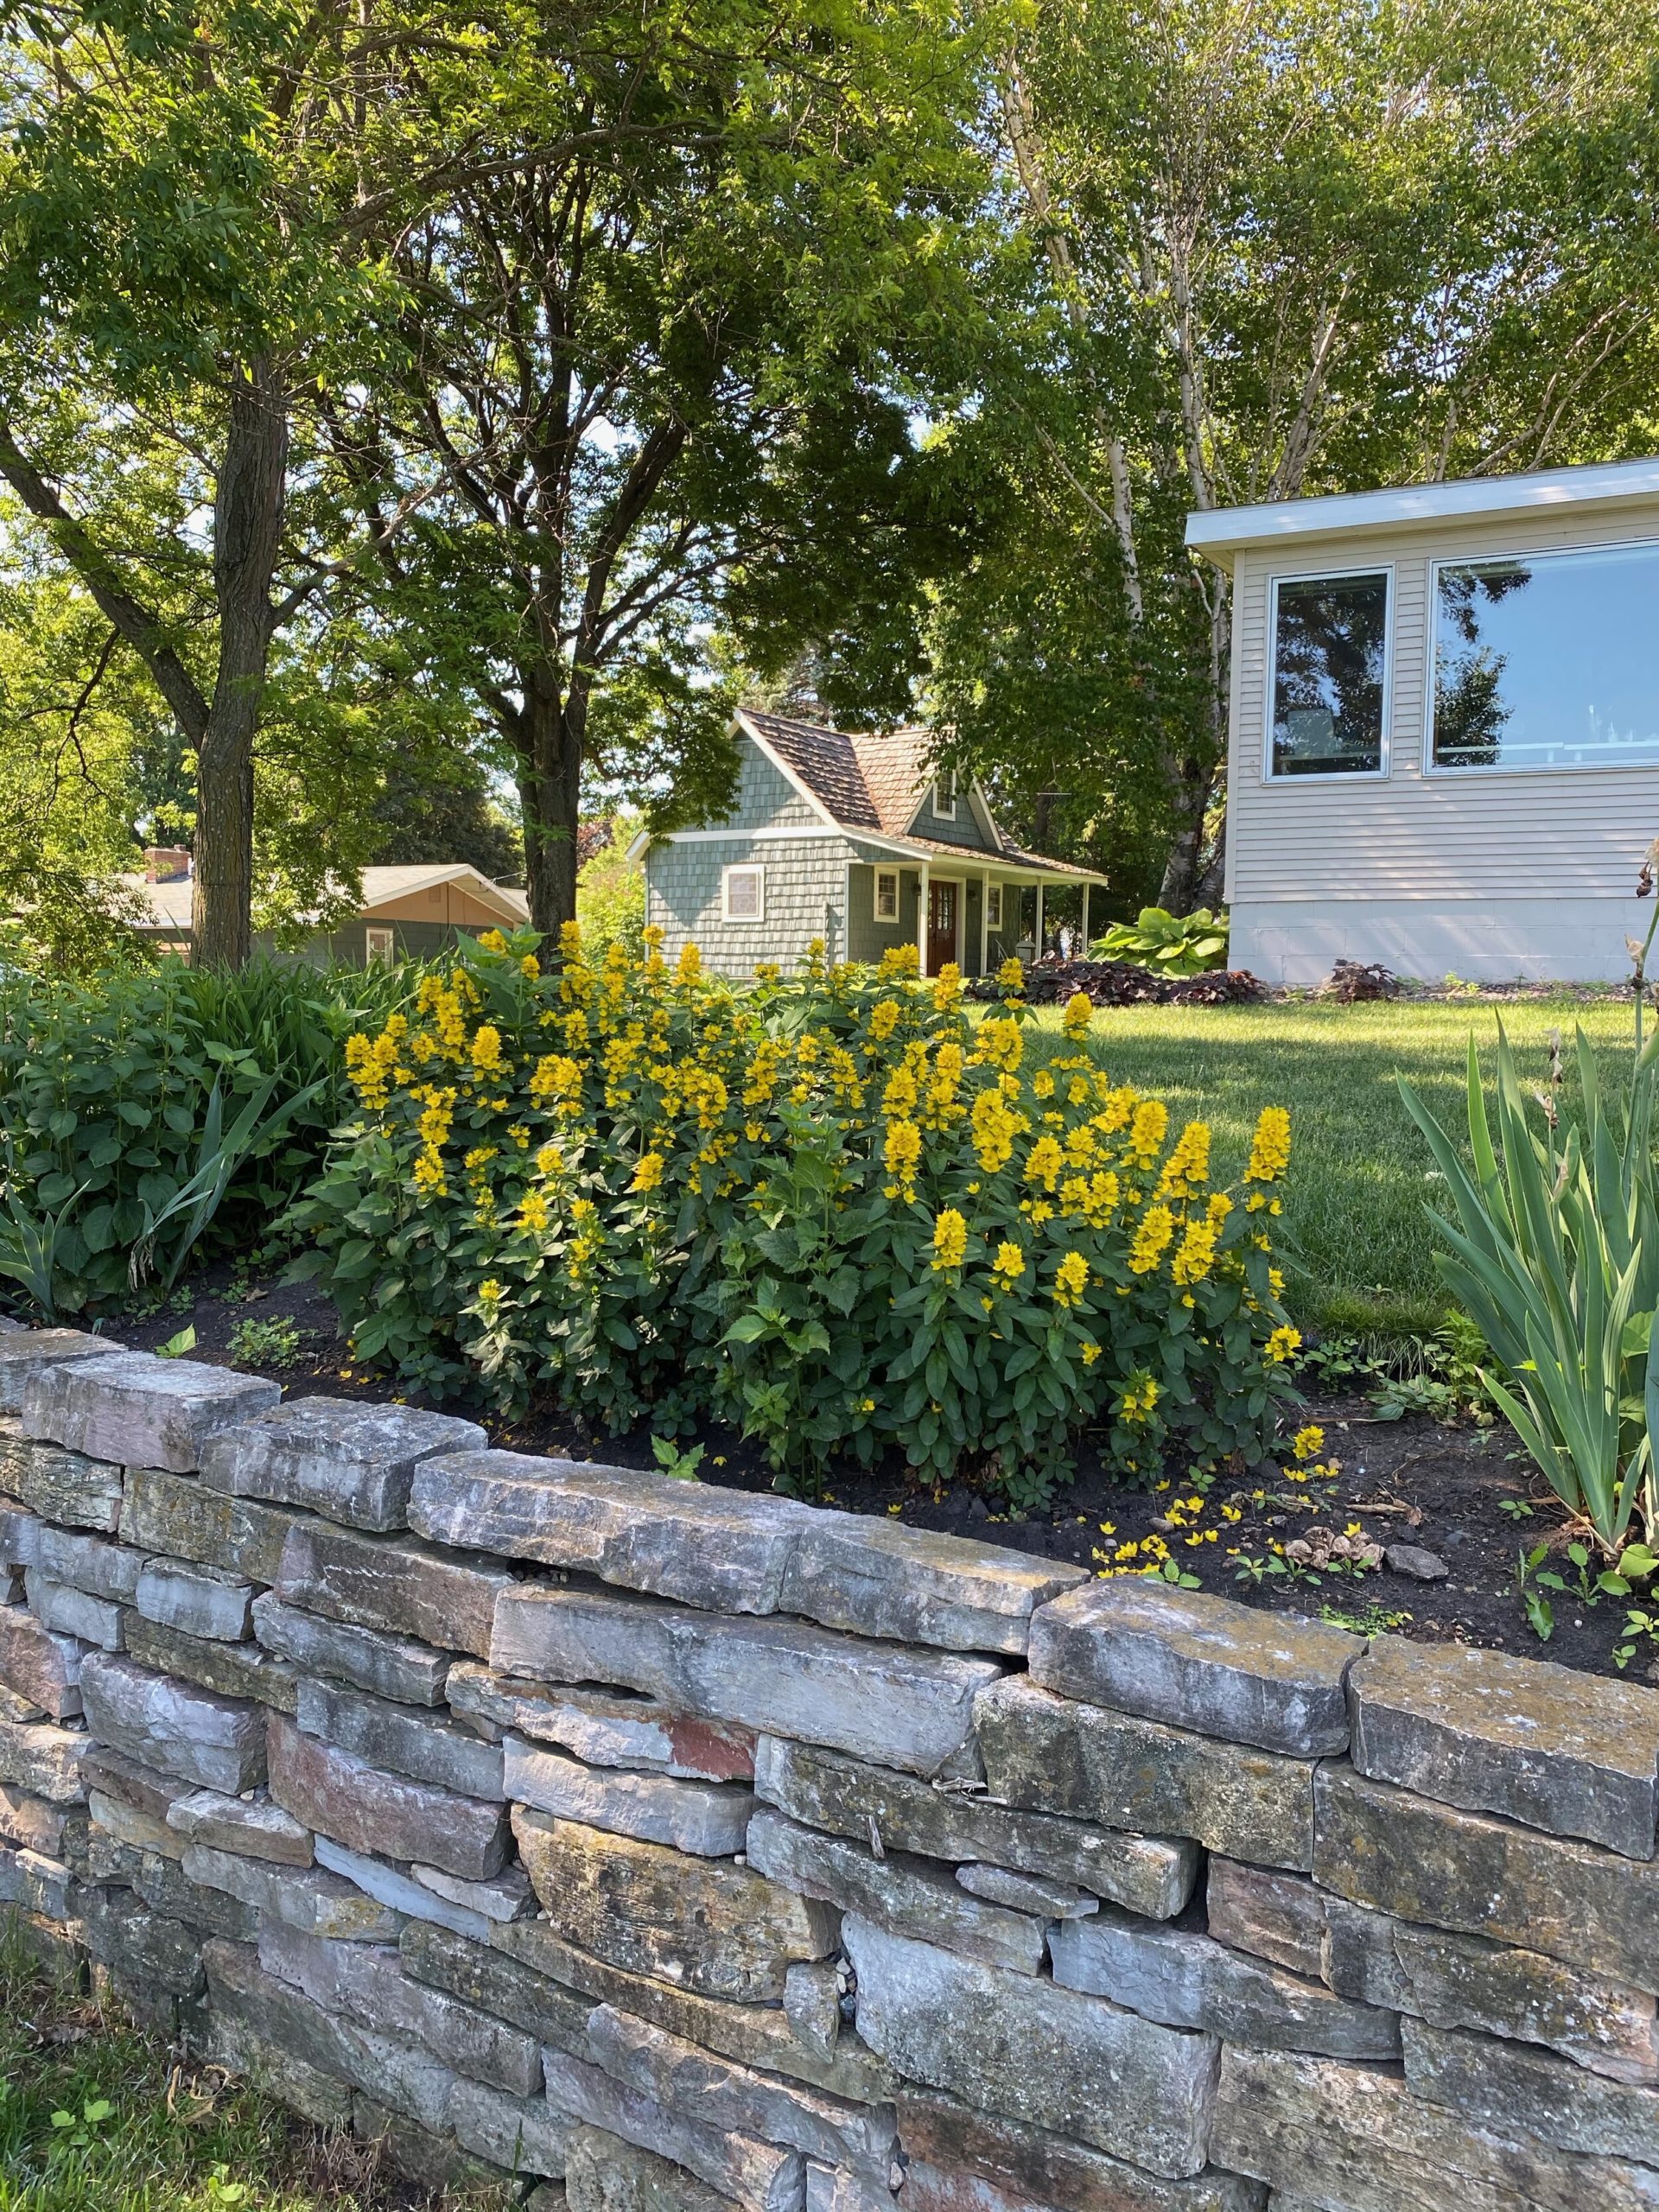
When we saw this little cottage on the property of our new home, I just knew it would make the perfect office/art studio for me.
In the image below you can see where the office is situated in comparison to our house. It’s a short walk across the yard and faces the side of our main house.
Wanna see inside??? Come on in! I’ll show you what it looked like when we first bought the house back in June.
The day we moved in we plopped all the office stuff inside but never unpacked since we knew a major space overhaul was coming. The space stayed this way for several months and there wasn’t much working going on 🙂

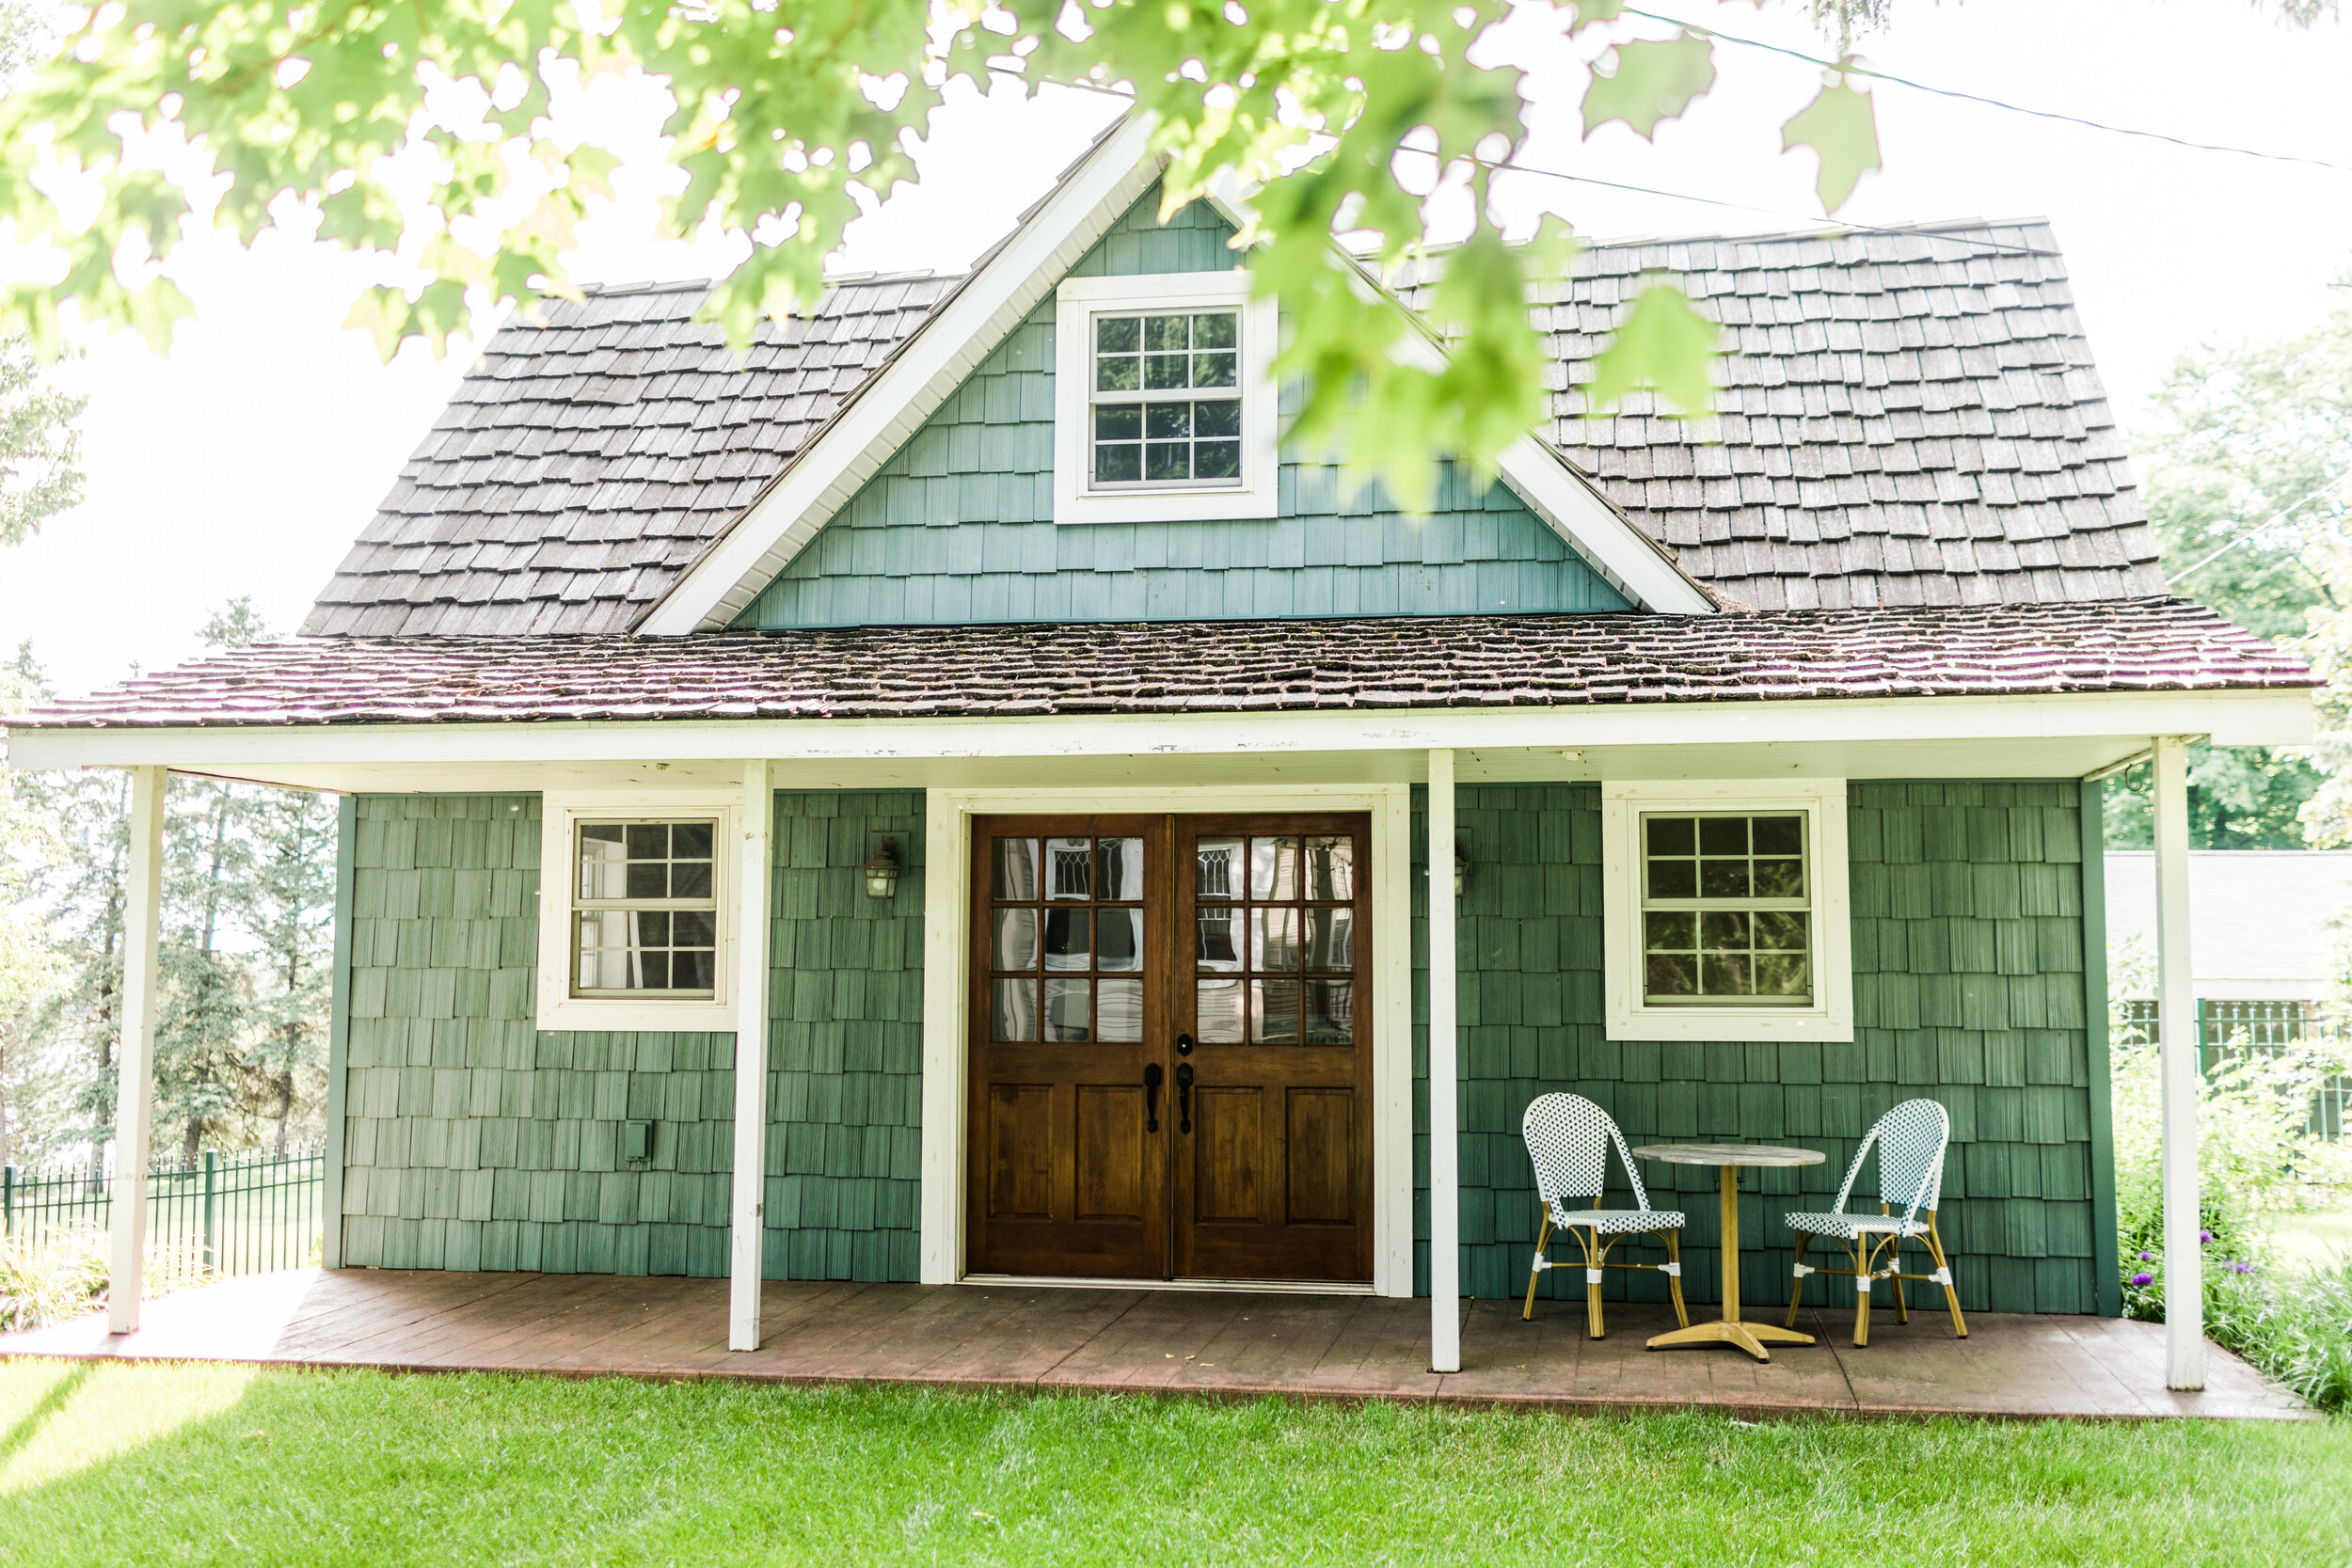
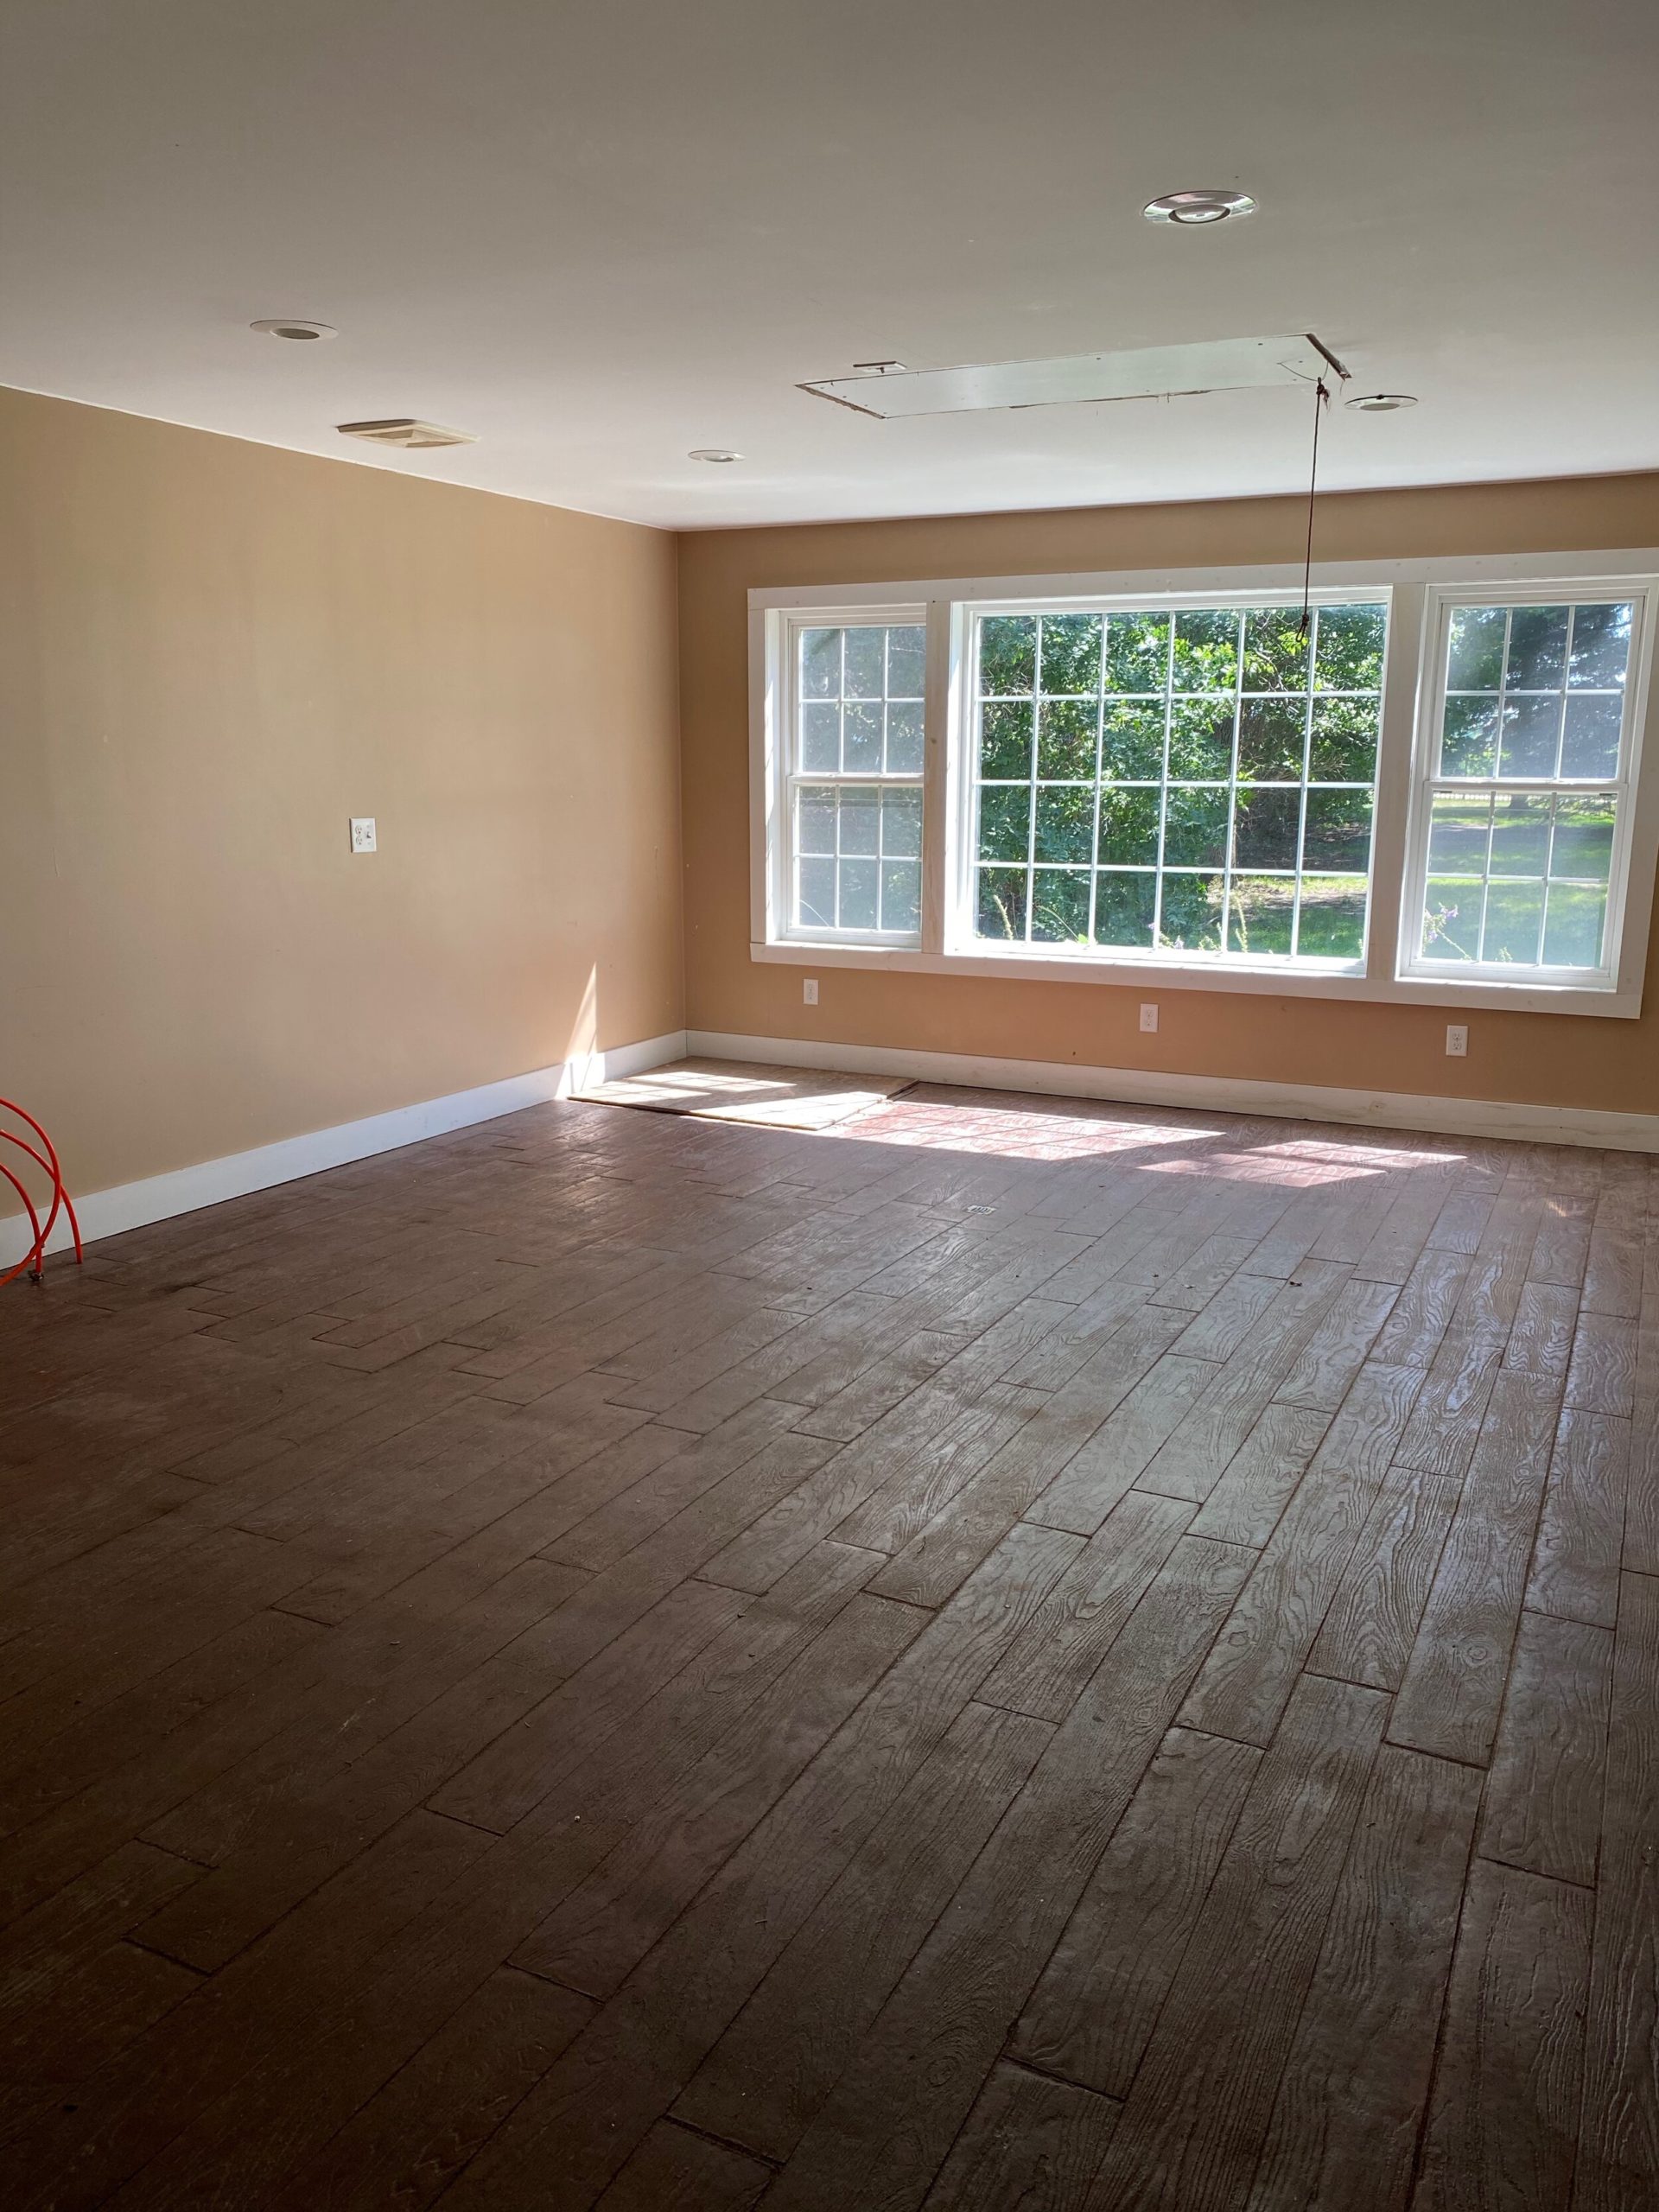
The Before
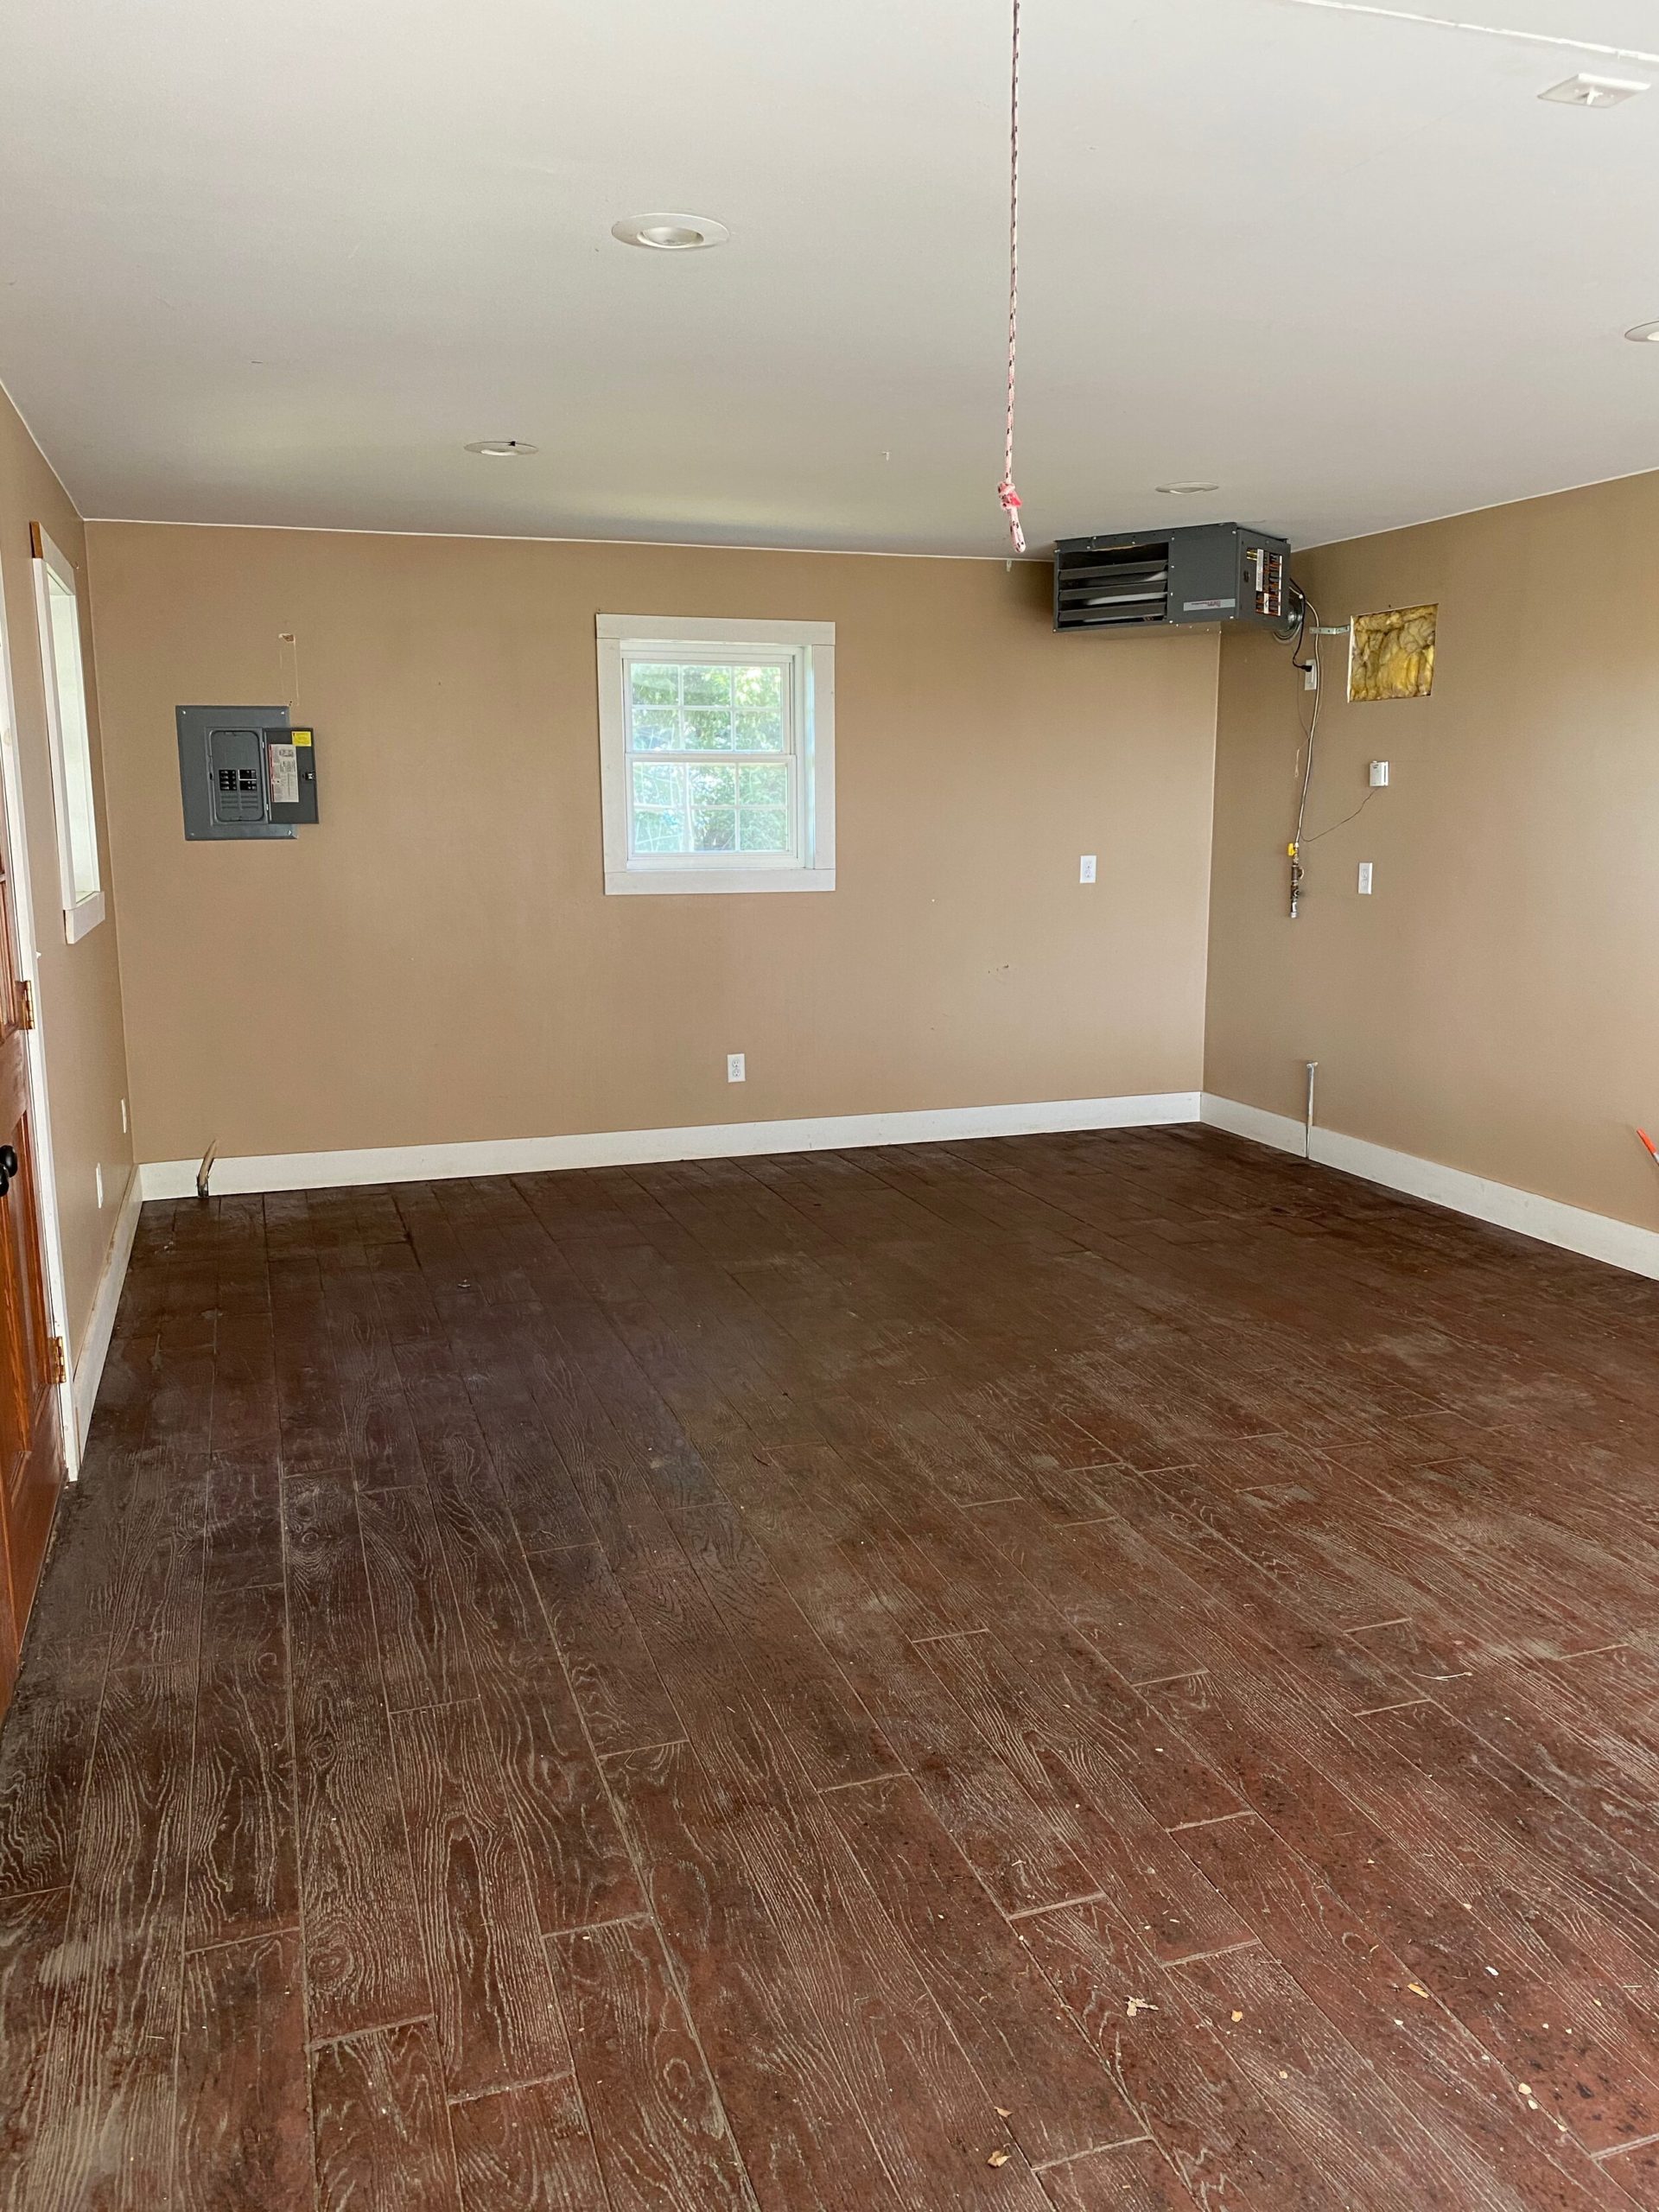
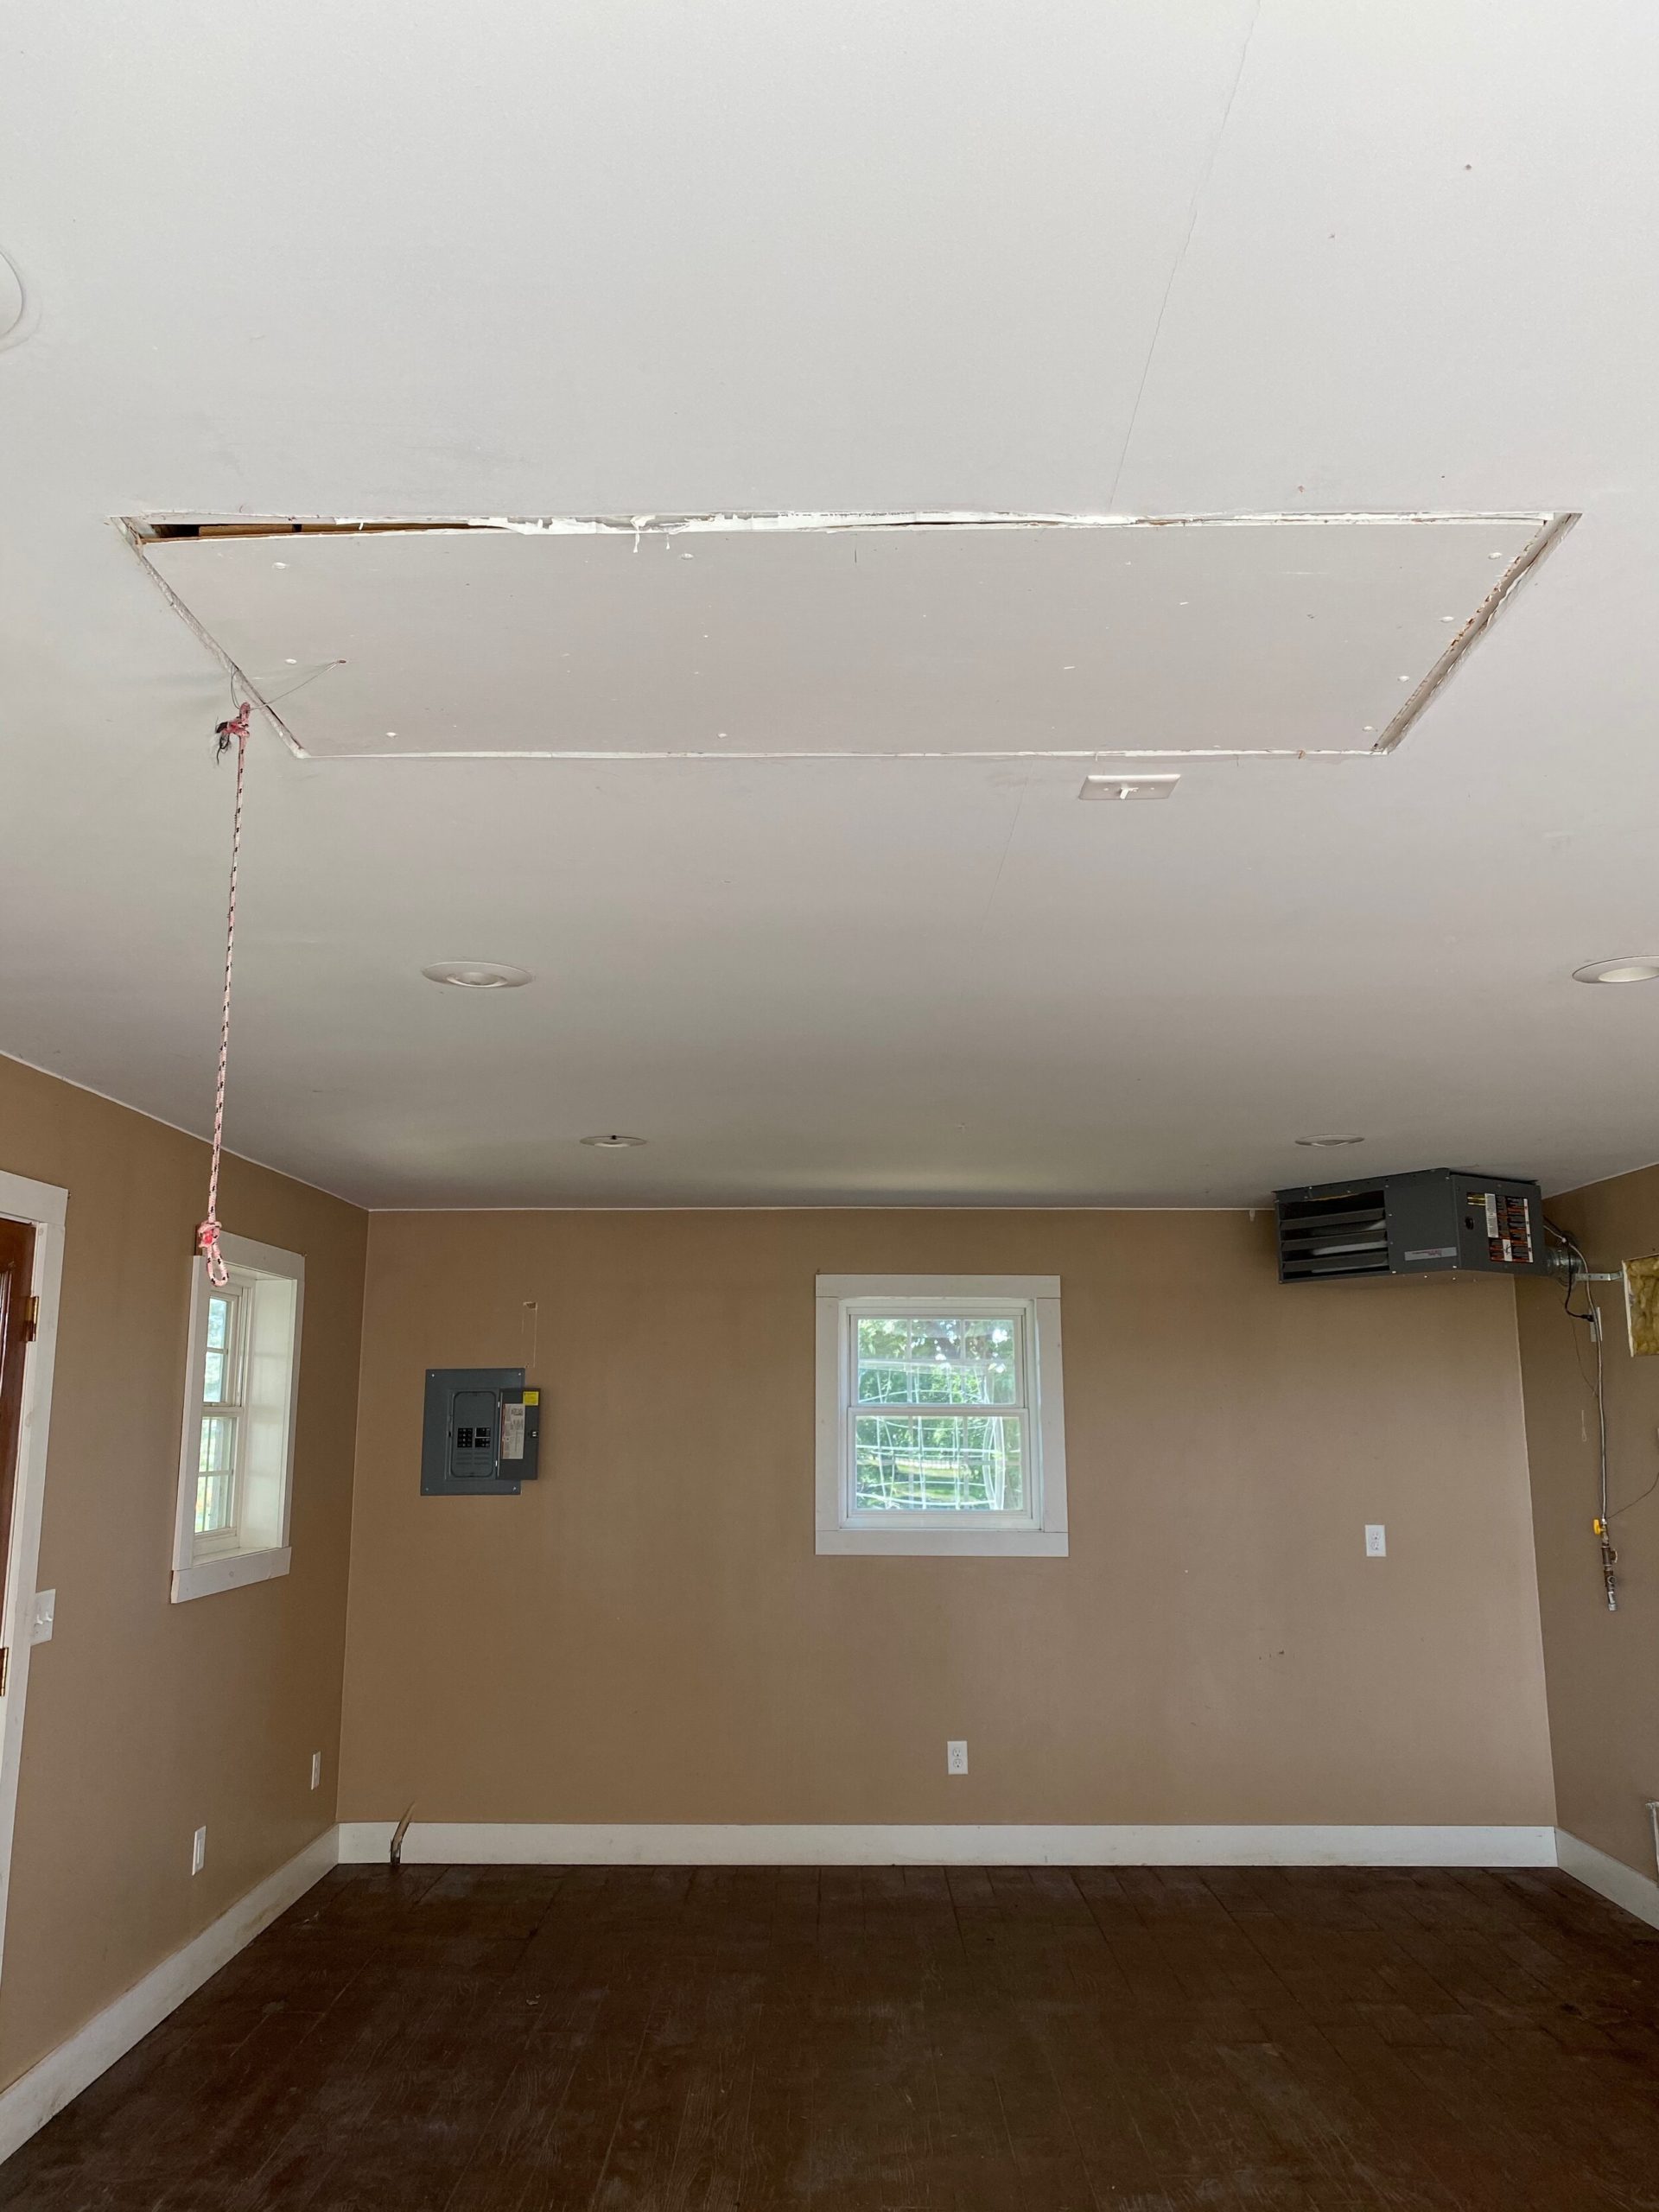
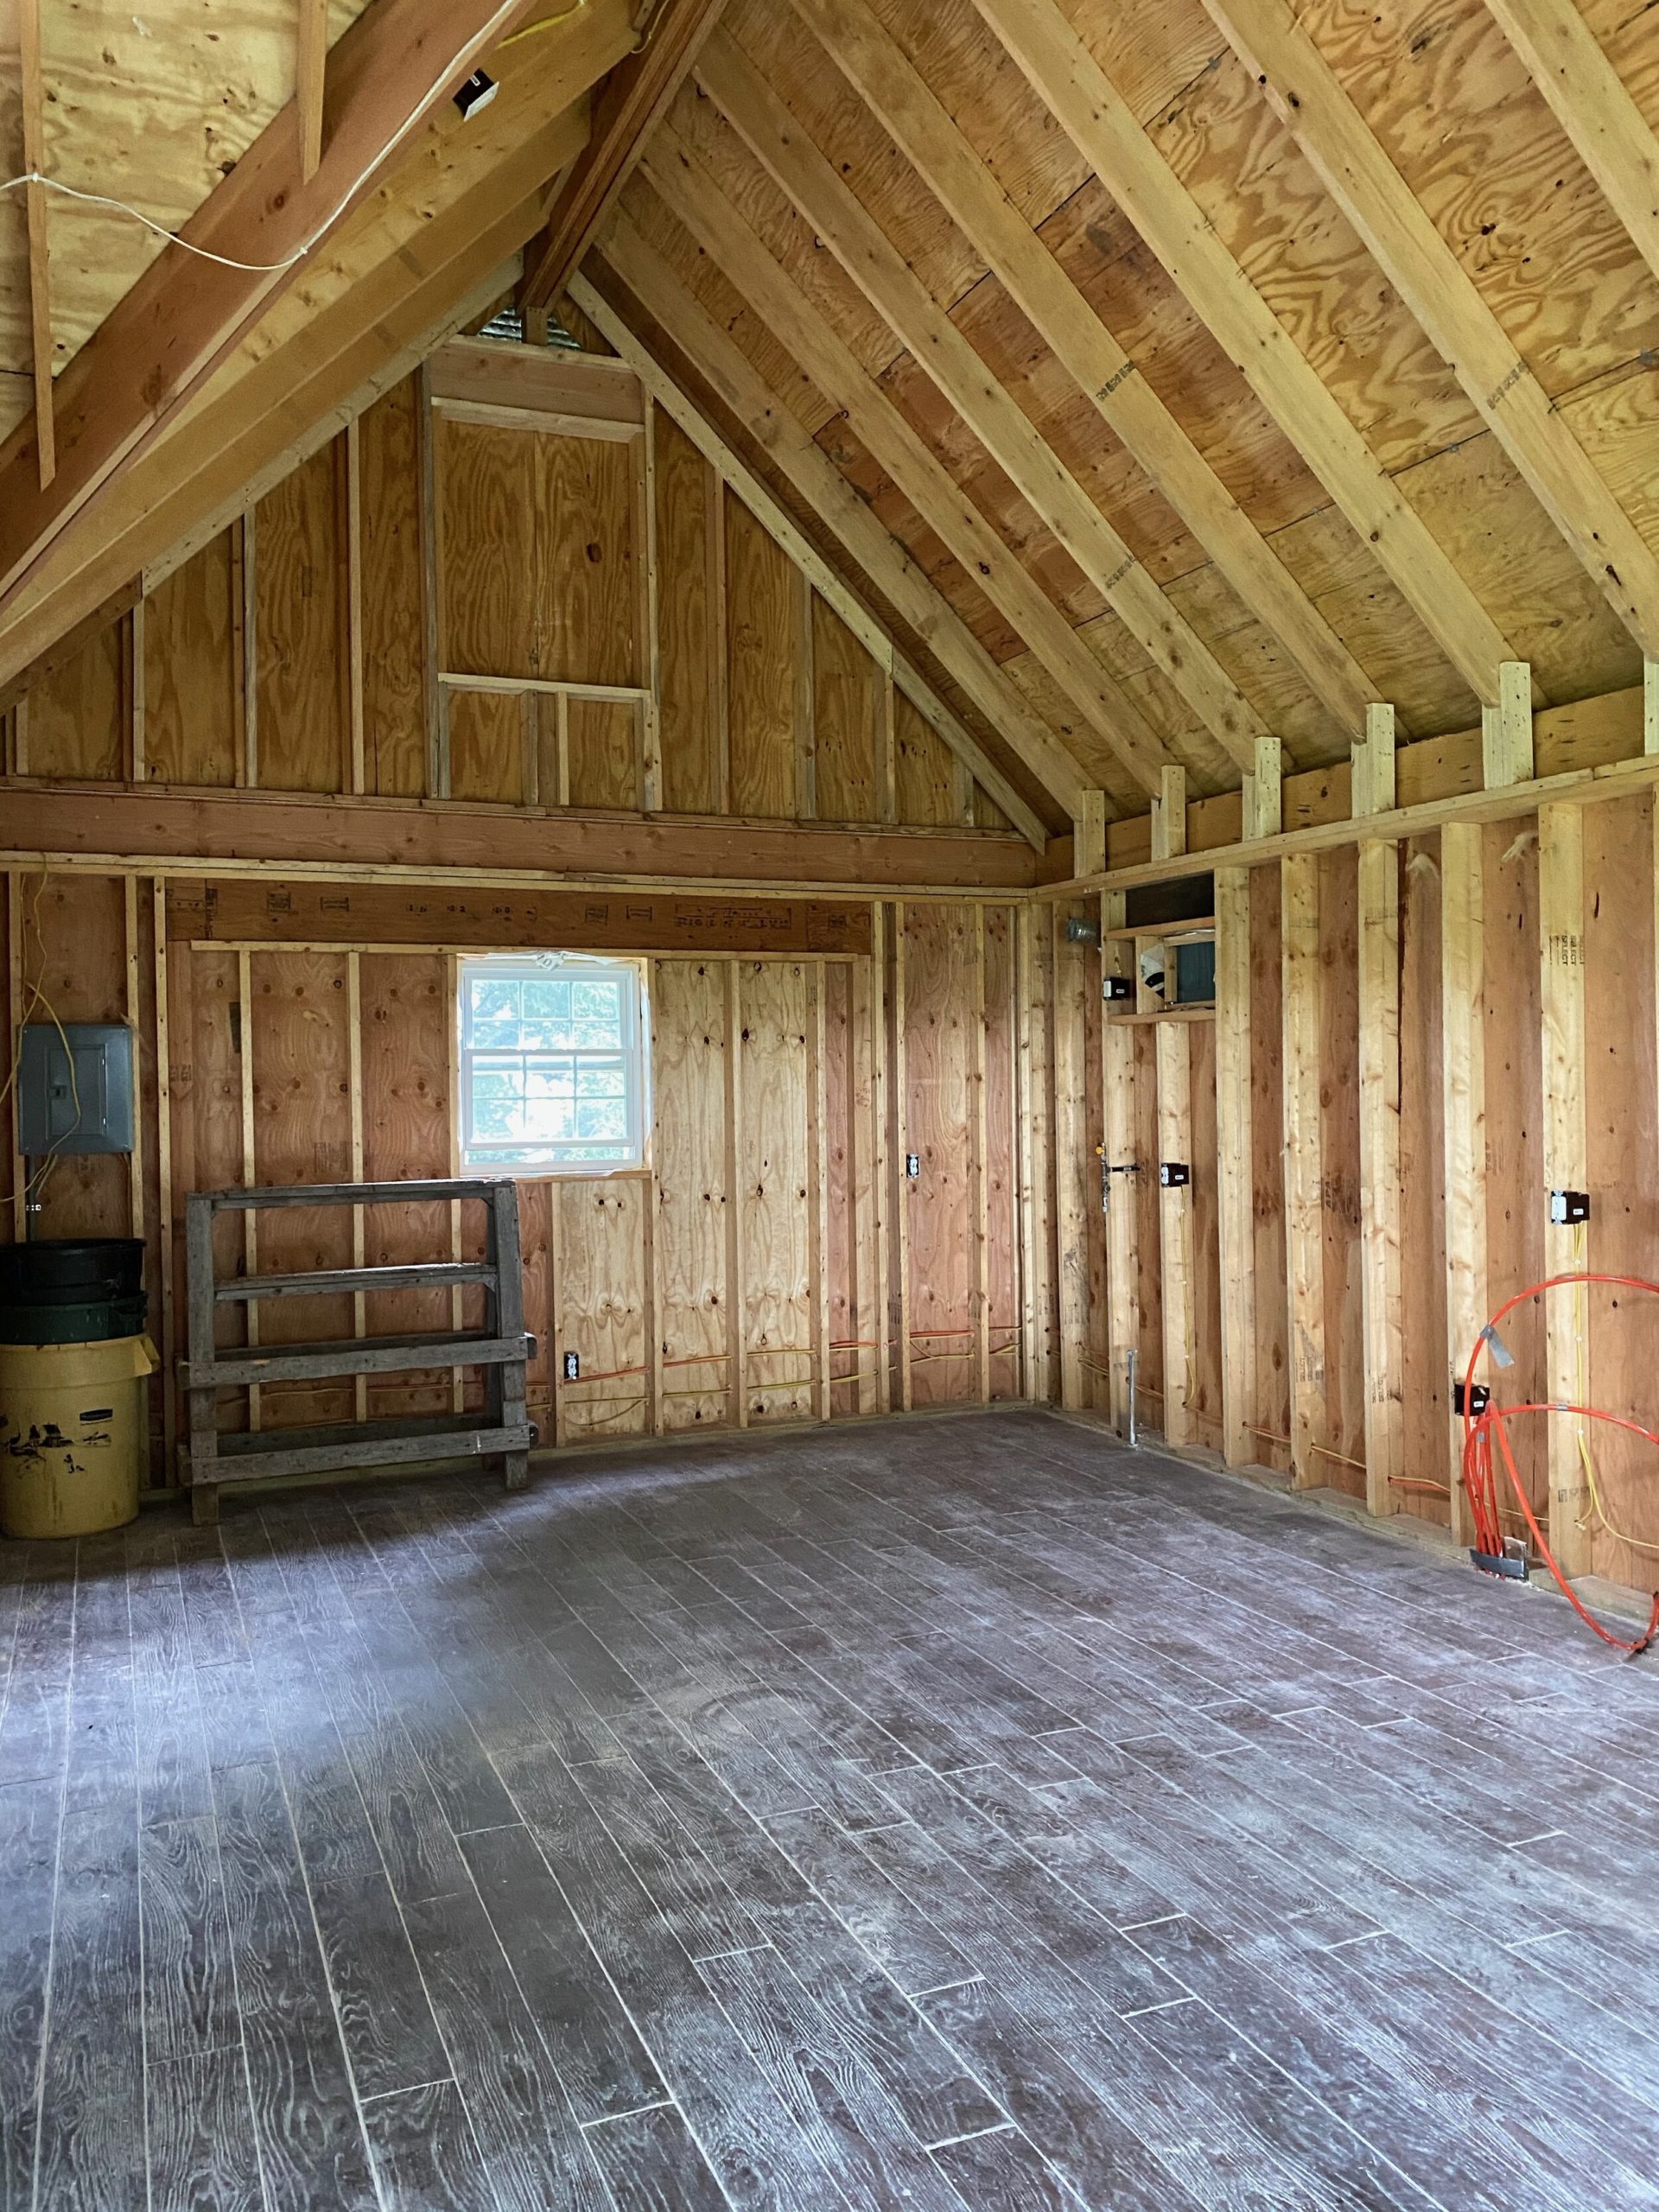
The building had a stamped concrete floor and was fairly “finished” with drywall, trim and electricity. Unfortunately there was no plumbing and no heating/cooling (besides the little garage heater tucked up in the corner) and many of the finishes were not as “finished” as I would’ve liked 🙂
The space had gorgeous big windows facing the front of the yard.
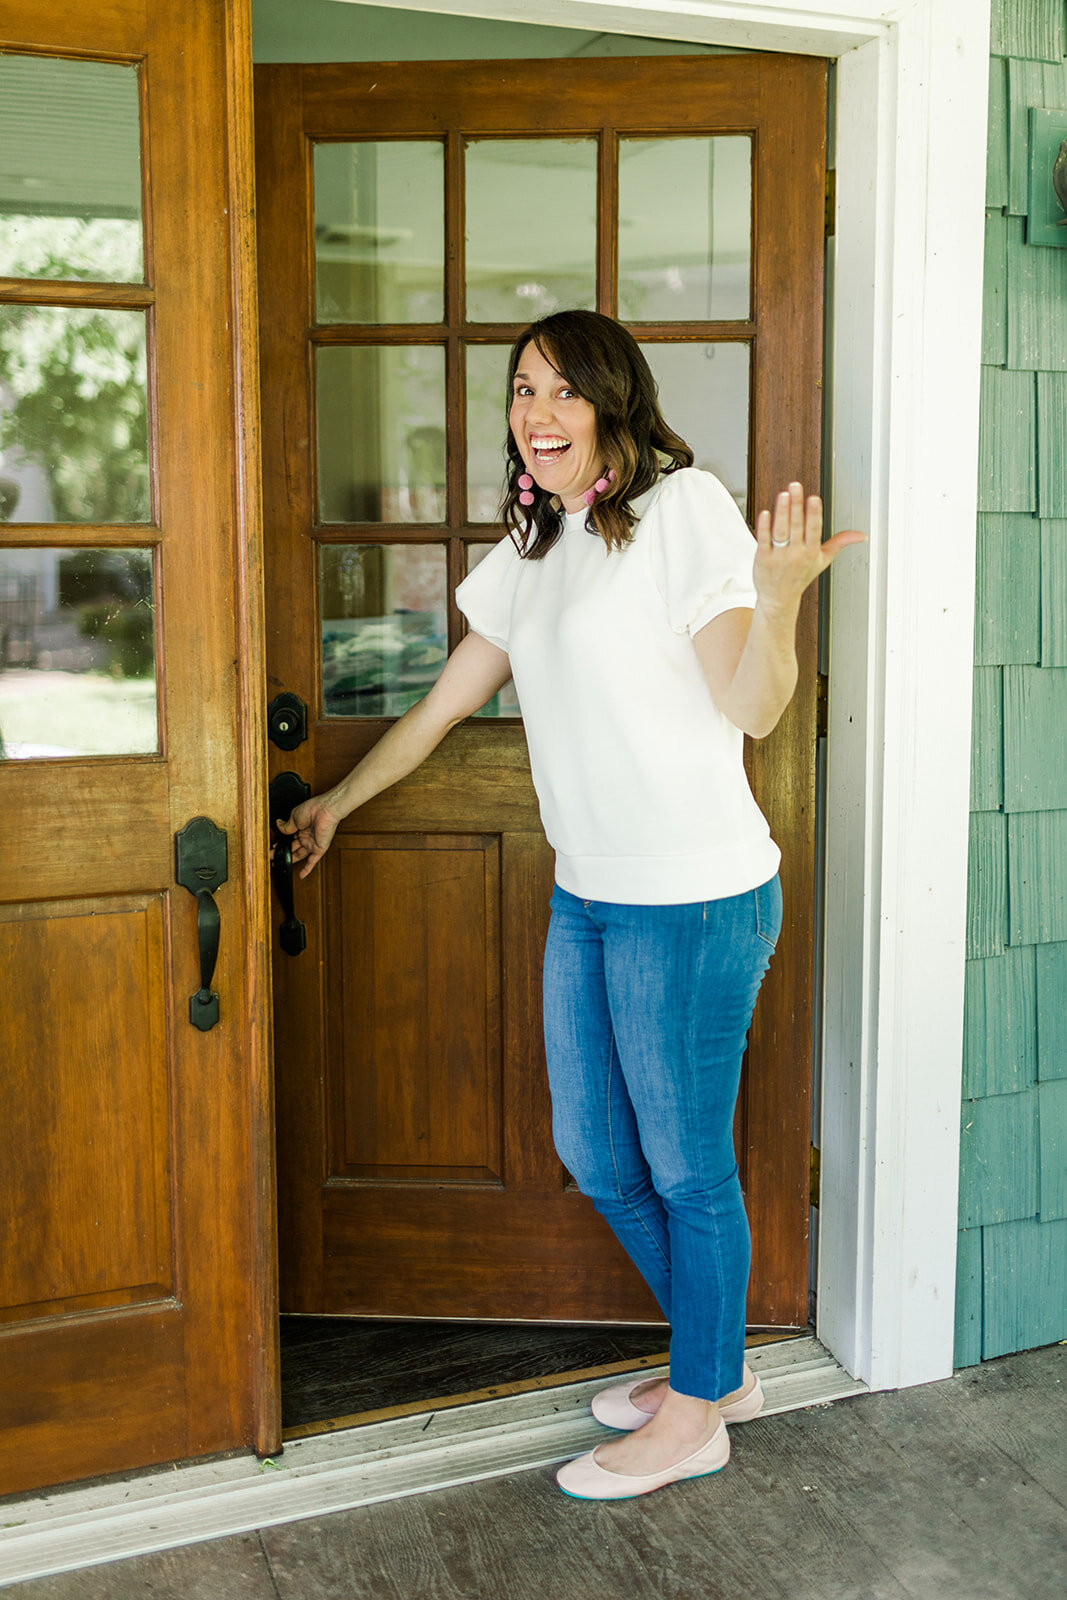
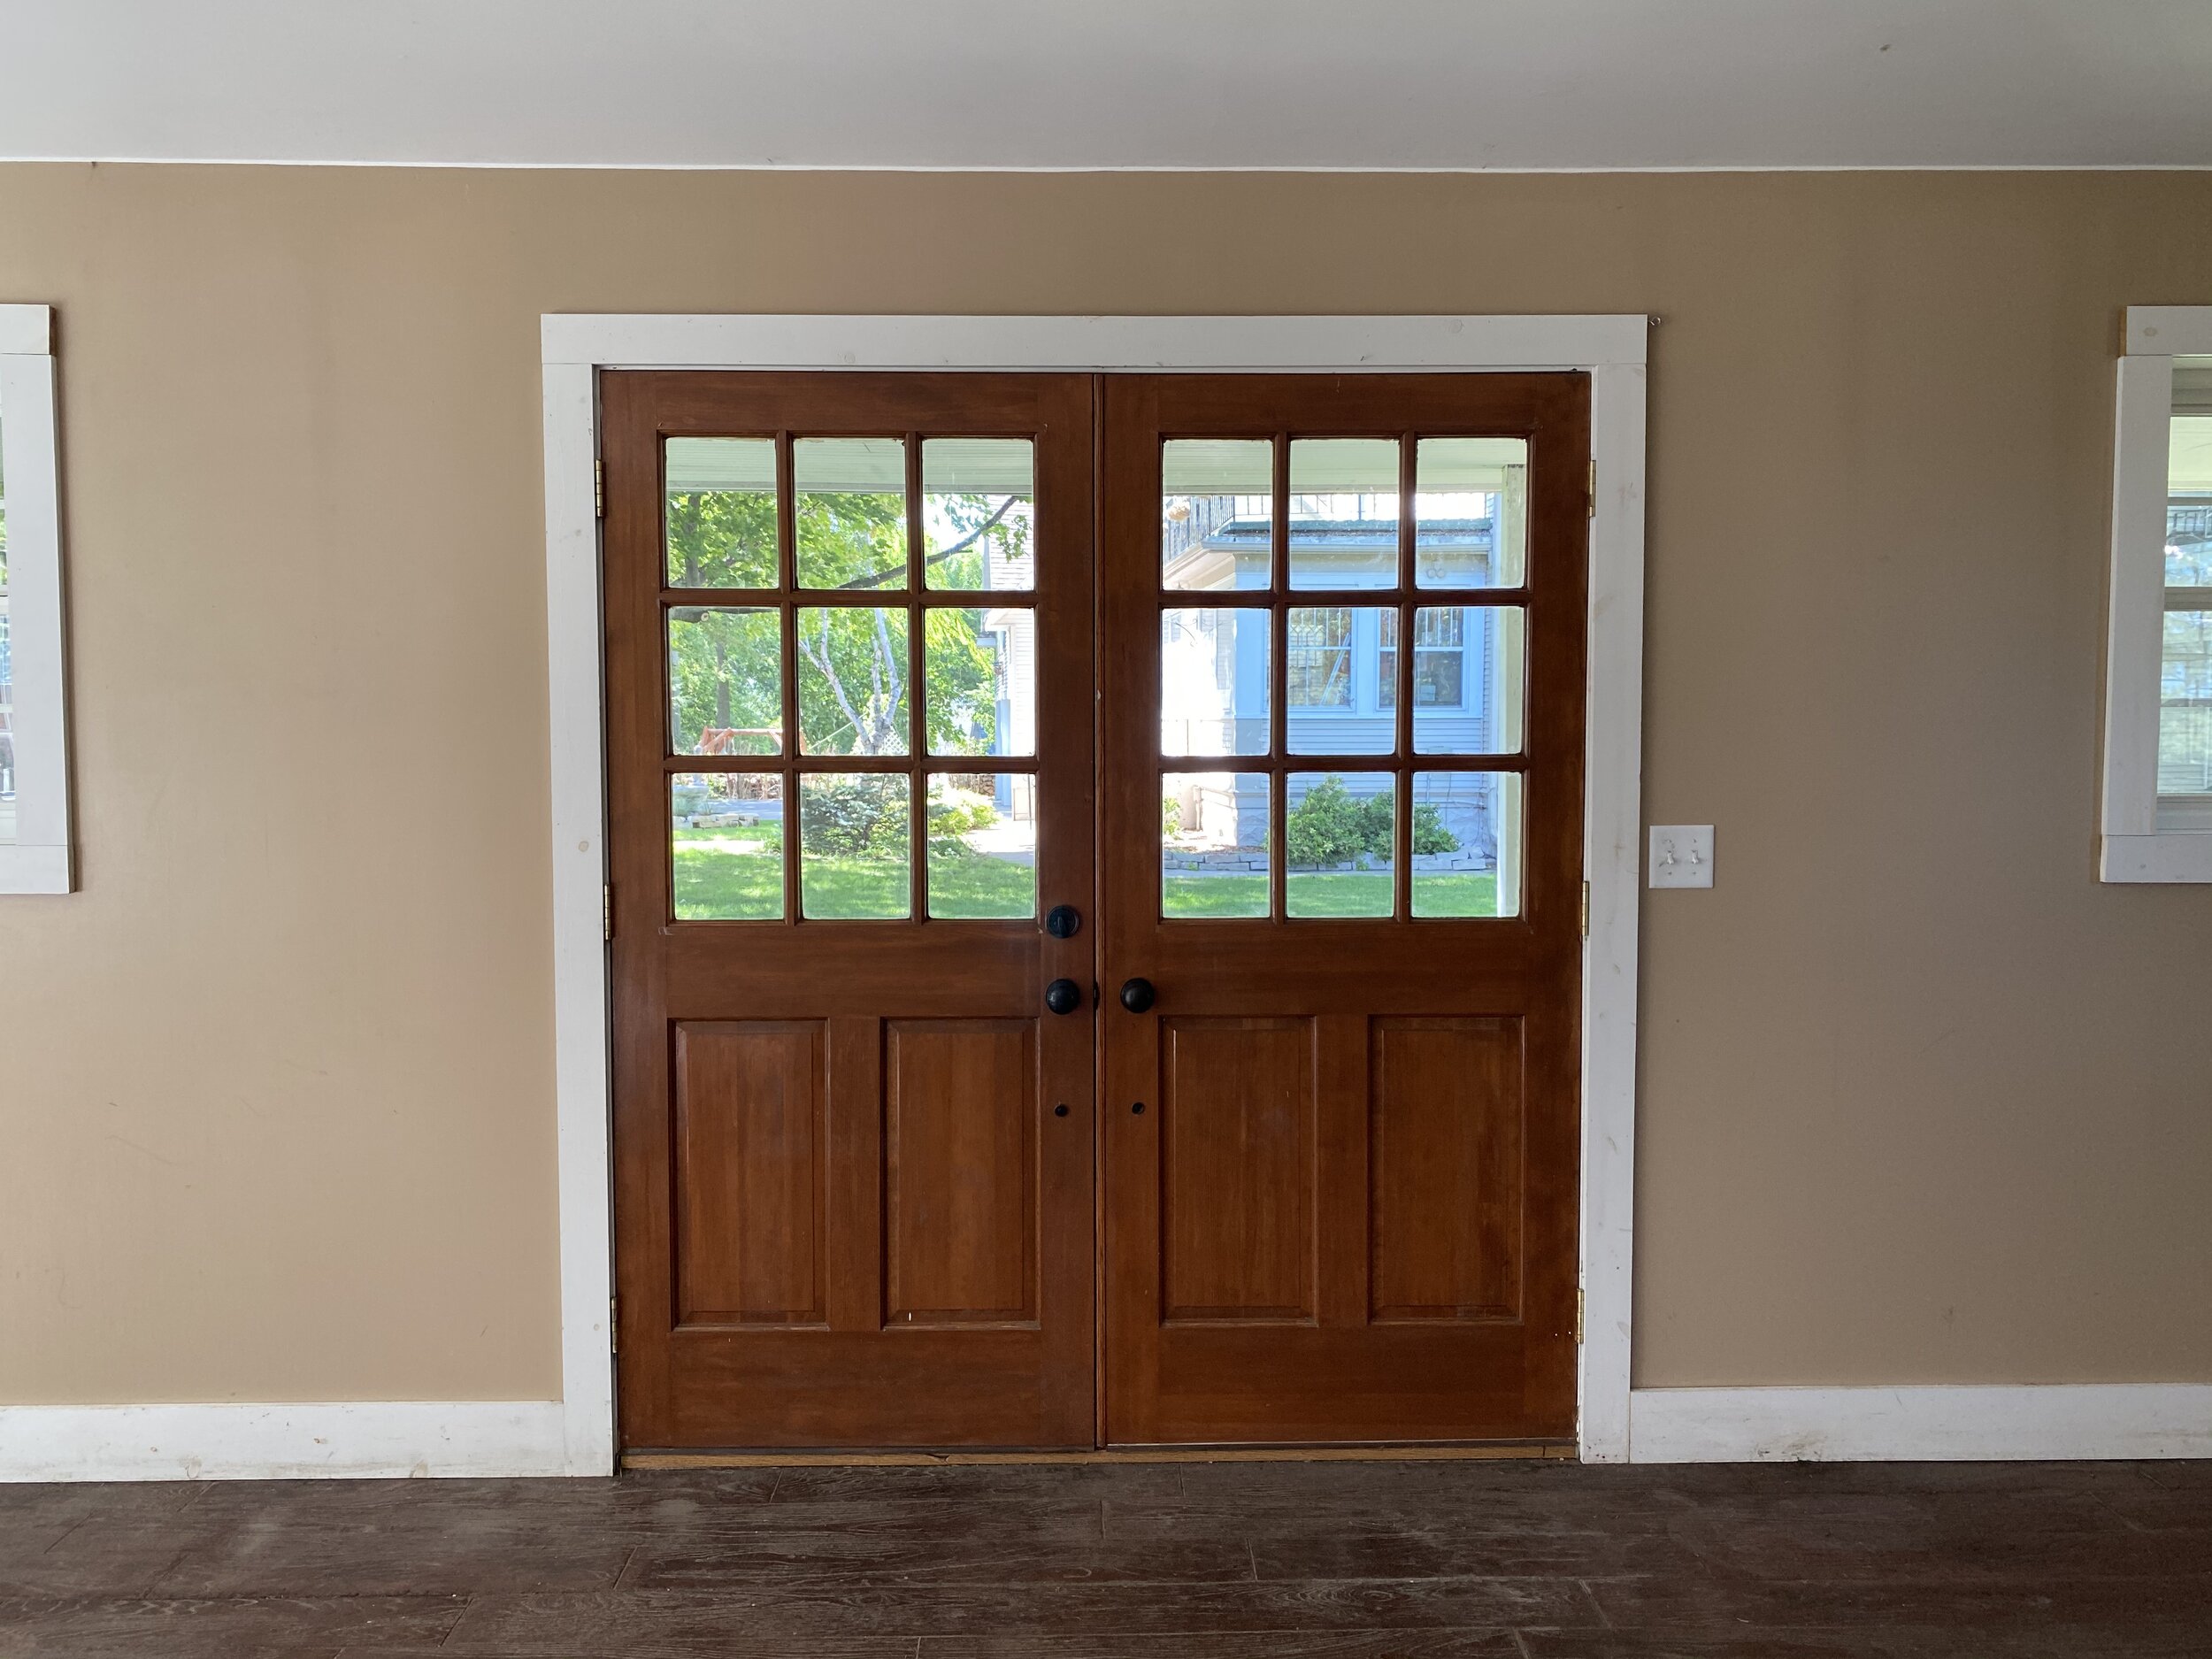
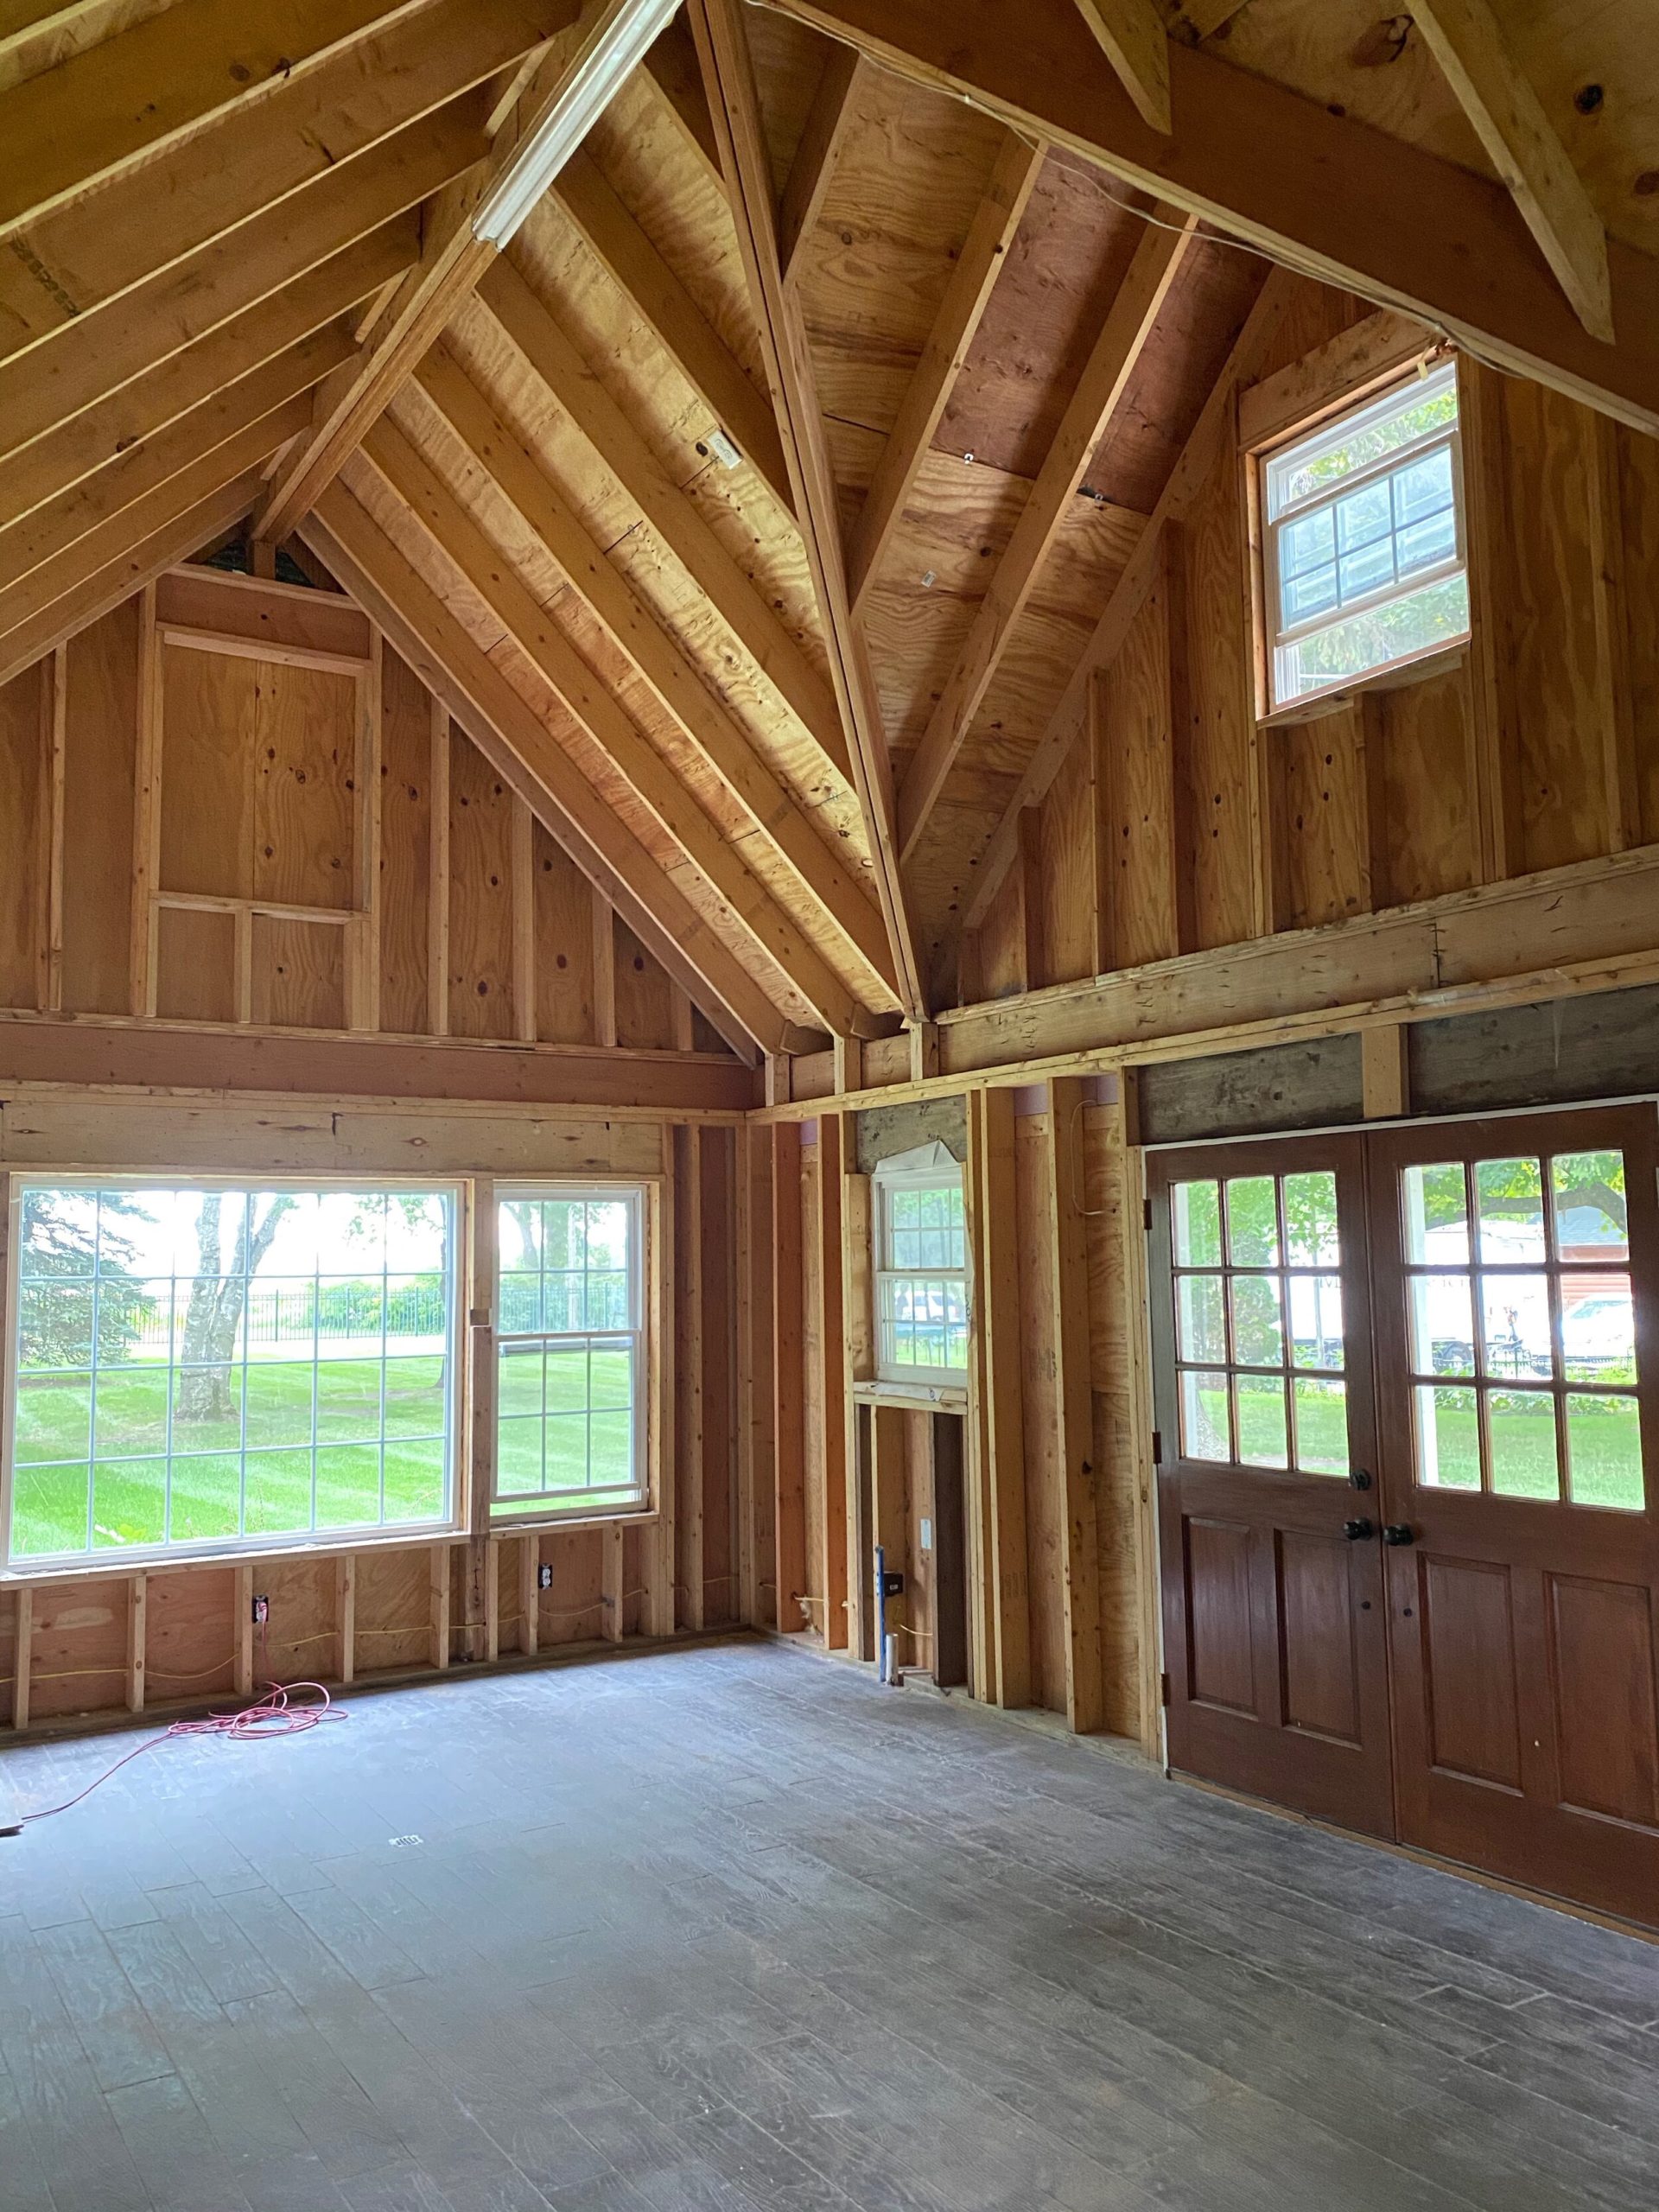
And it had cute double doors to enter.
Oddly enough this little house also had an attic (with a pull down trap door) and a basement… such a weird surprise.
I didn’t get a lot of “before” photos of the attic but this one is from the previous owners. It shows how the space was primarily used for storage.

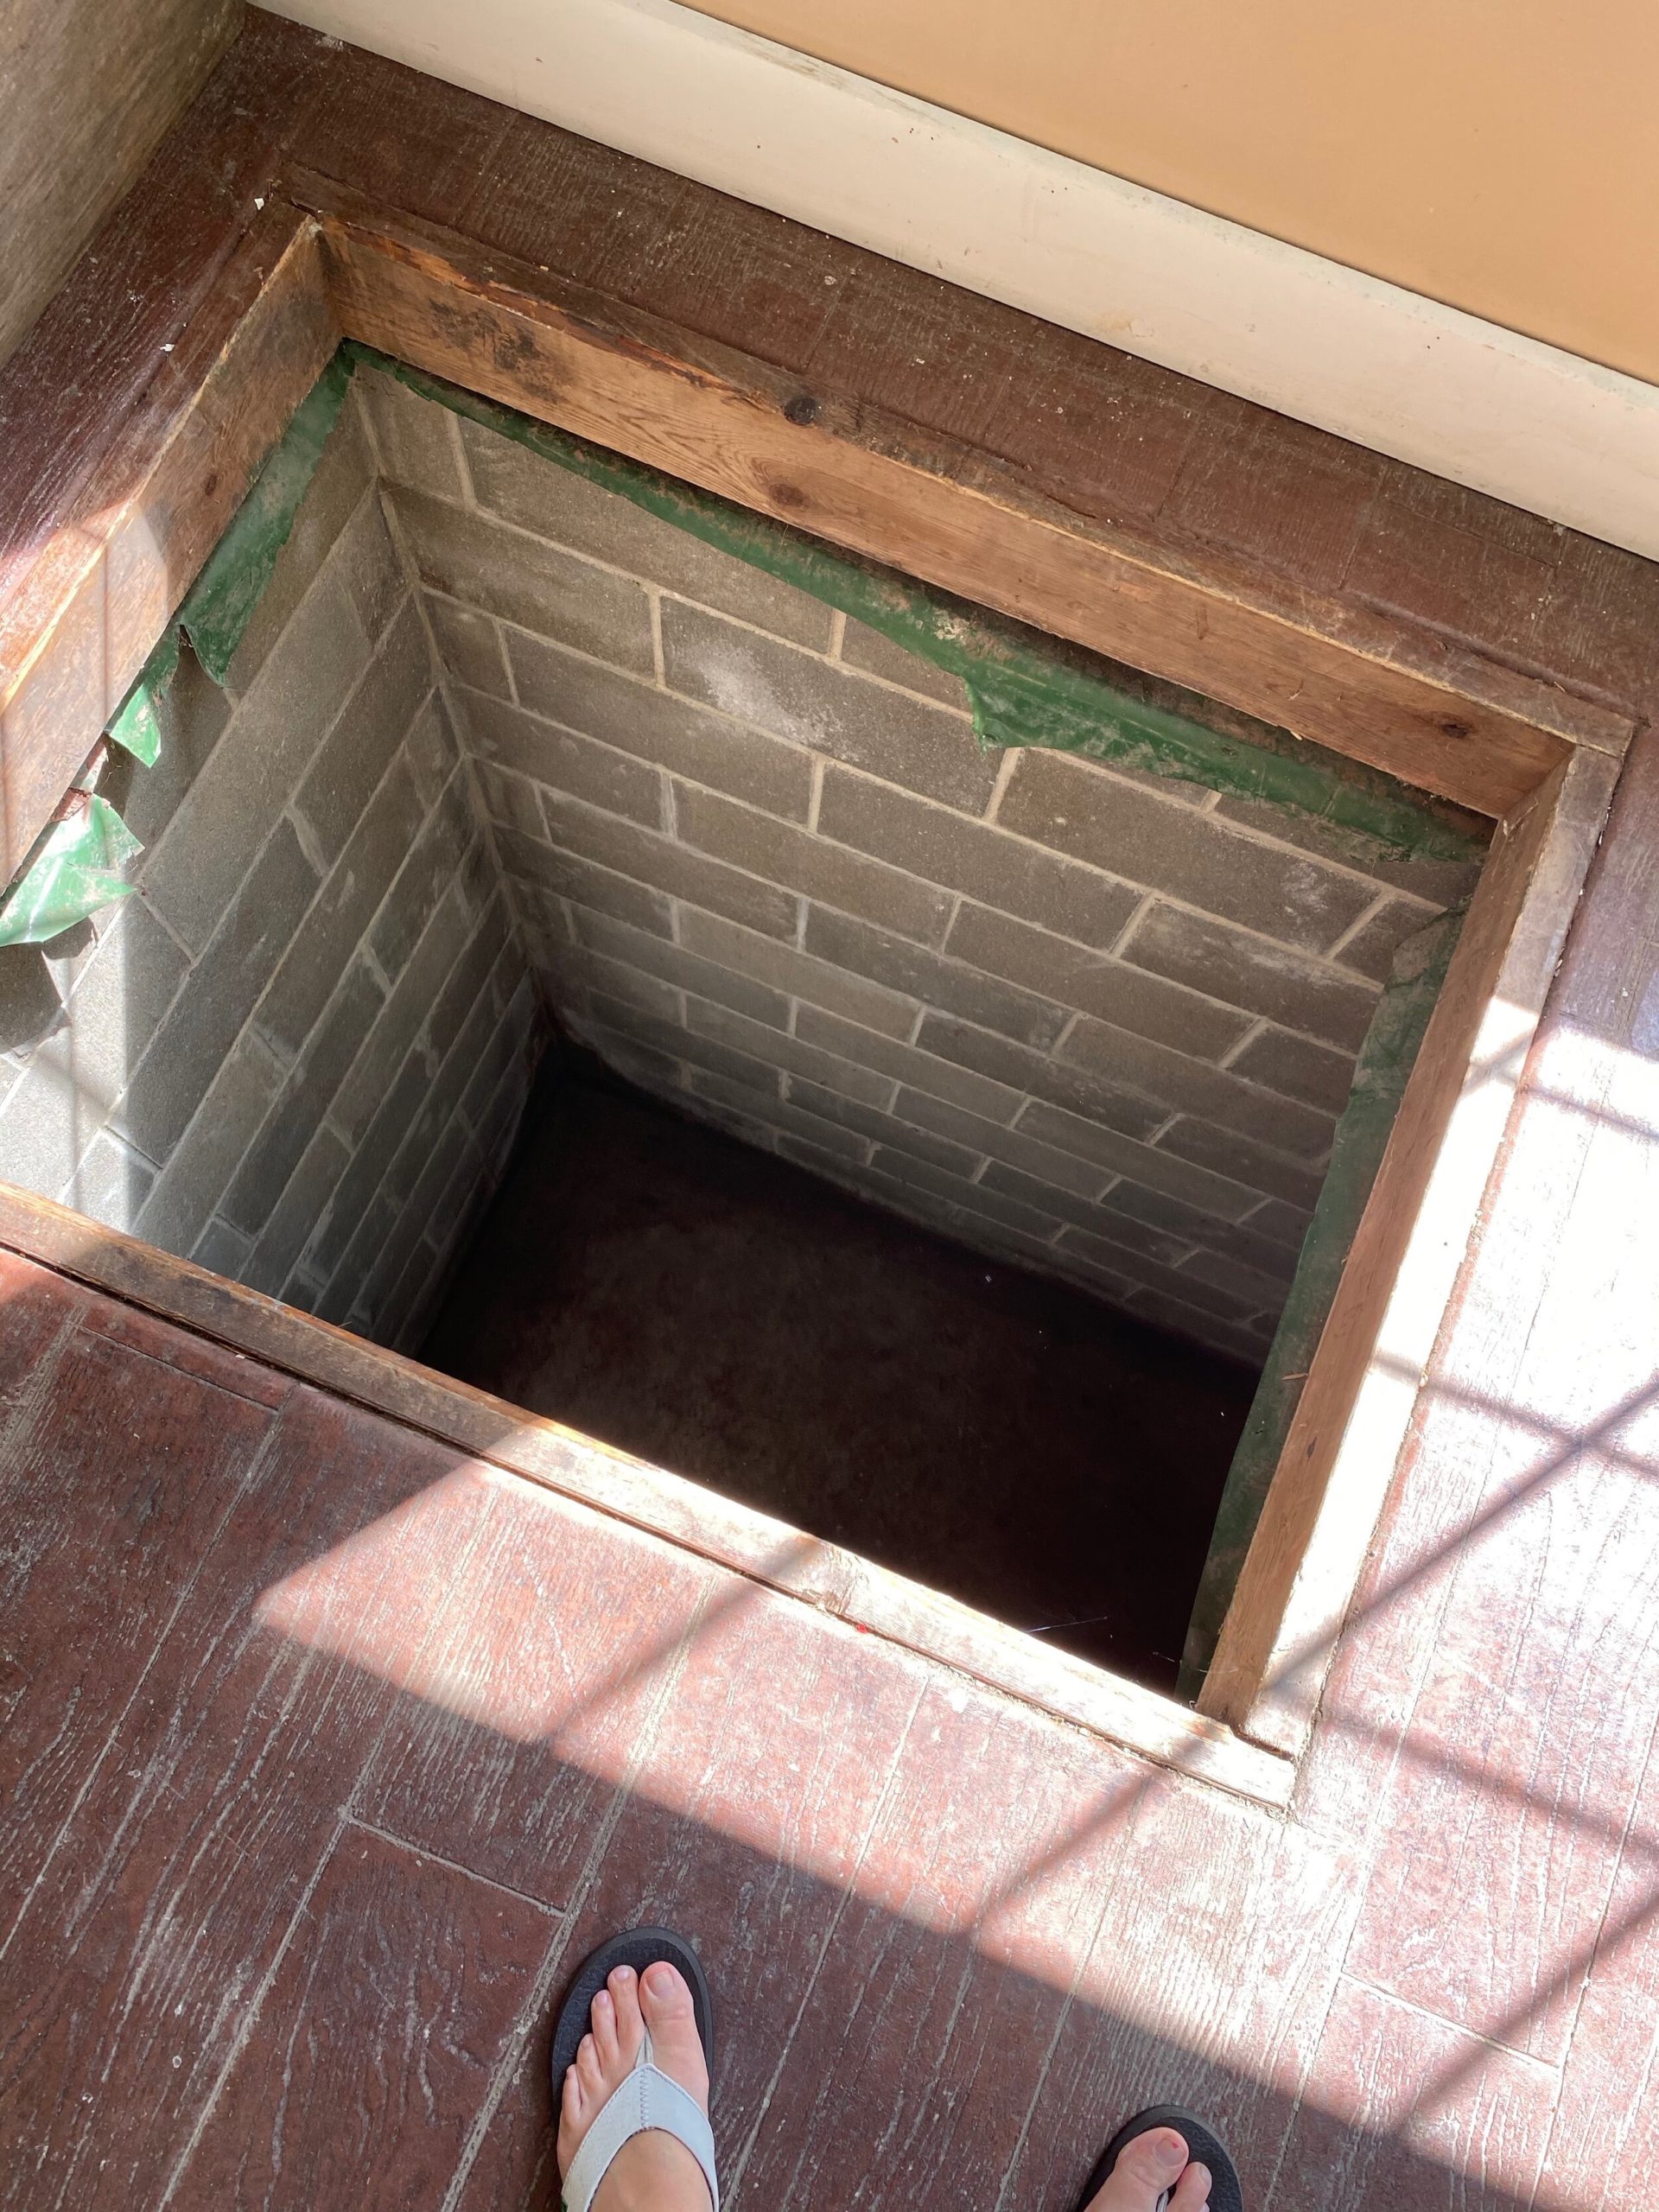
Now for the super creepy part… the basement. In the corner of the building there was this weird piece of ply wood on the ground.
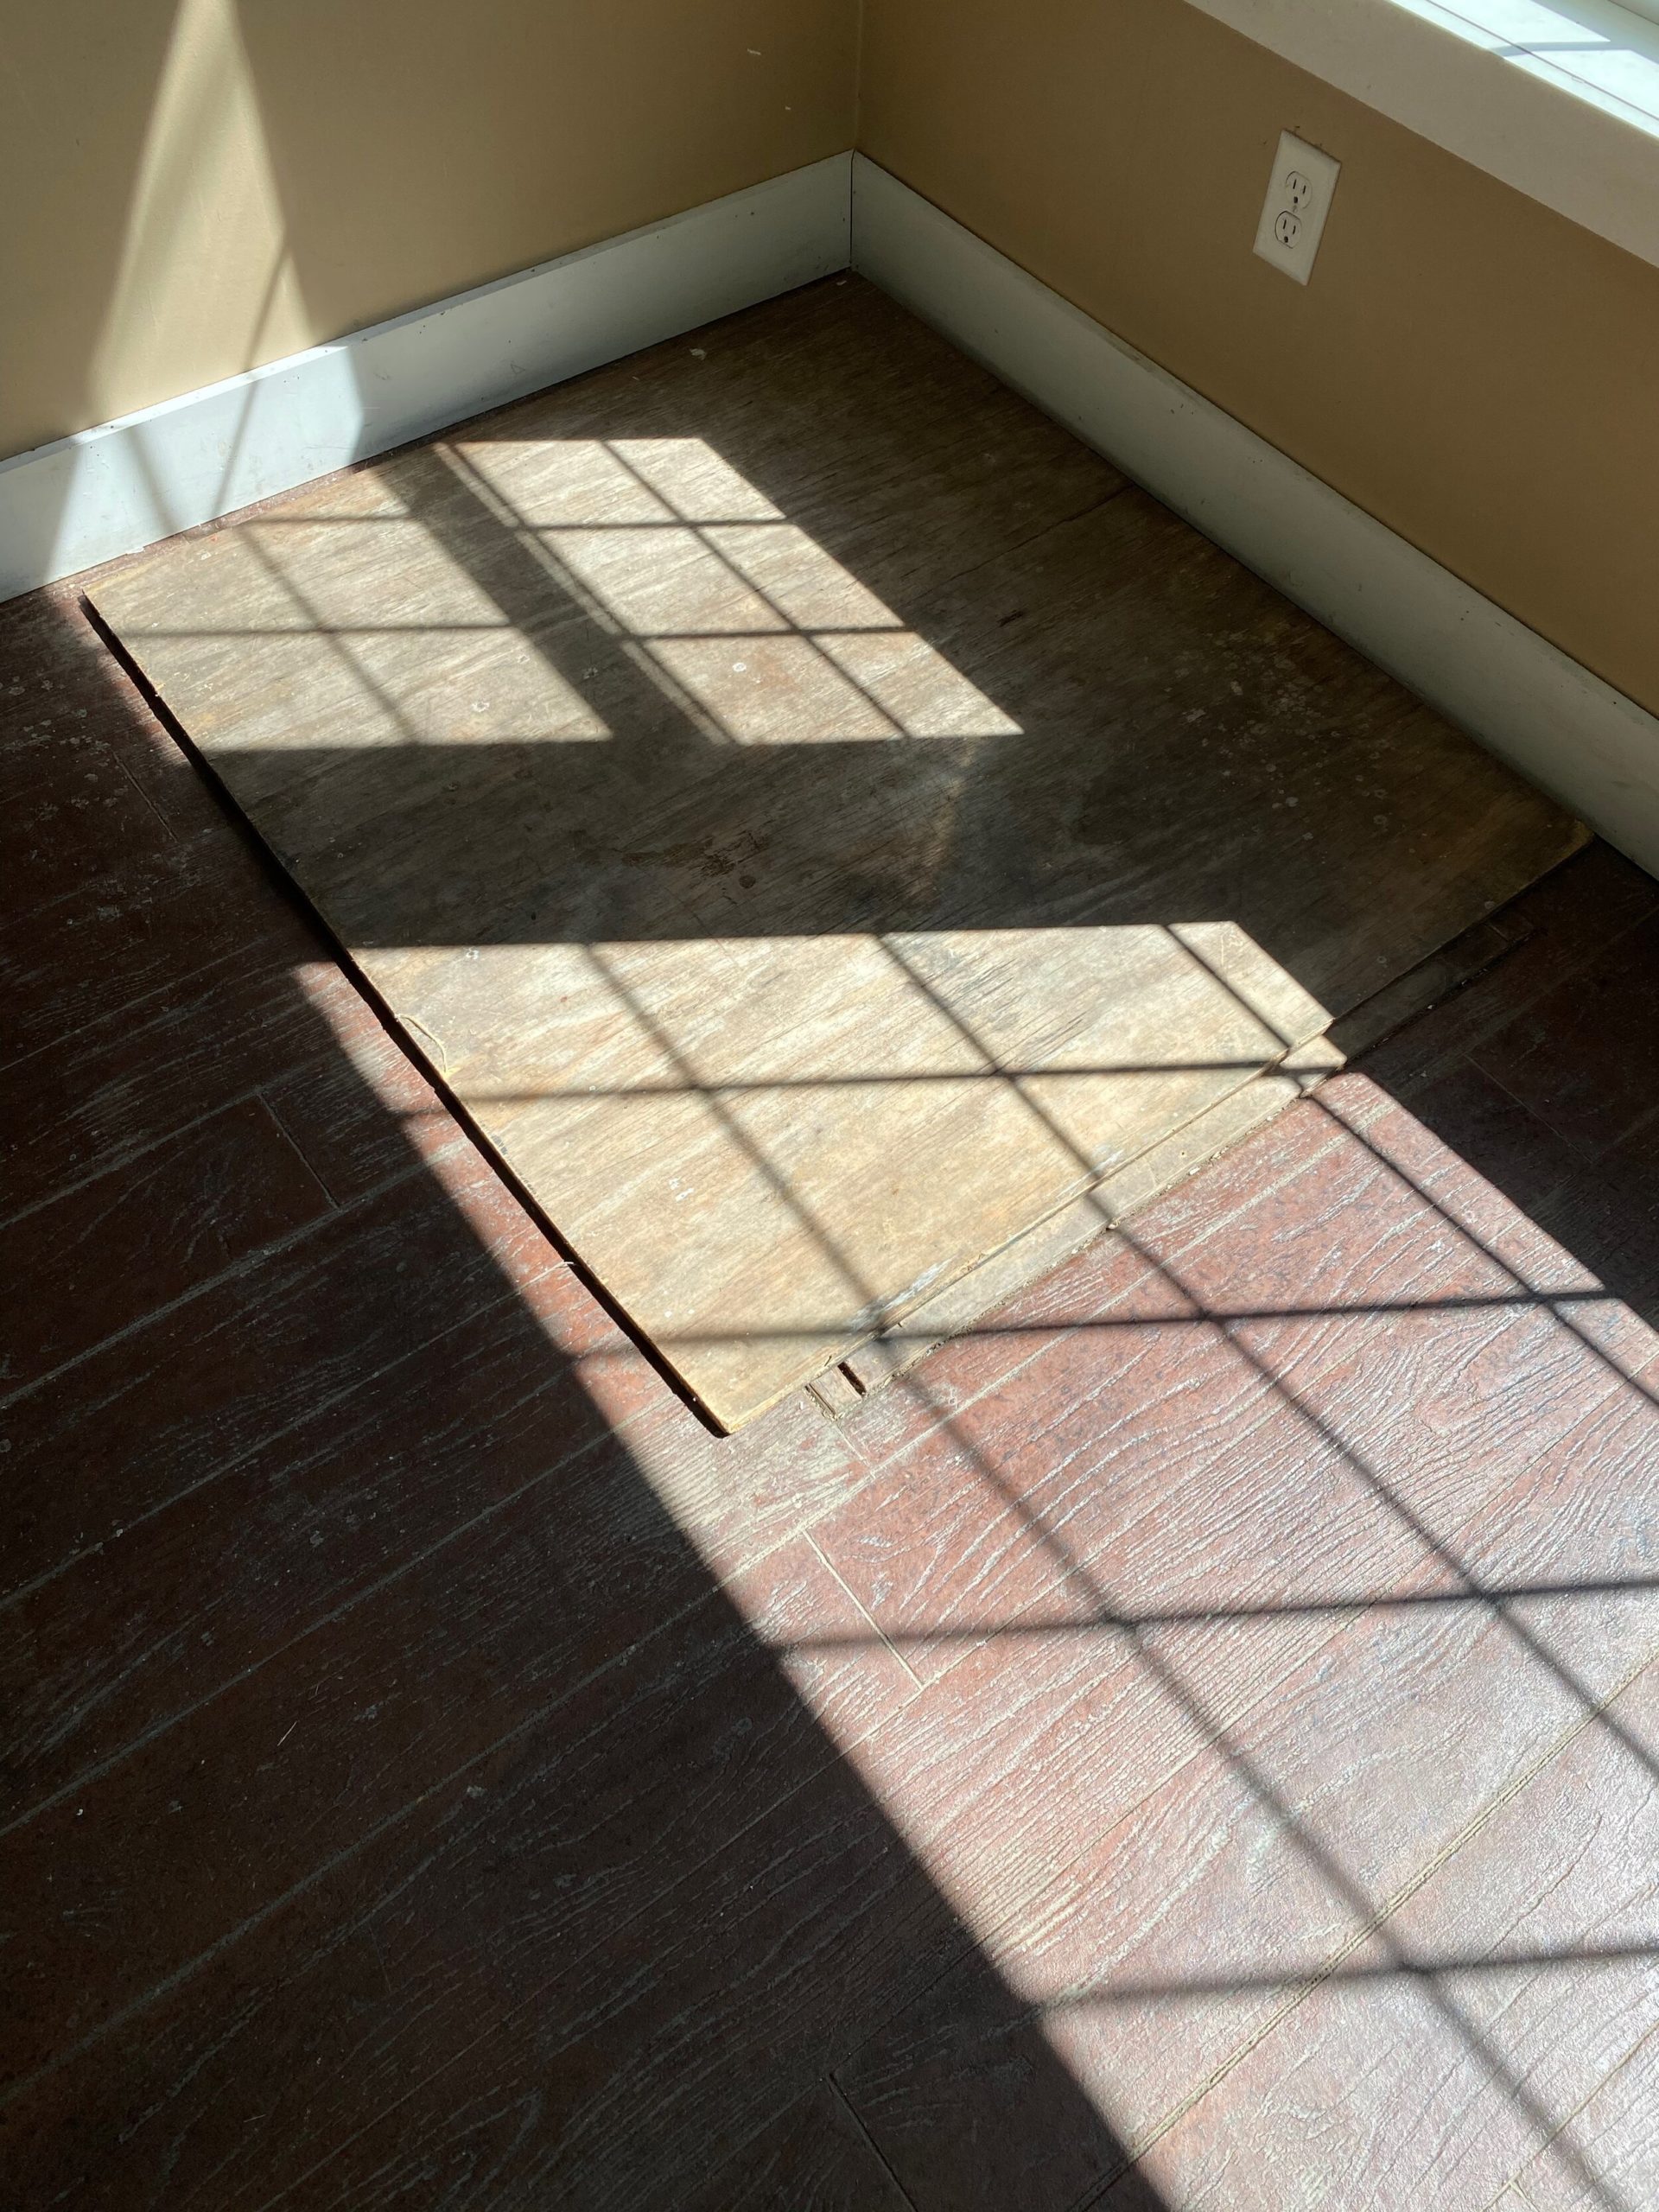
When we picked it up, it reveled an entire basement under the little house! It really is the weirdest thing and we were sure that dead bodies were down there, but luckily it was completely empty. Just smelling a bit dank.
The Plan
I spent many hours planning the space and thinking through how I wanted the new office to feel and to function. Below is a list of a few things I wanted to add.
- plumbing- it needed a bathroom and a sink for running water
- a wet bar so that I could have snacks and have a place to wash my paints
- light and bright- goodbye beige walls! hello more windows!
- a place to work at the computer, a place to paint and a sitting area to hang out
- a chandelier… because chandeliers make everything better
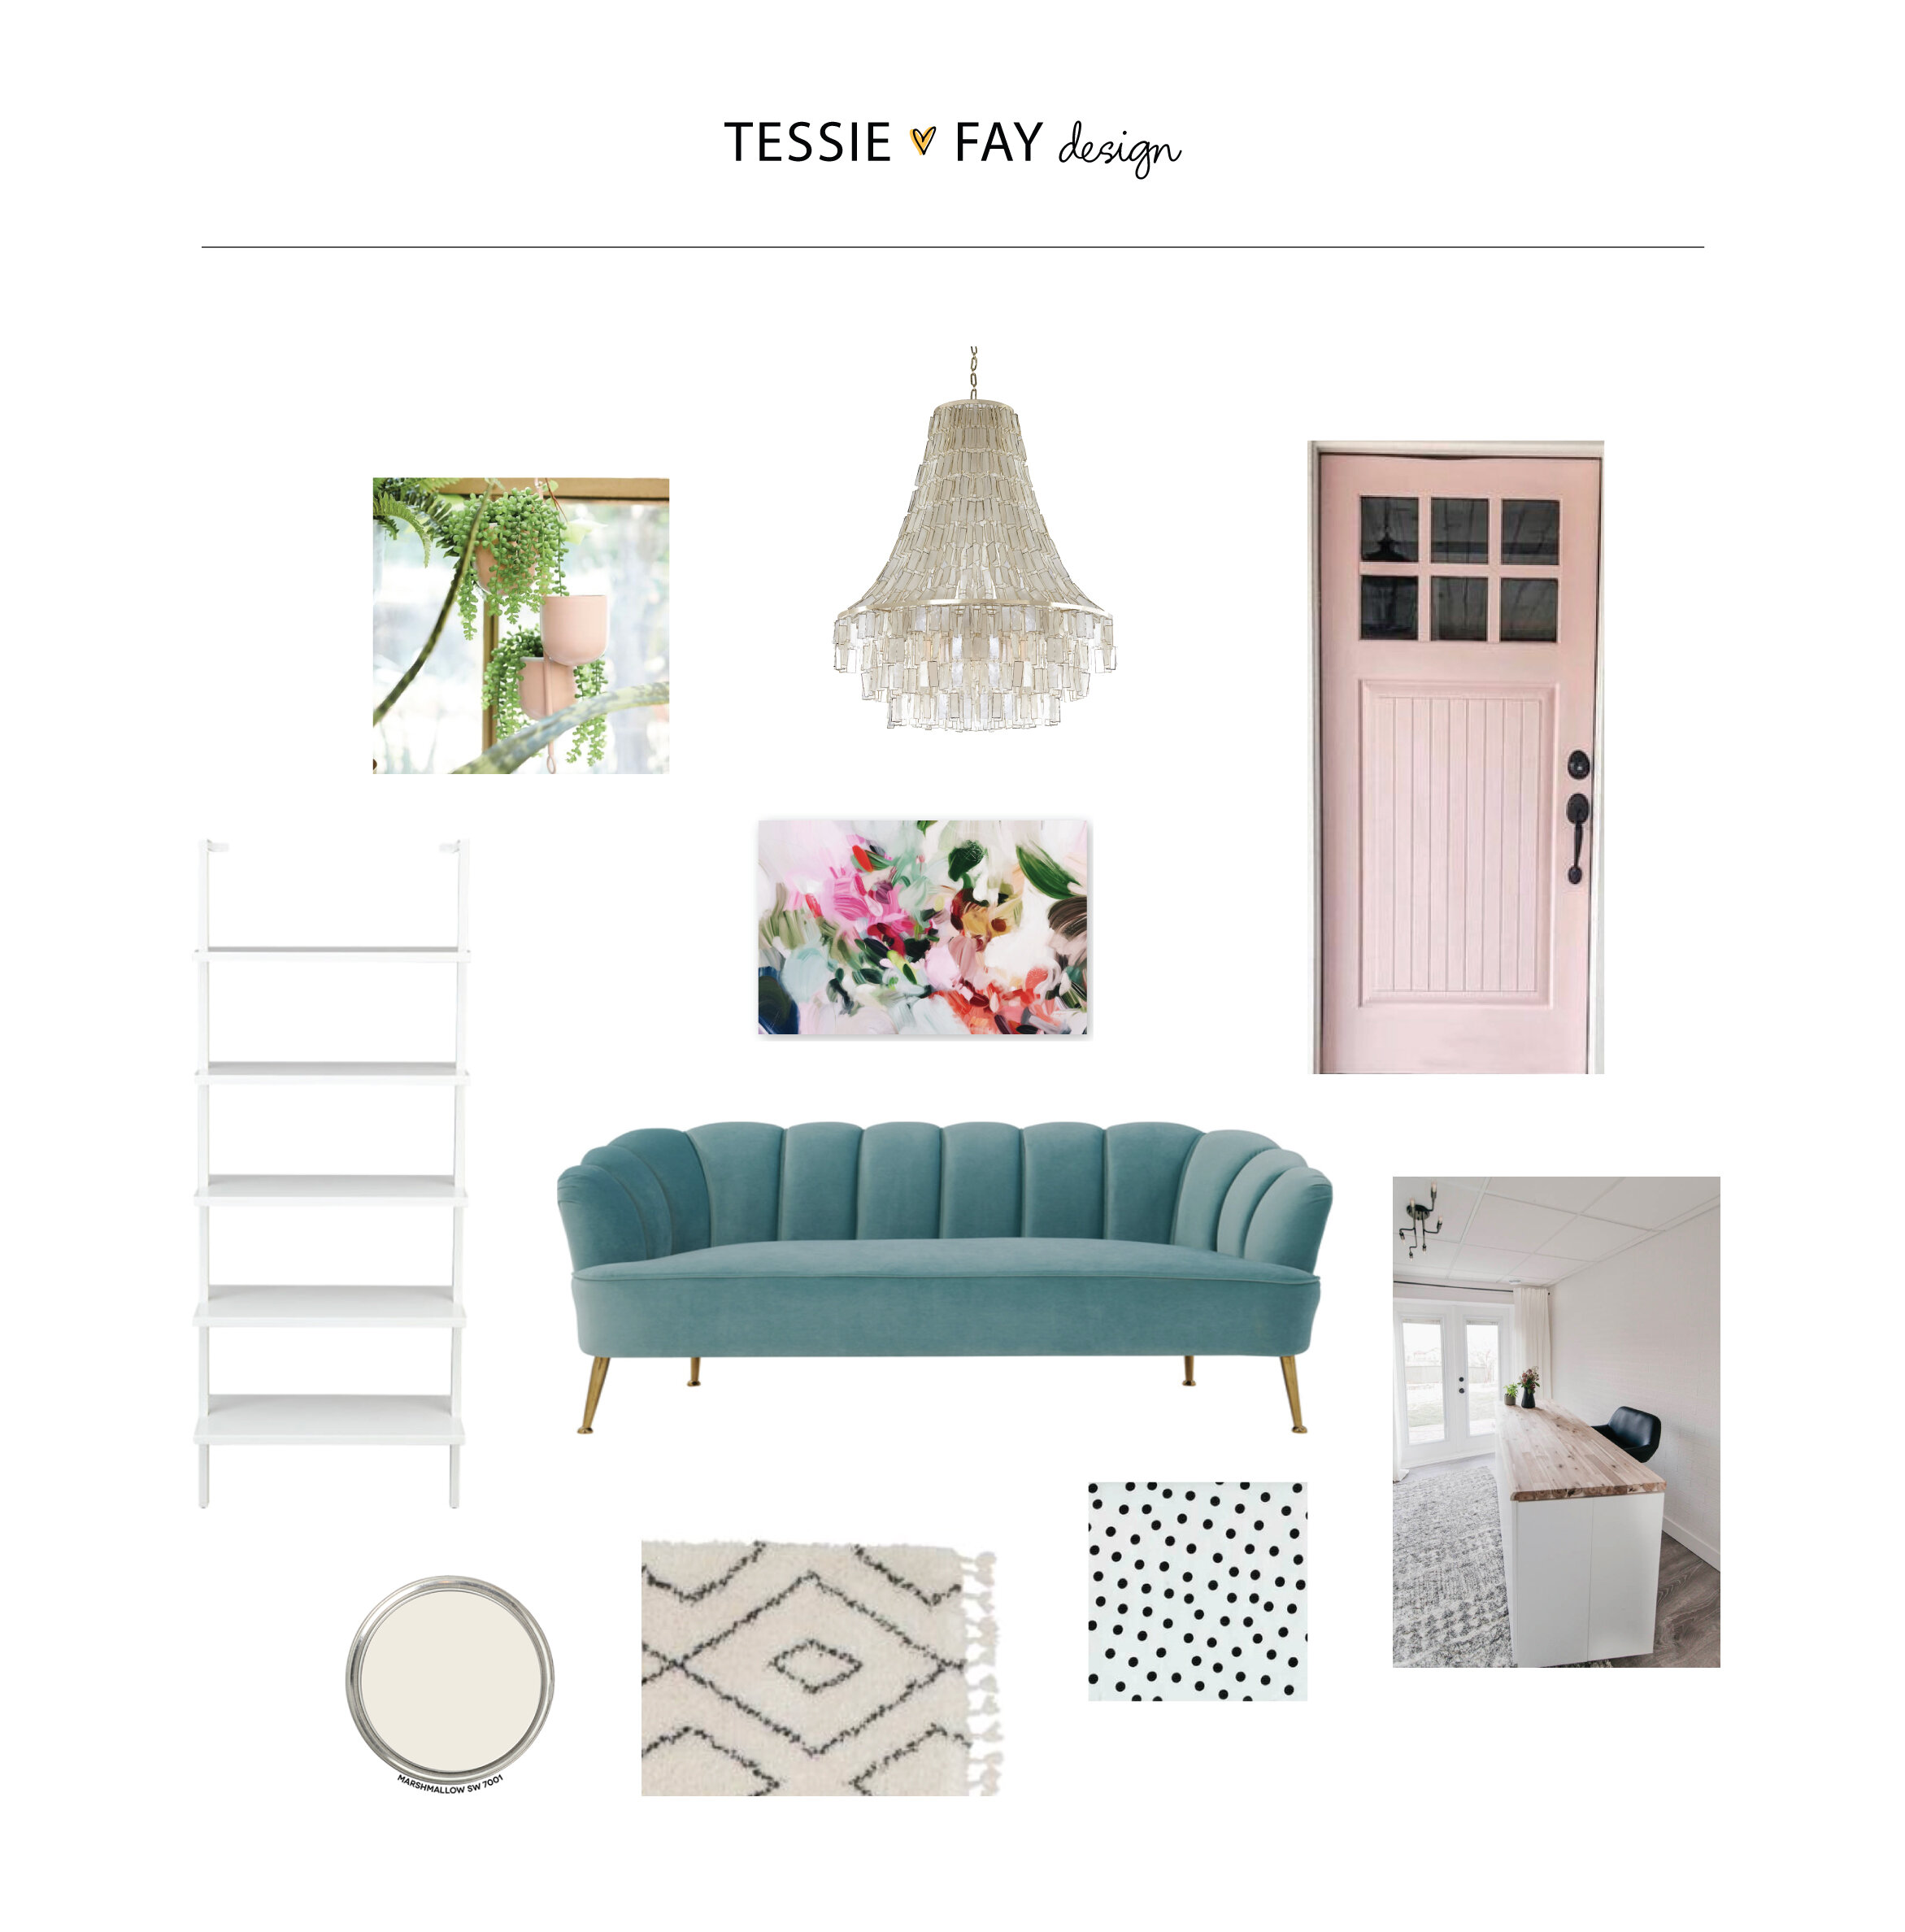
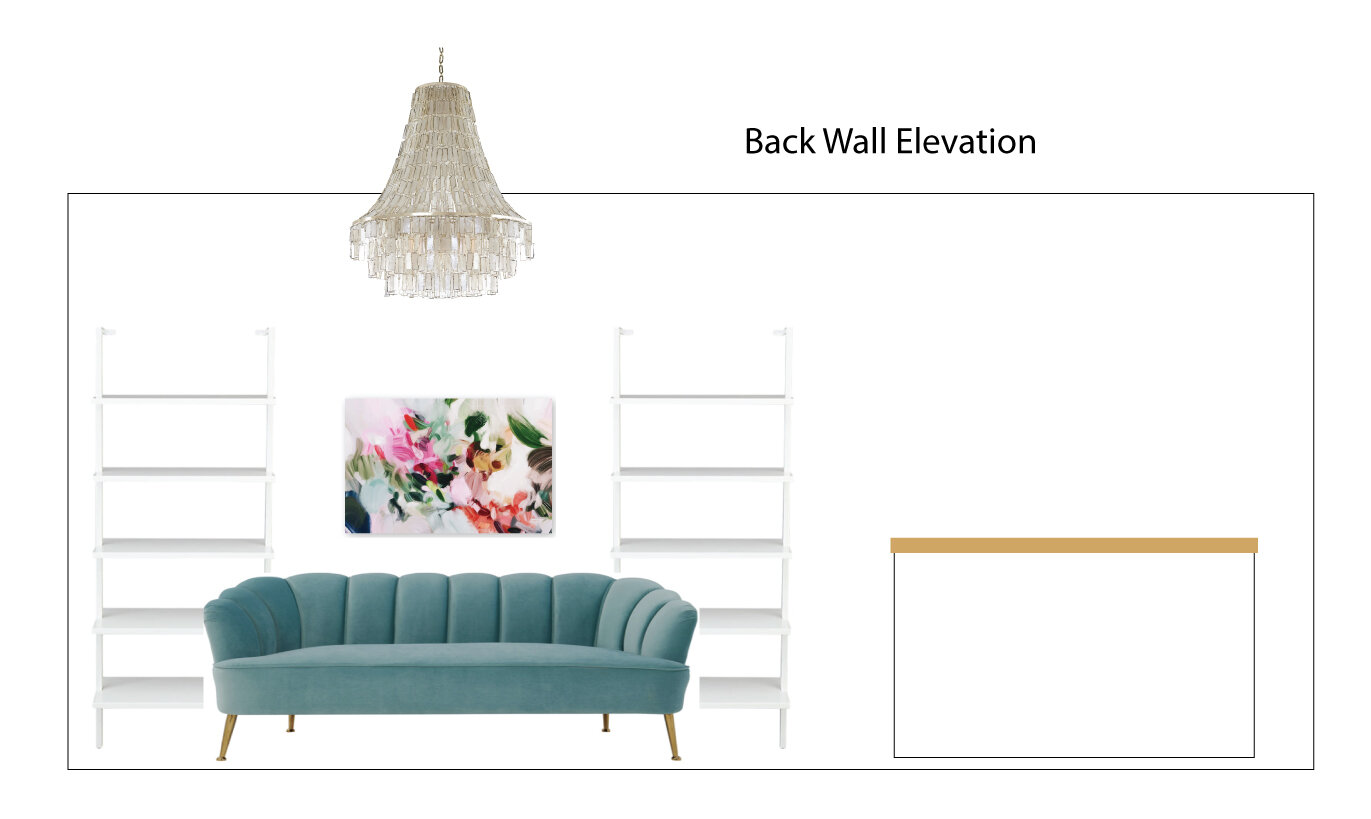
Mood Board
Below you can see the initial mood board I created for the space.
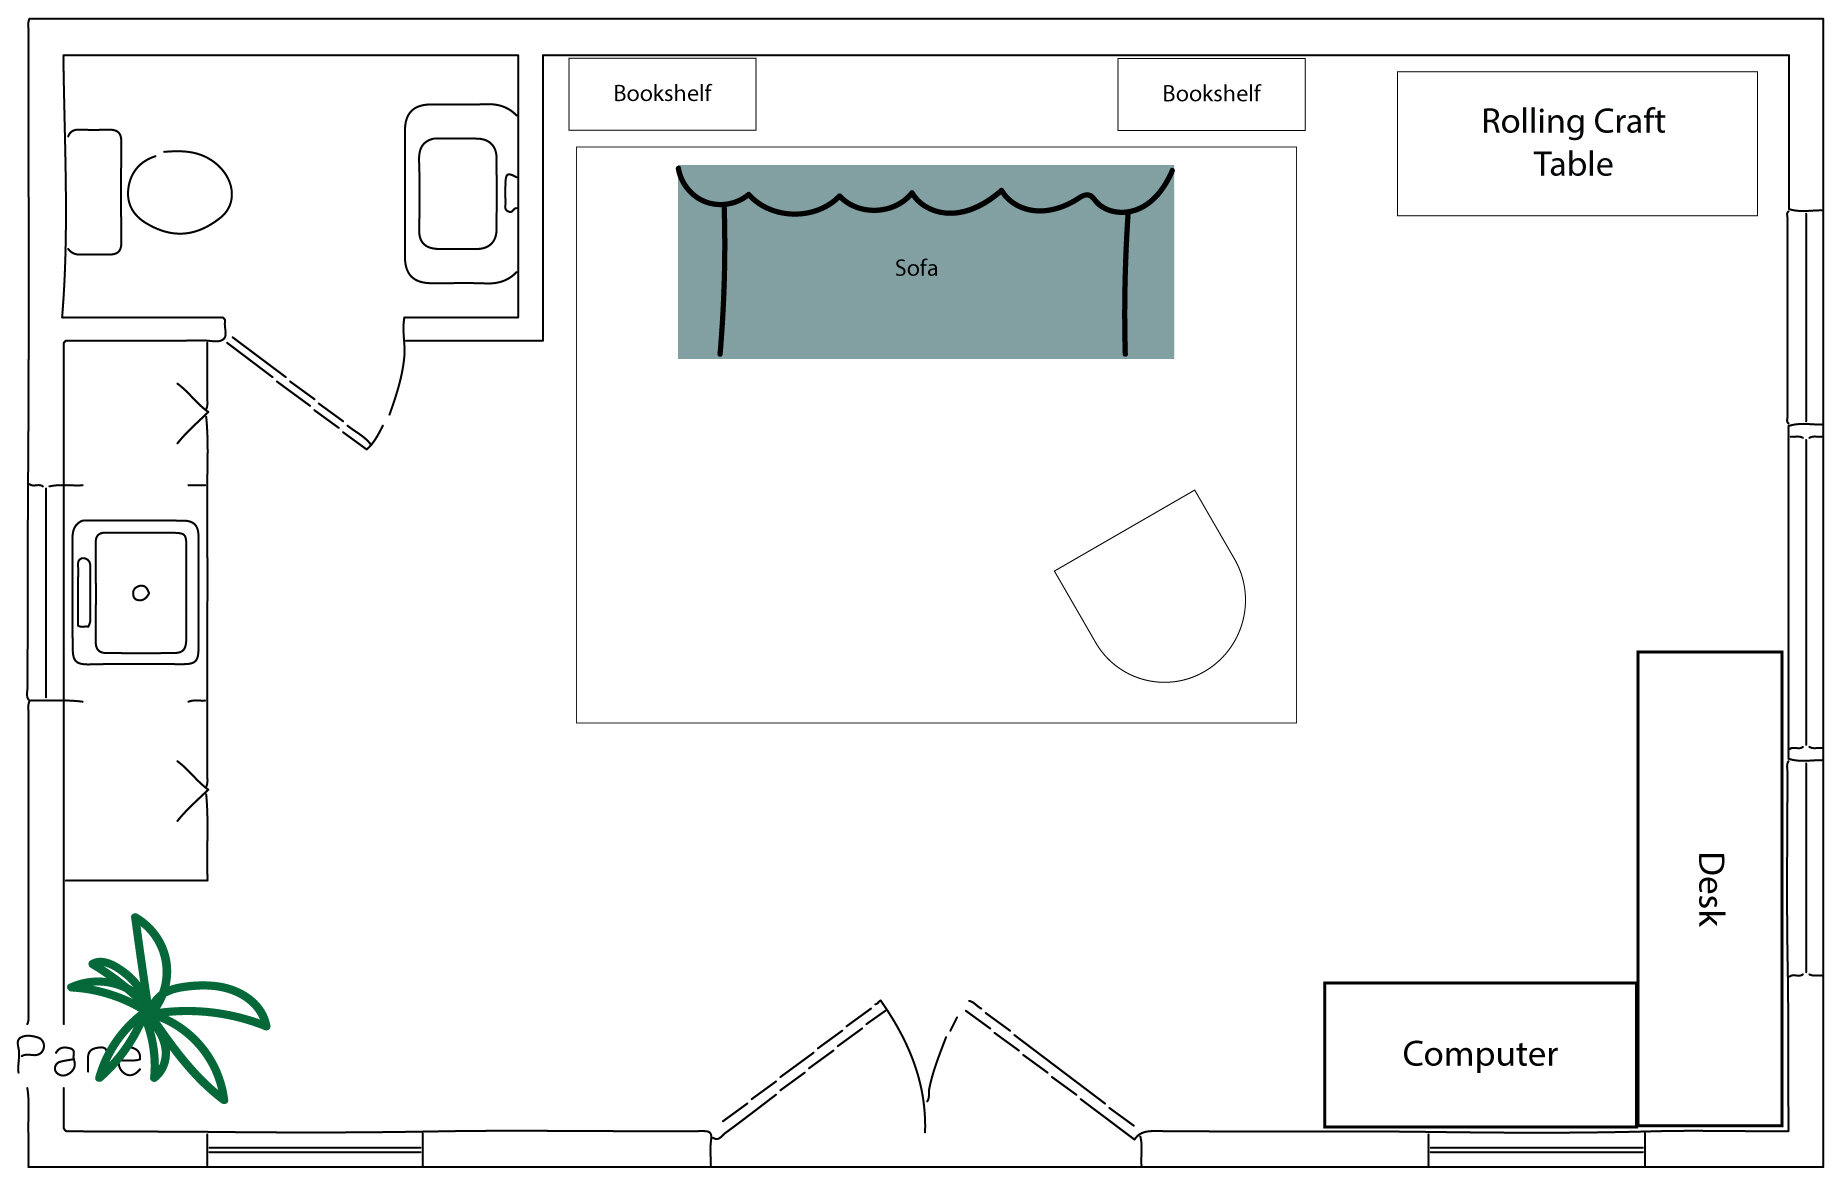
And here’s the floorpan to give you a bird’s eye view.
The Process
After the plan was in place, we hired a contractor (Chad from Mike Kompelien Custom Homes) who was FABULOUS!!!!
In the initial planning stages with my contractor Chad, he had the brilliant idea to remove the roof and loft the ceilings. I’m sure I never would’ve thought of it on my own, but the minute he said it I knew it was a stroke of genius!
We ripped everything out down to the studs, took out the ceiling, and decided to add 2 new windows in the previous attic space.
Once the ceiling was removed I was absolutely amazed at how much bigger and grander it felt. It was crazy to believe that it was even the same space!
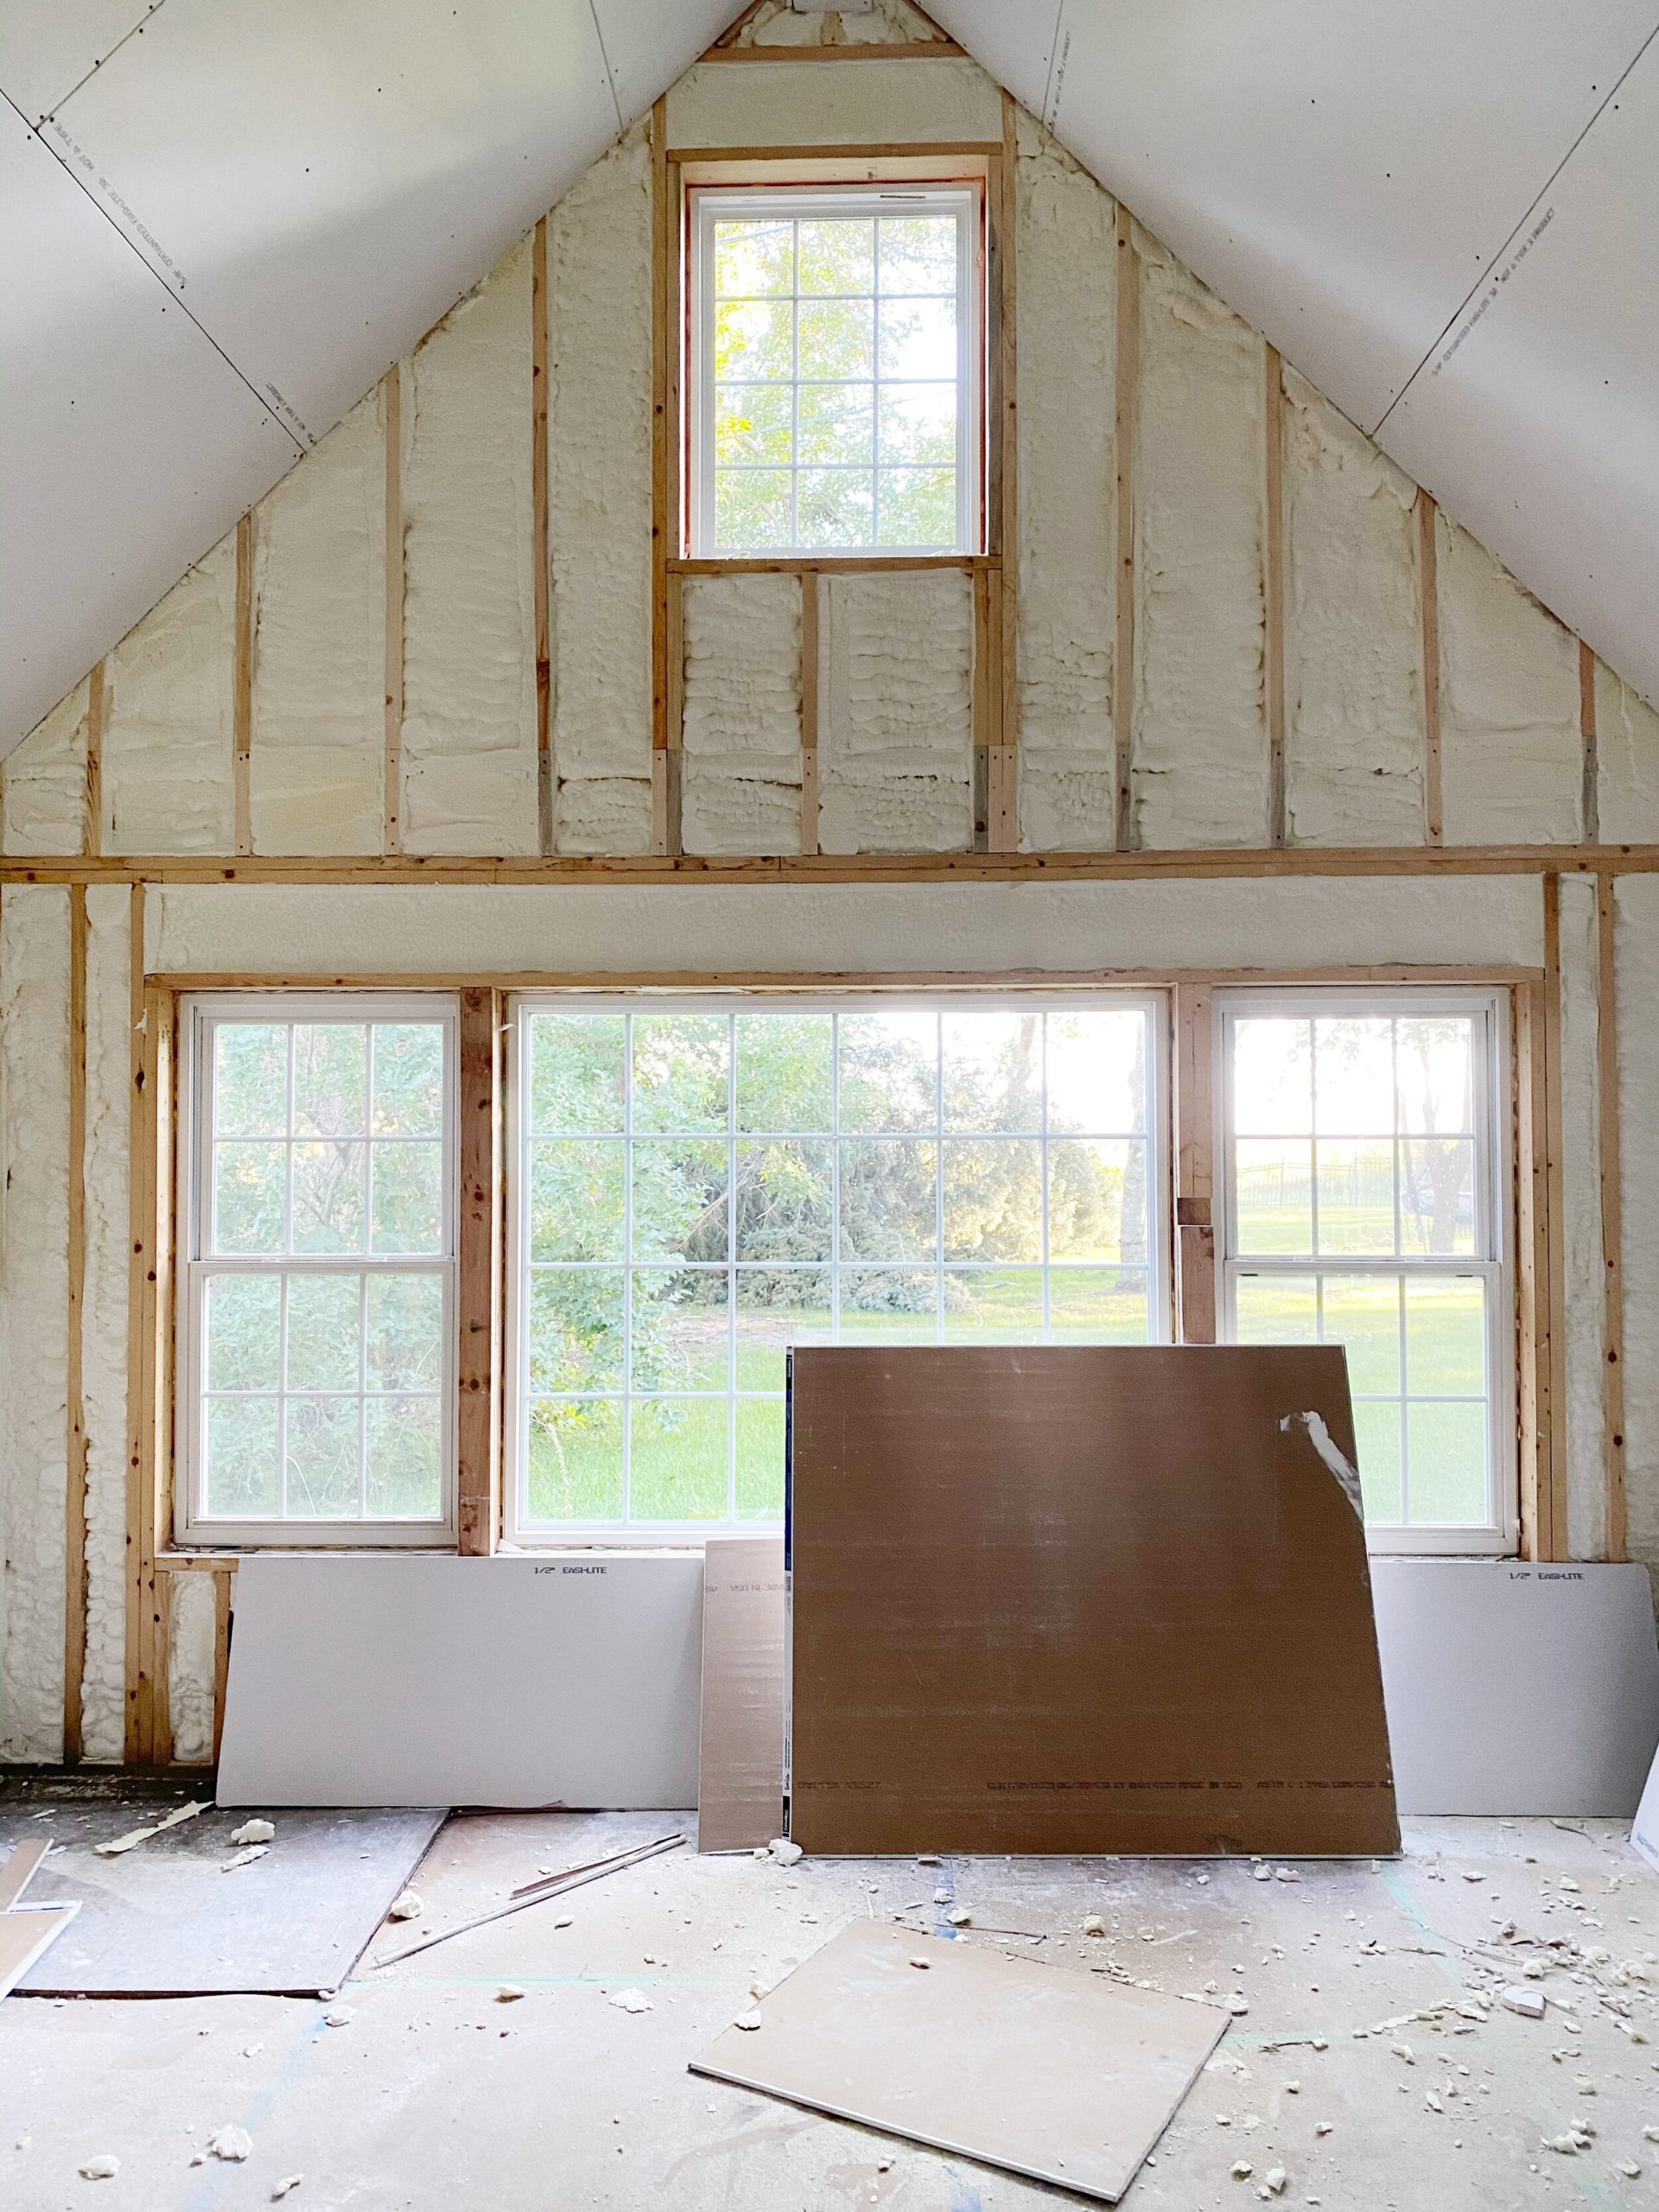
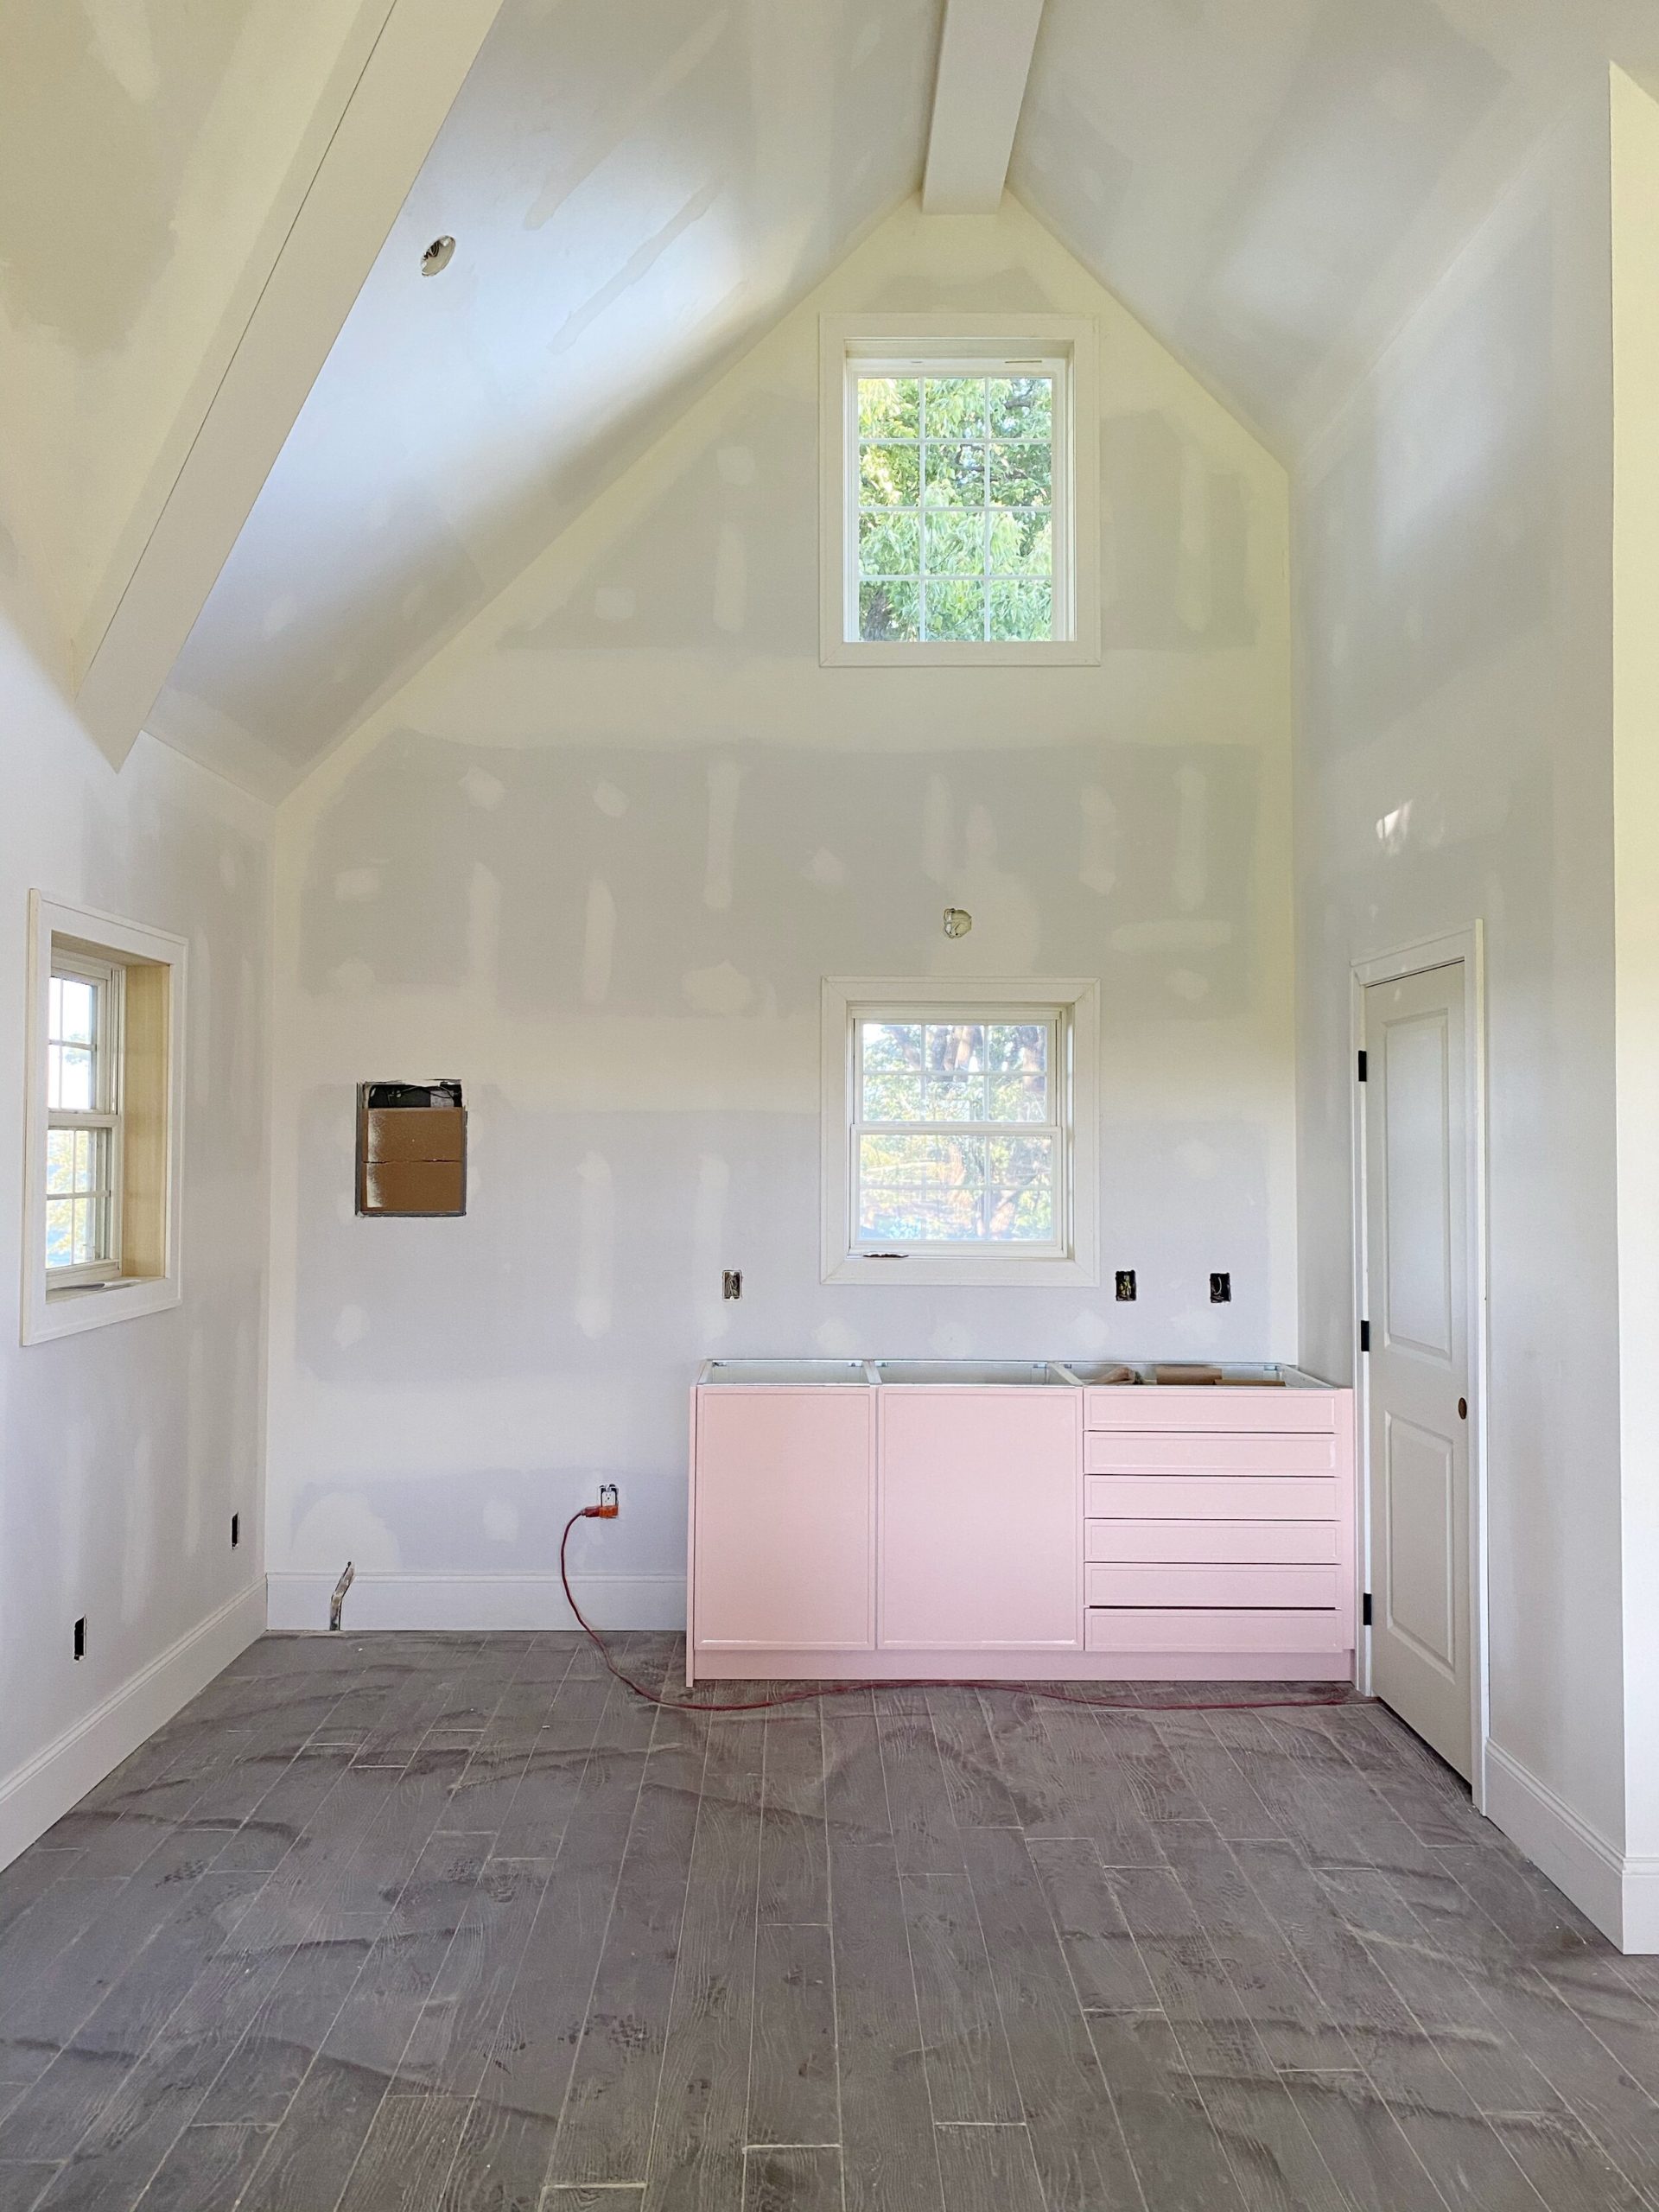
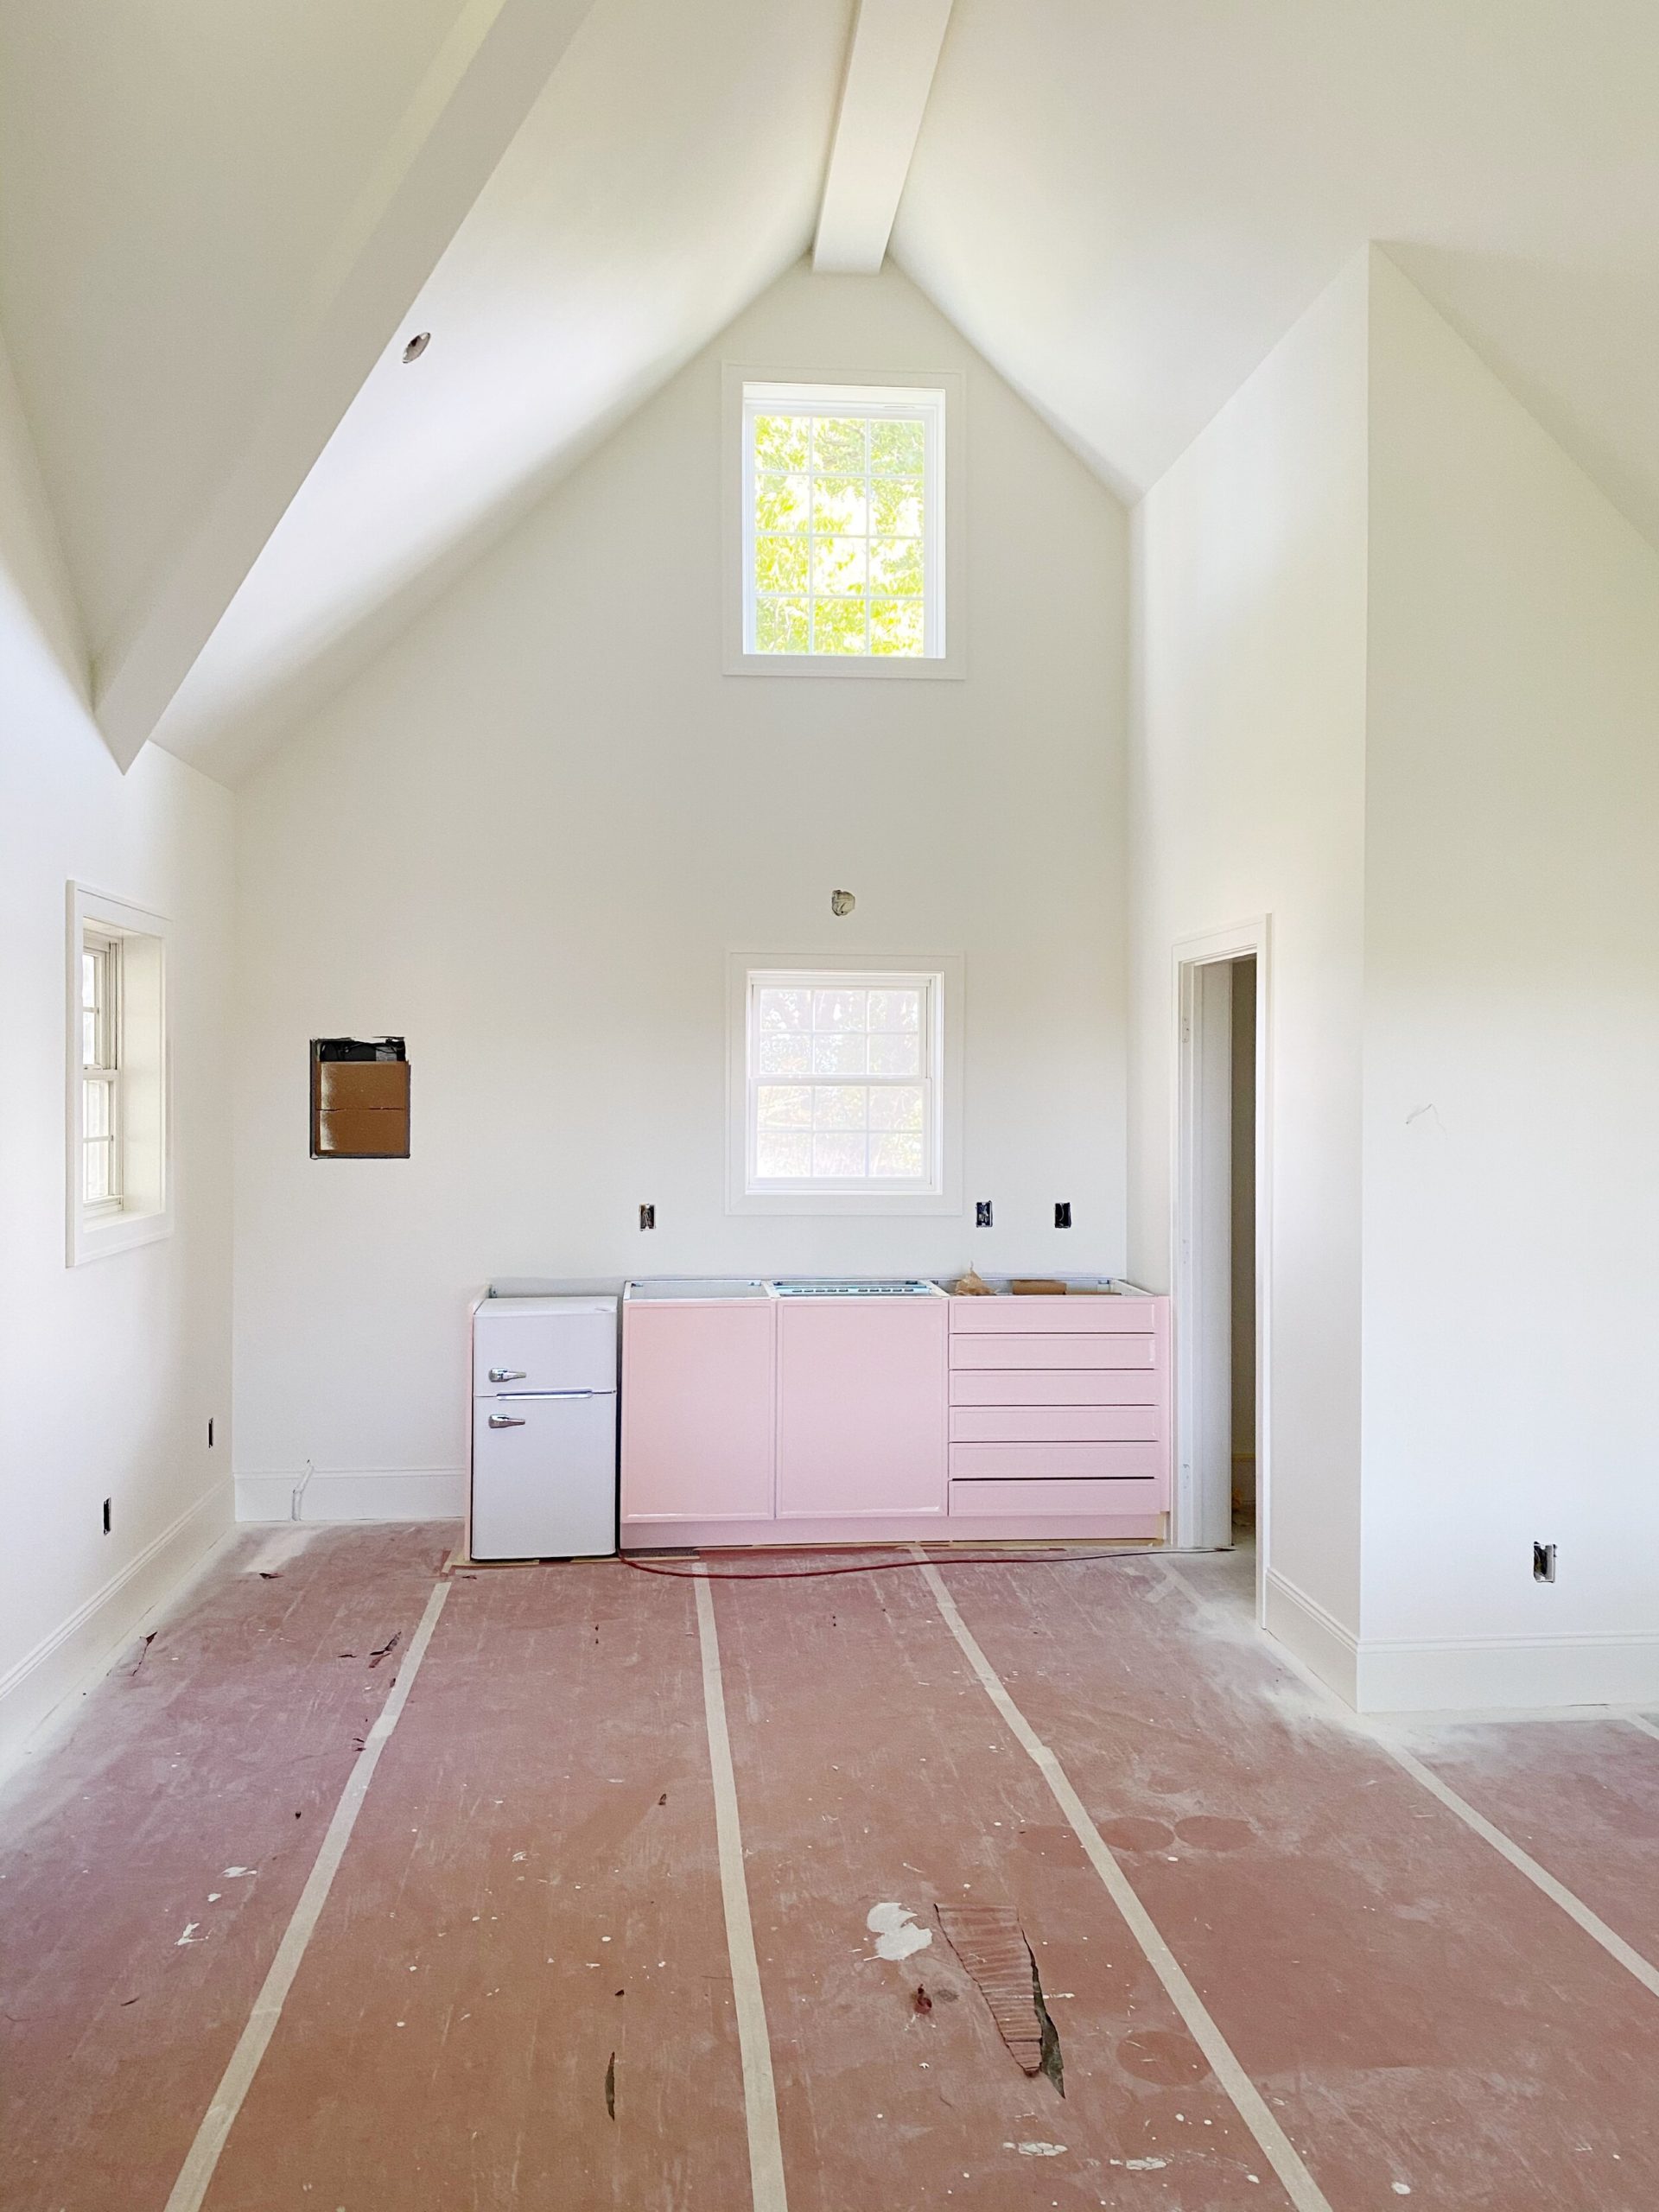
After the demo came time to install two new windows, add spray foam insulation, and drywall.
I feel like every stage of the renovation was gorgeous. (Or maybe it just seemed gorgeous because of my bursting excitement. Ha!)
Each day after the crew finished working I would beeline for the house to see the progress for the day. I was like a kid in a candy shop seeing my vision take shape day after day.
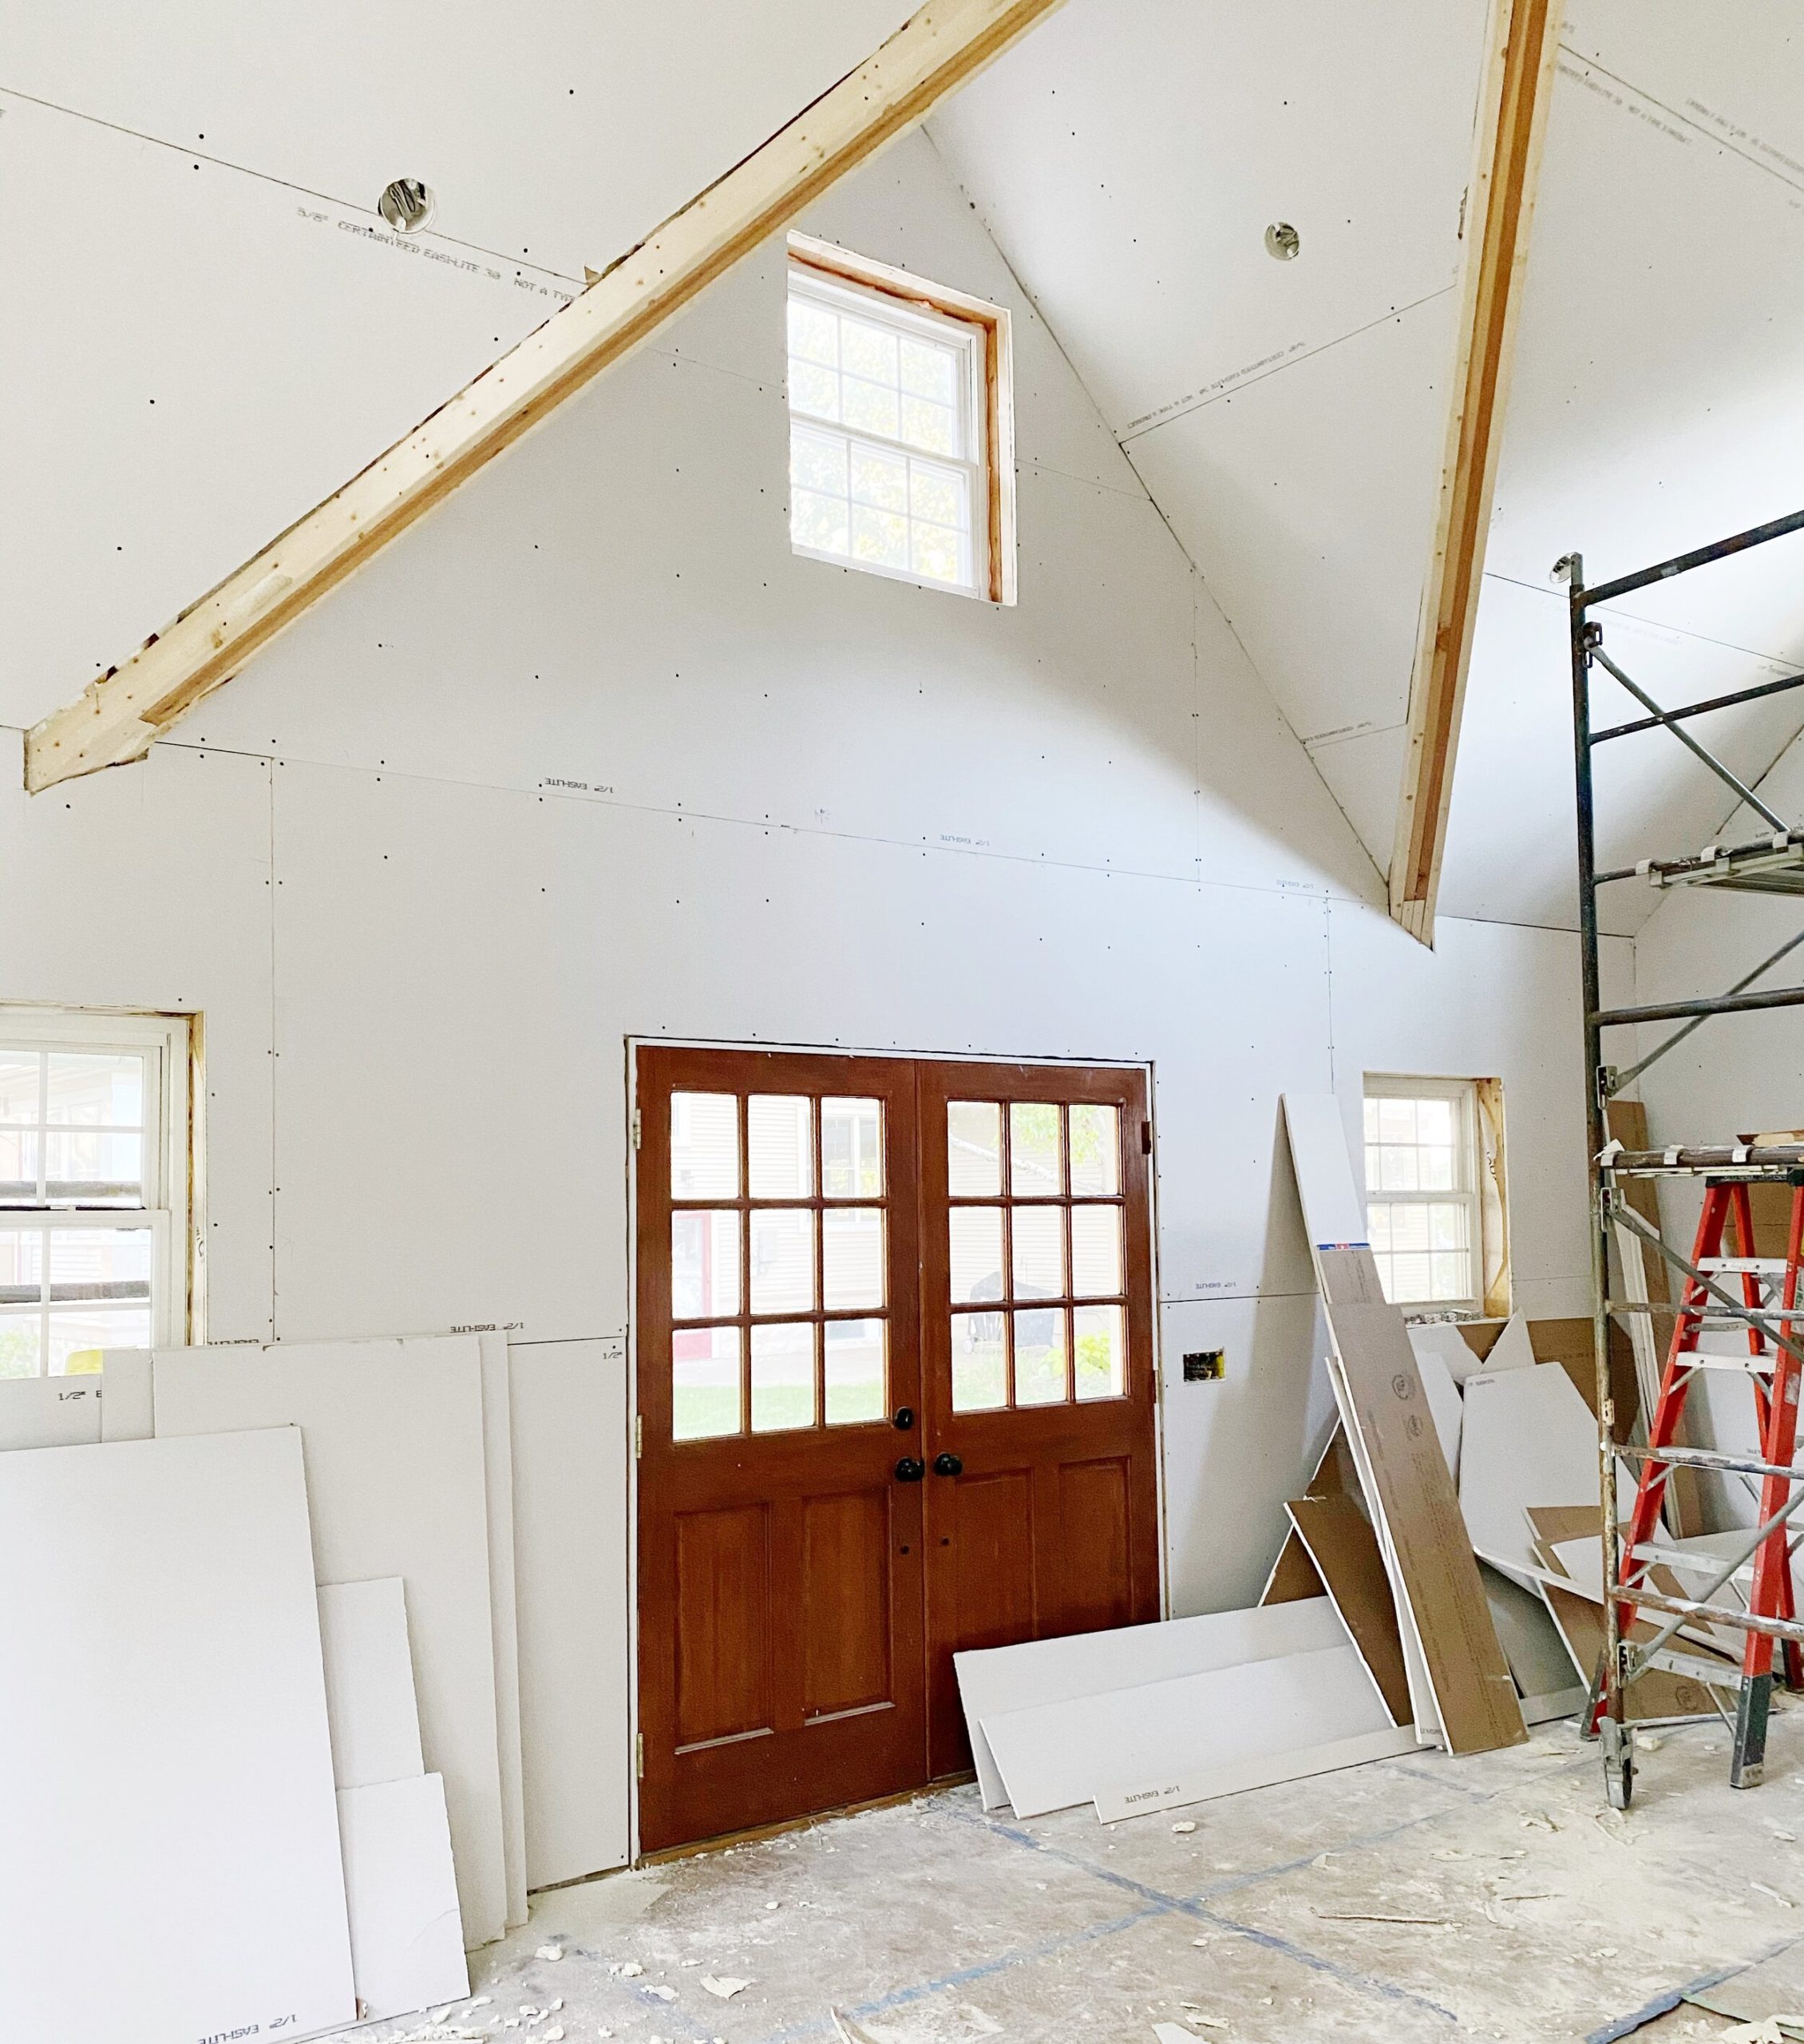
After the drywall went up everything was taped and mudded and the wet bar cabinets were installed.
For the cabinets I went with Ikea bases and custom door fronts from SemiHandmade. I chose the blush quarterline cabinet fronts.
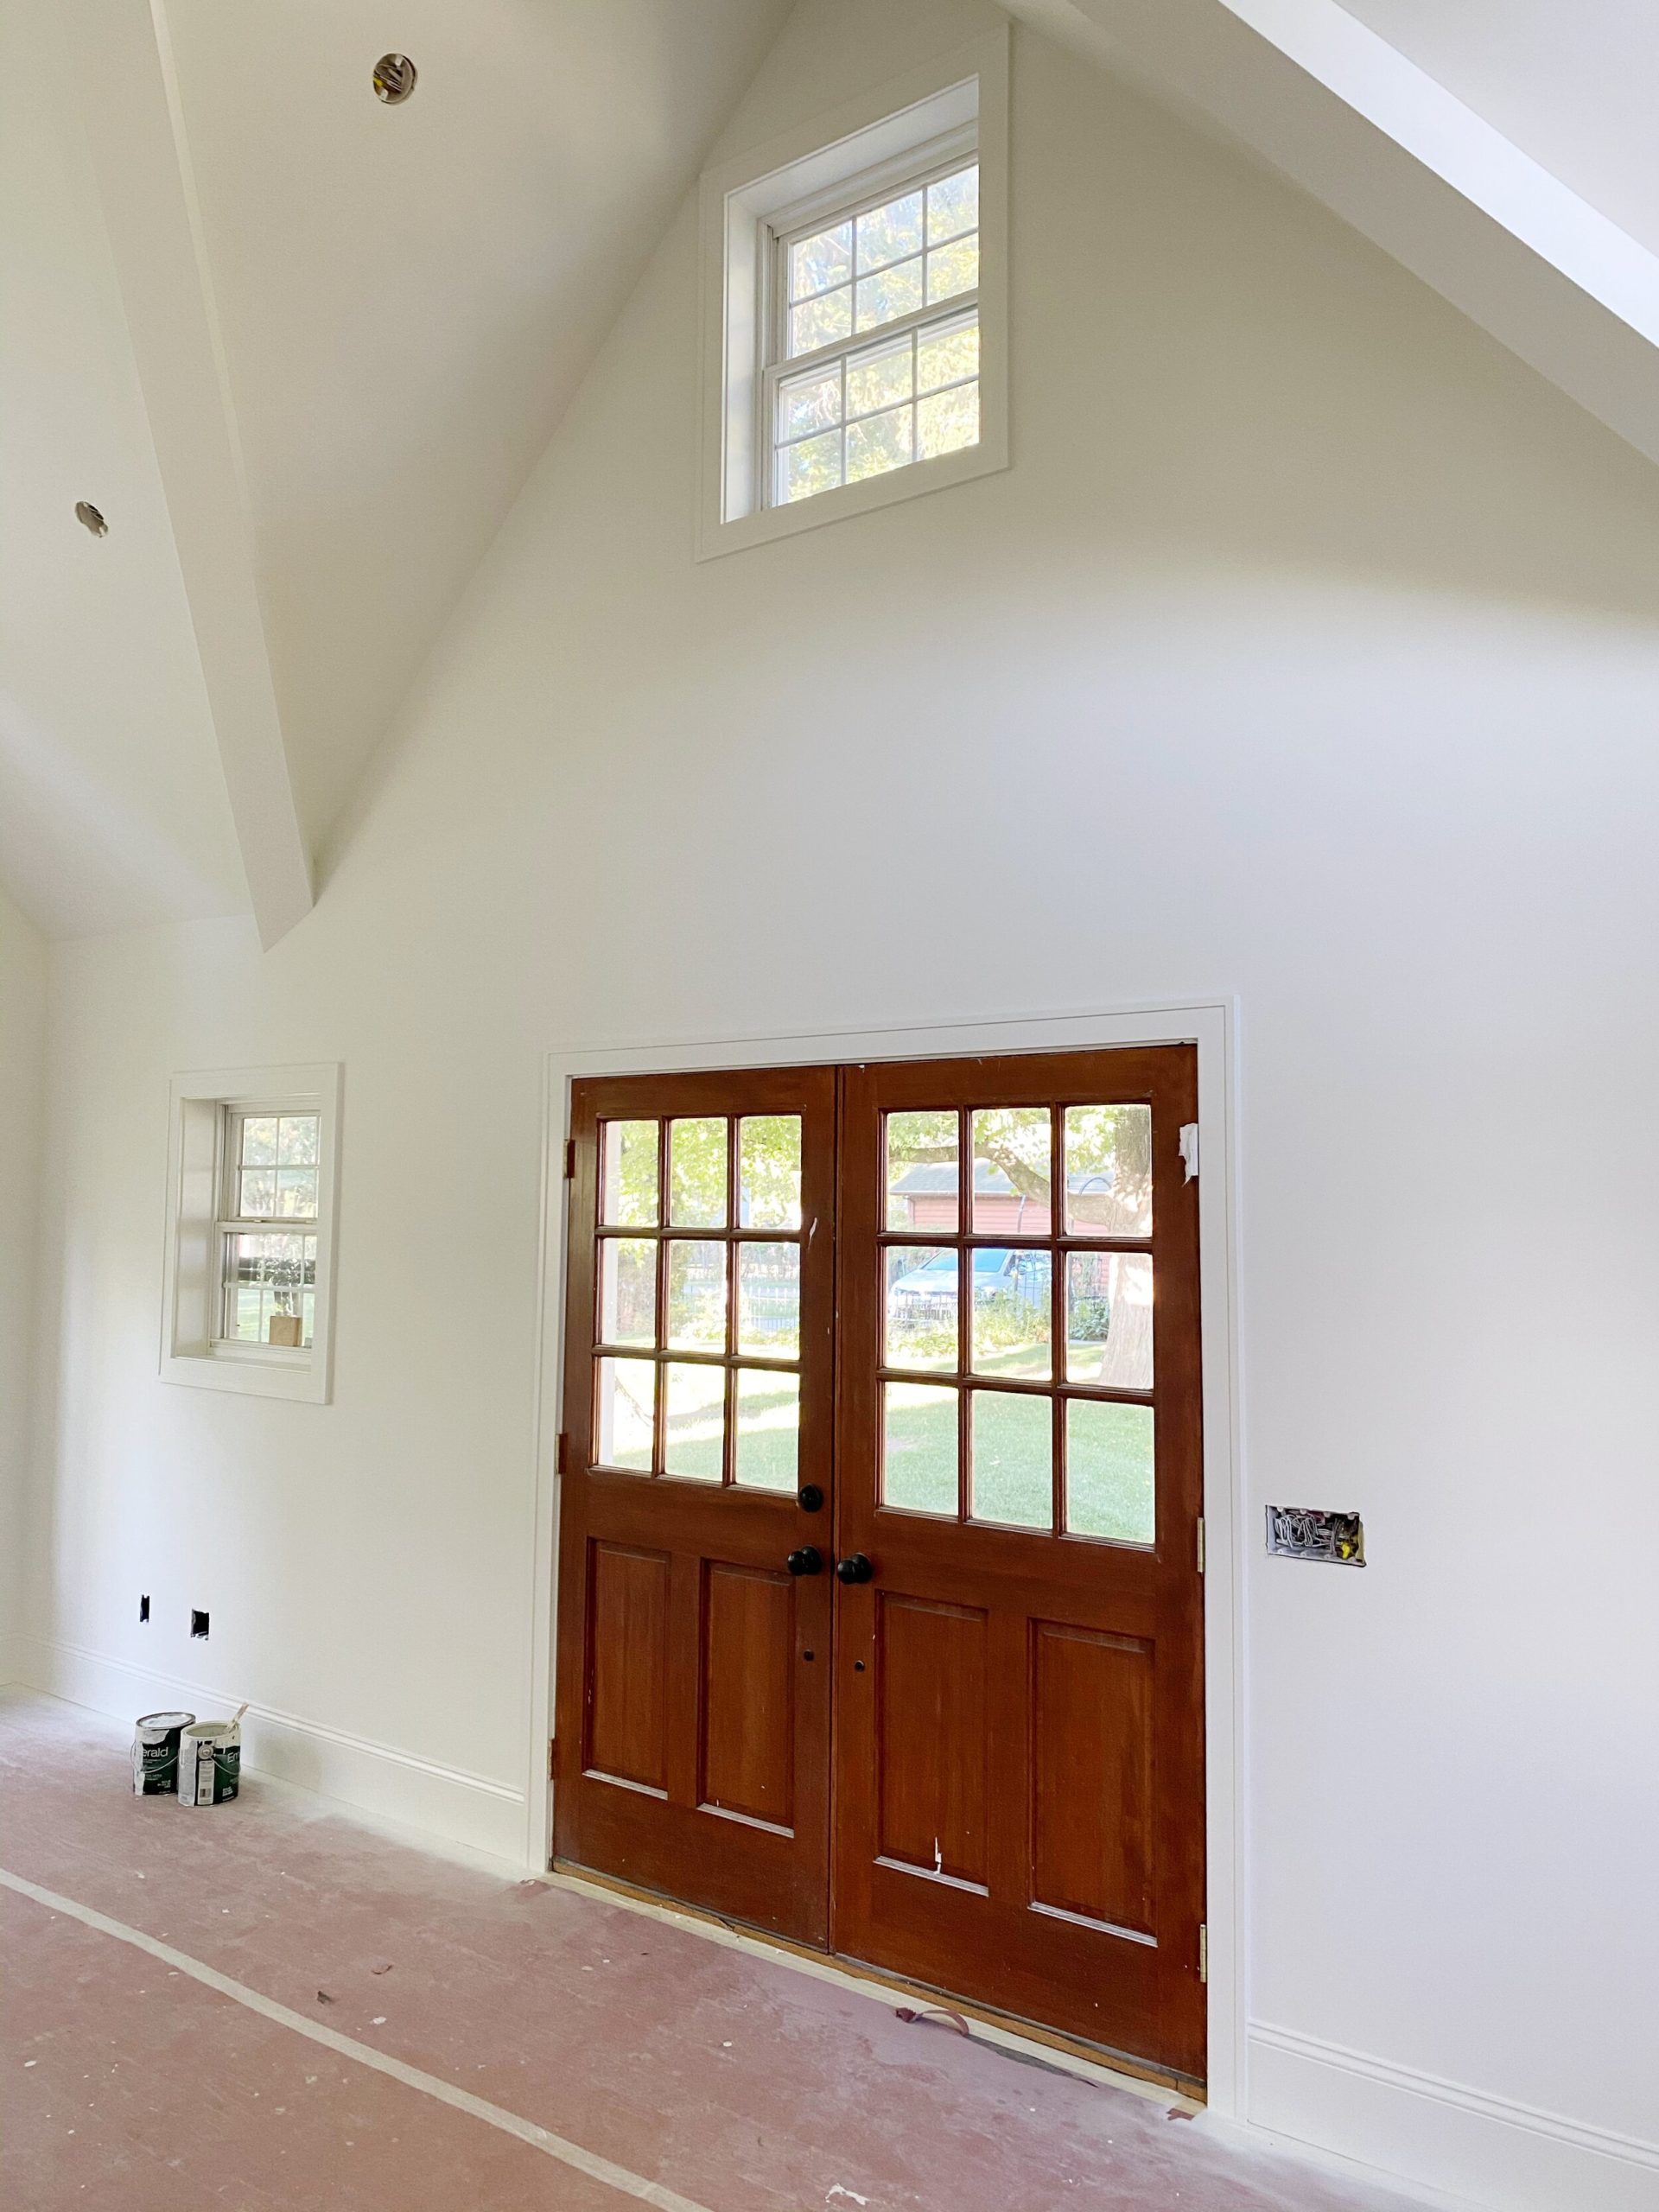
After the trim and cabinets were up, the painting began!
I chose Sherwin Williams Alabaster White for both walls and trim and I couldn’t be happier with how it turned out. It’s the perfect warm white in my opinion.
Initially I was planning on painting the double doors, but I ended up leaving them as is. Ultimately it was nice to have some deep warm wood to balance out the expanse of clean white.
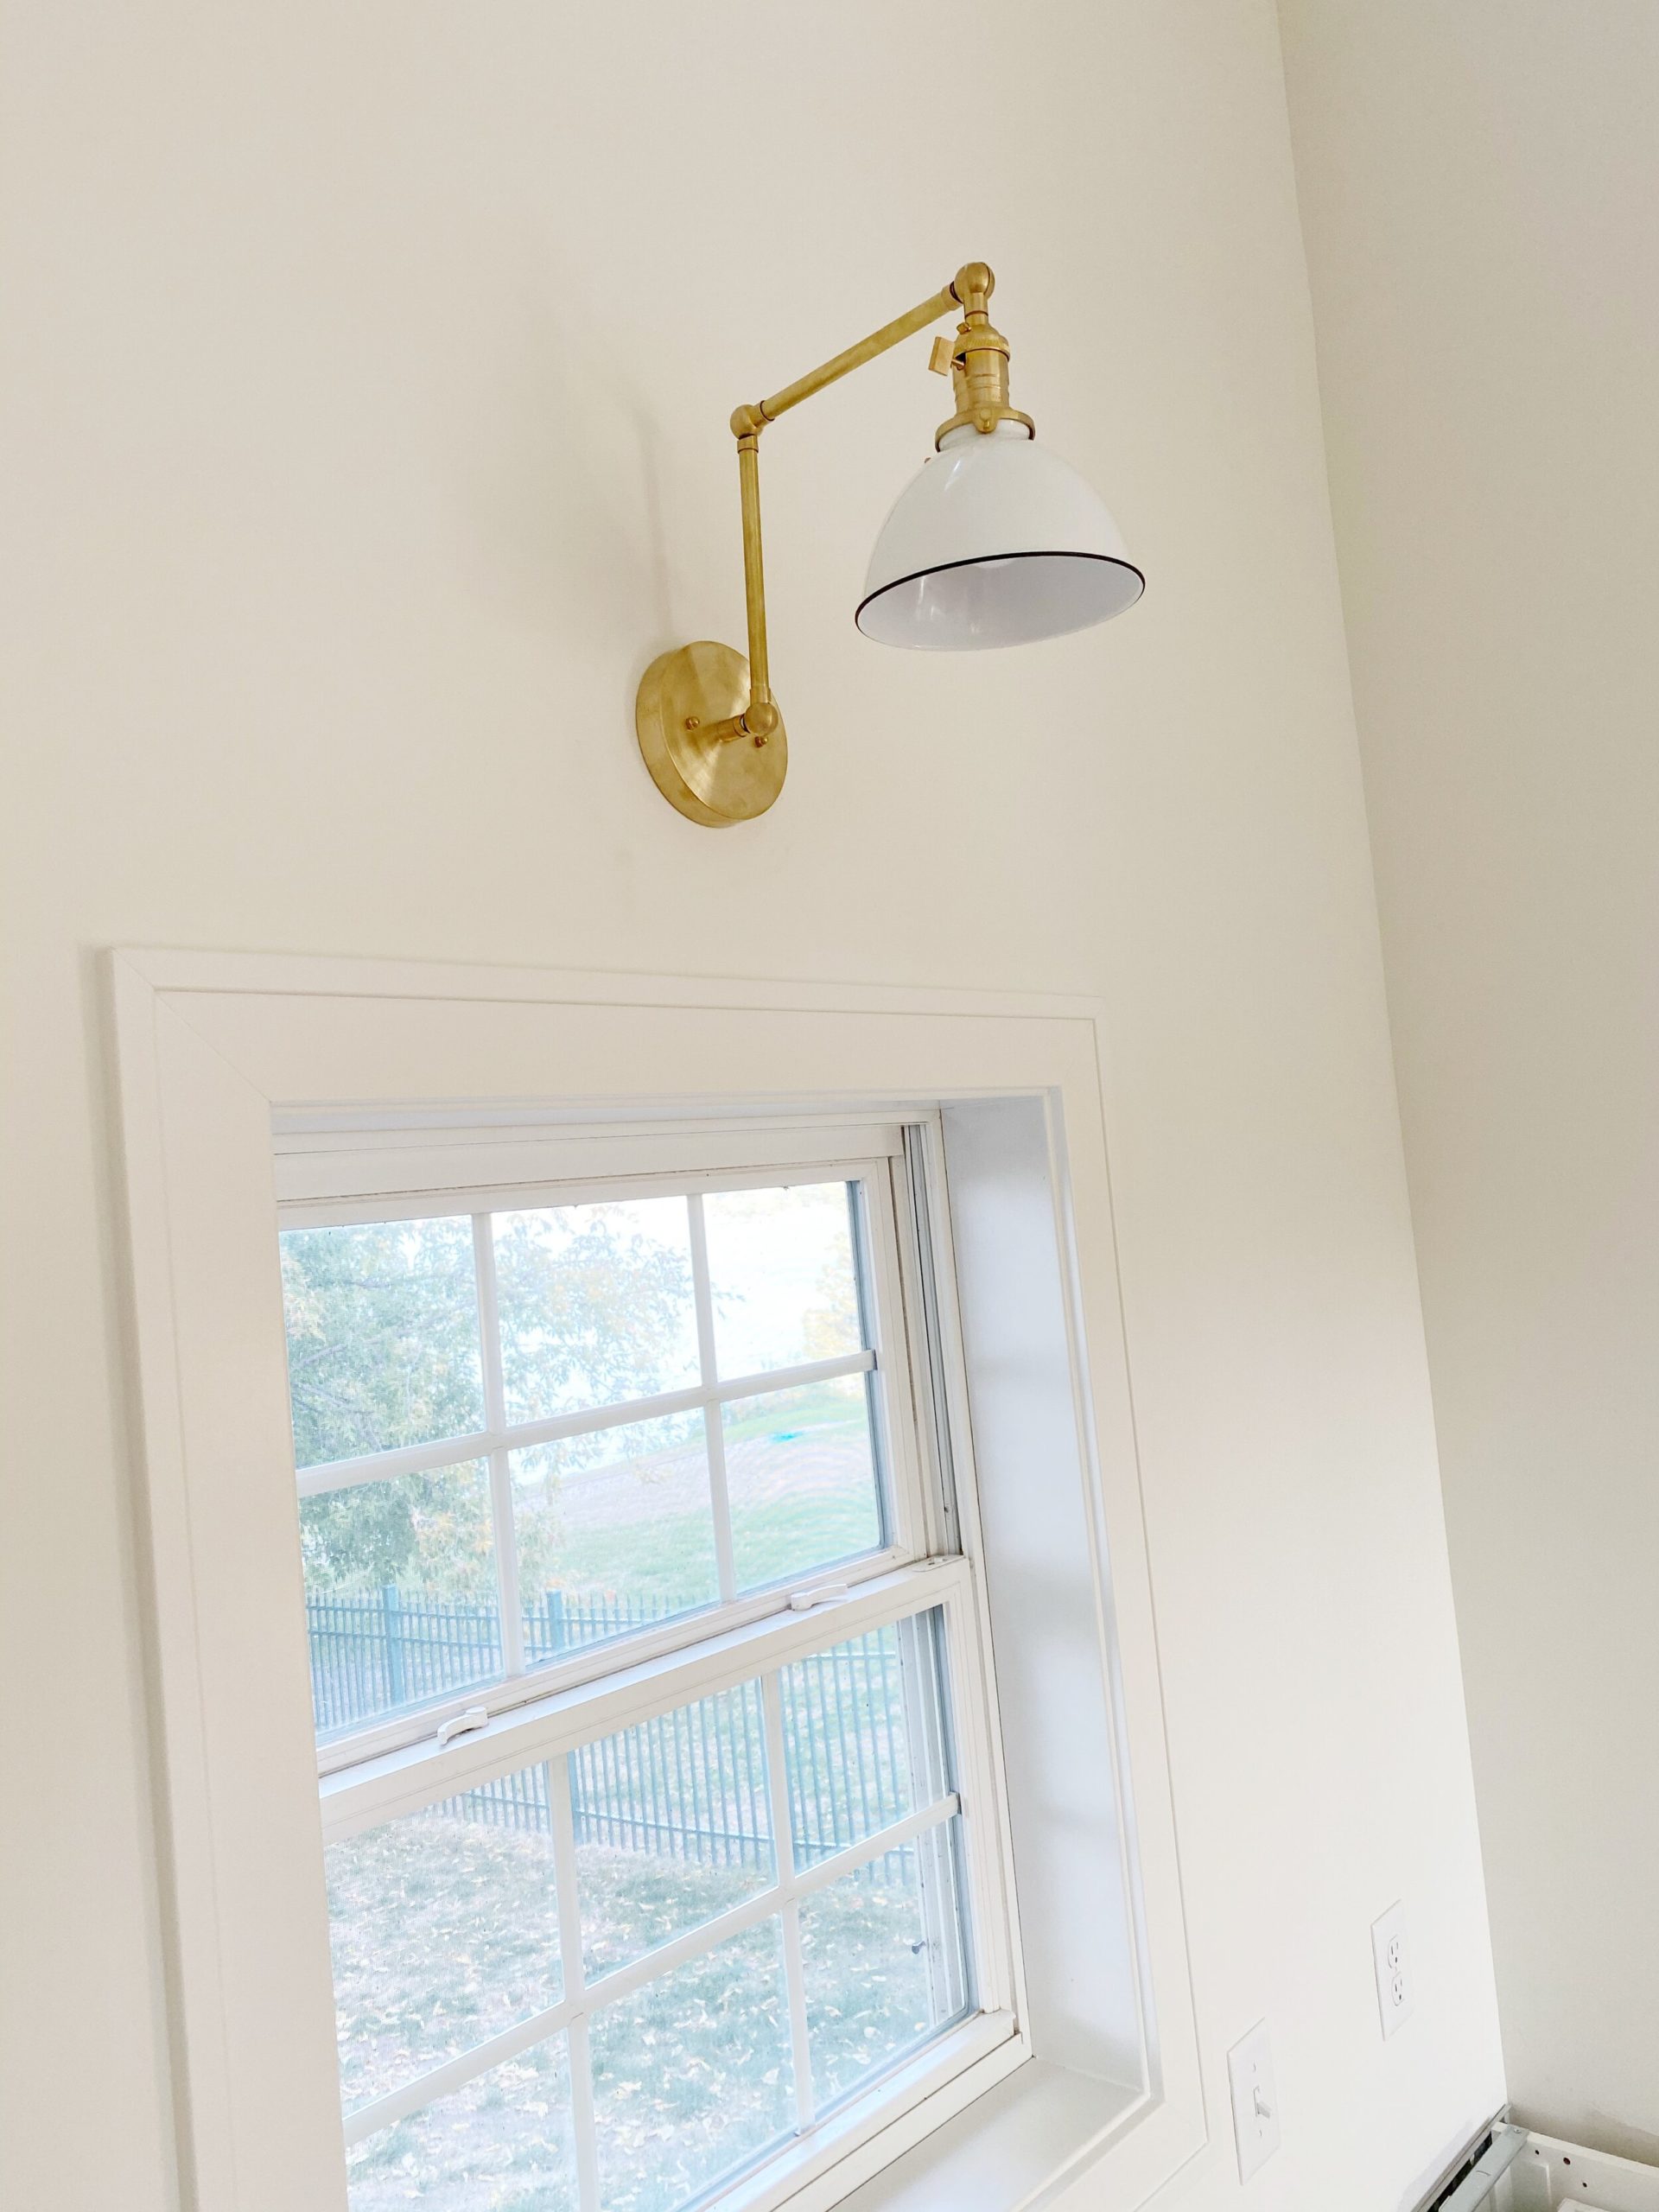
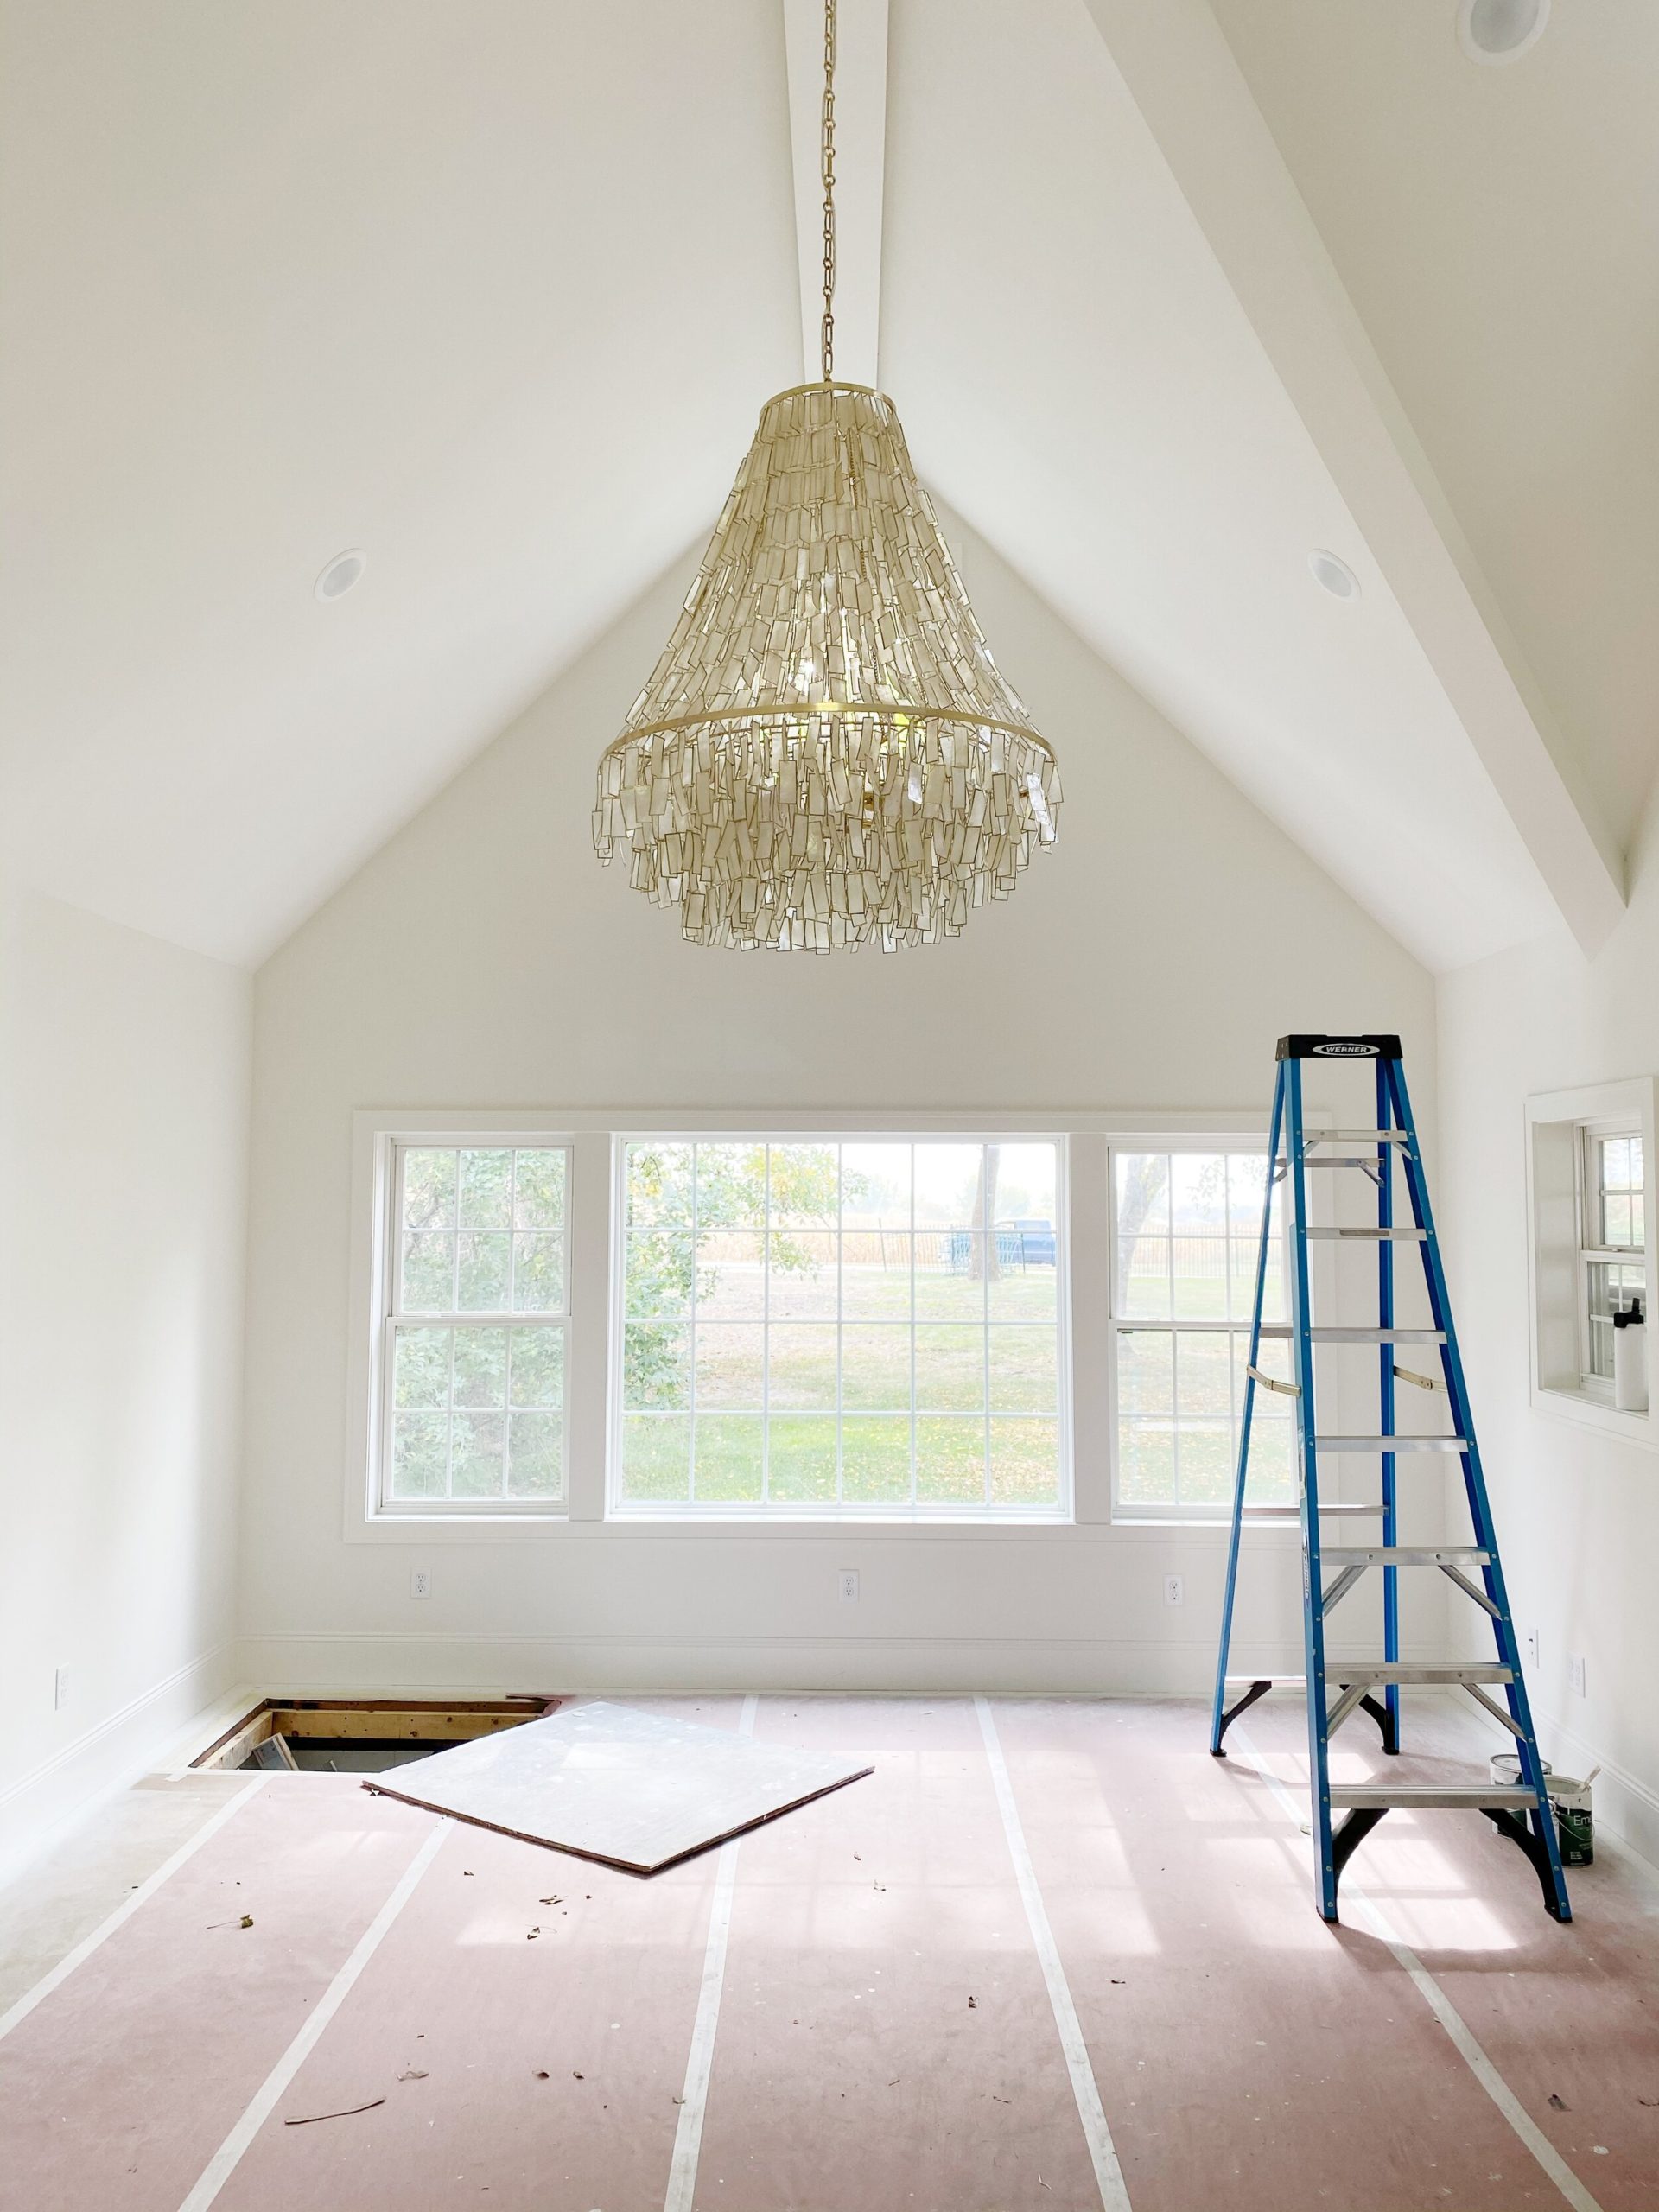
After the painting was done it was time to install the lighting! This truly was one of the most exciting days because there’s nothing quite like good lighting to pull a space together.
We had a simple vanity light from Anthropology installed in the powder room.

And this articulating sconce from MODCREATIONstudio from ETSY installed above the wet bar sink.
But of all the lighting, there was one star of the show… the Melissa 3 Light Chandelier from Neiman Marcus!
When I saw it online it took me all of 2 seconds to know it would be the perfect statement piece for the room.
Here it is installed but still wrapped up.
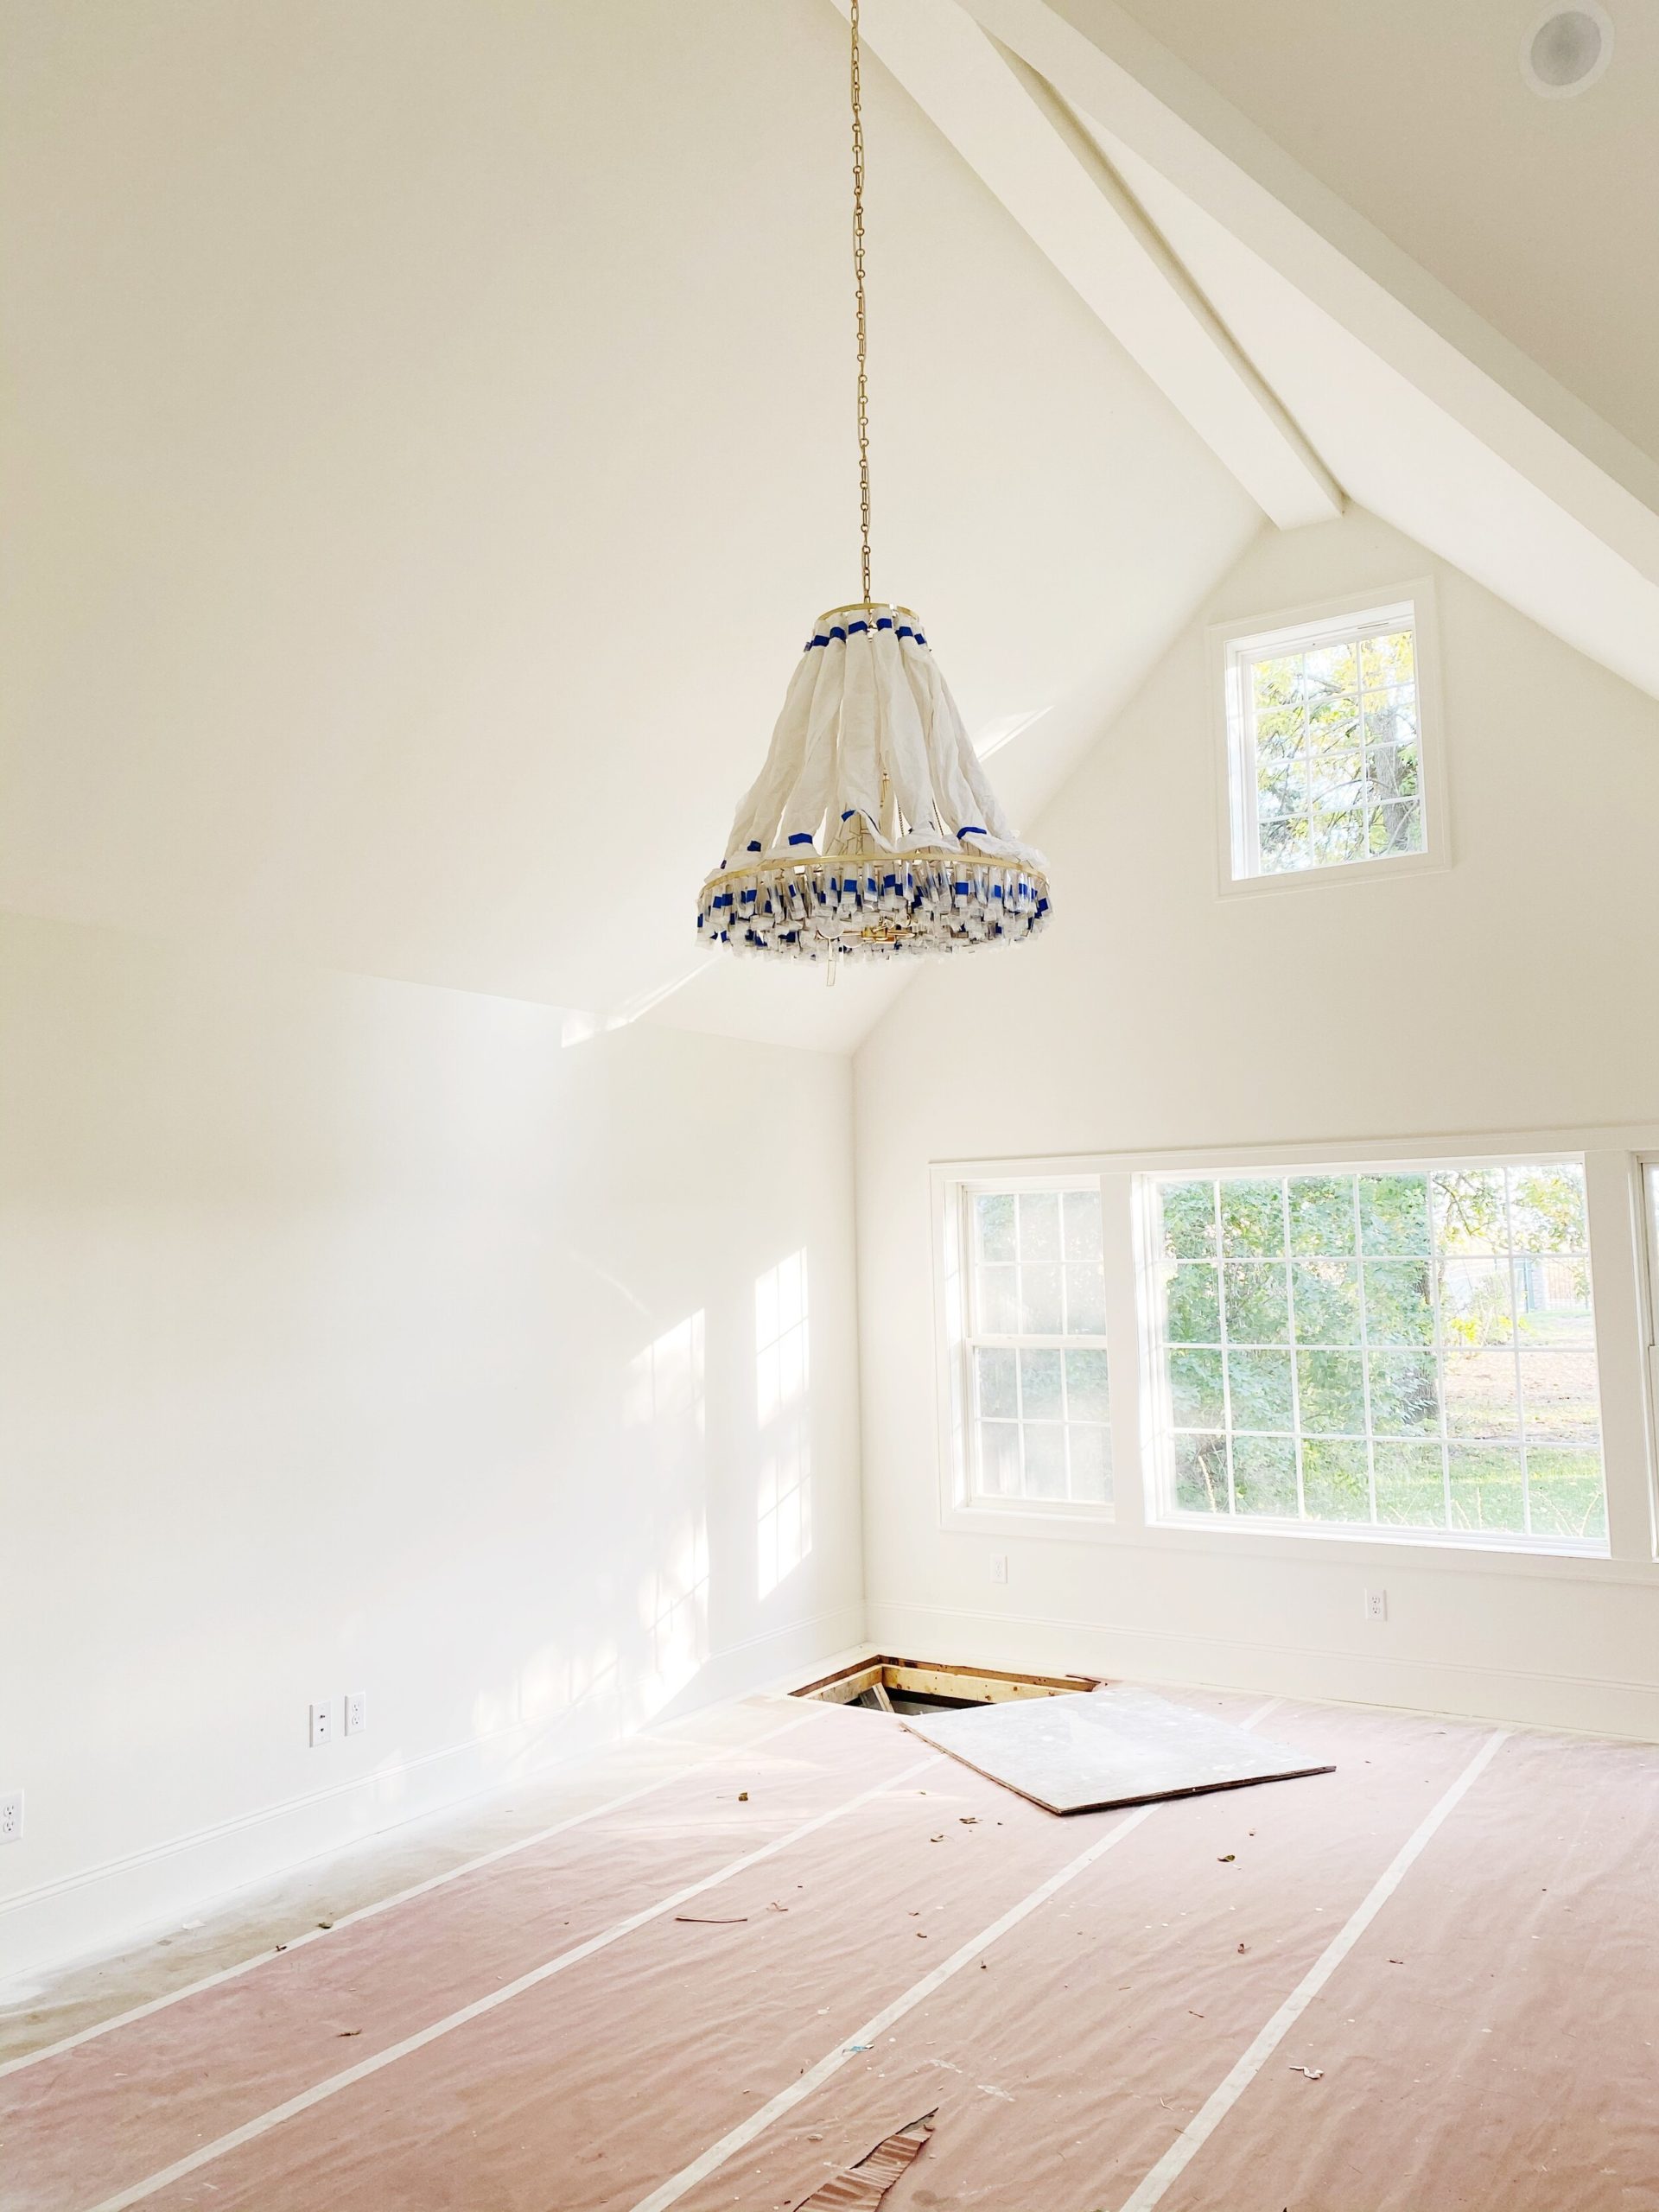
I spent a few hours unwrapping every capiz shell. (Weird side note about me… I don’t mind monotonous tasks like this….I find them oddly calming.)
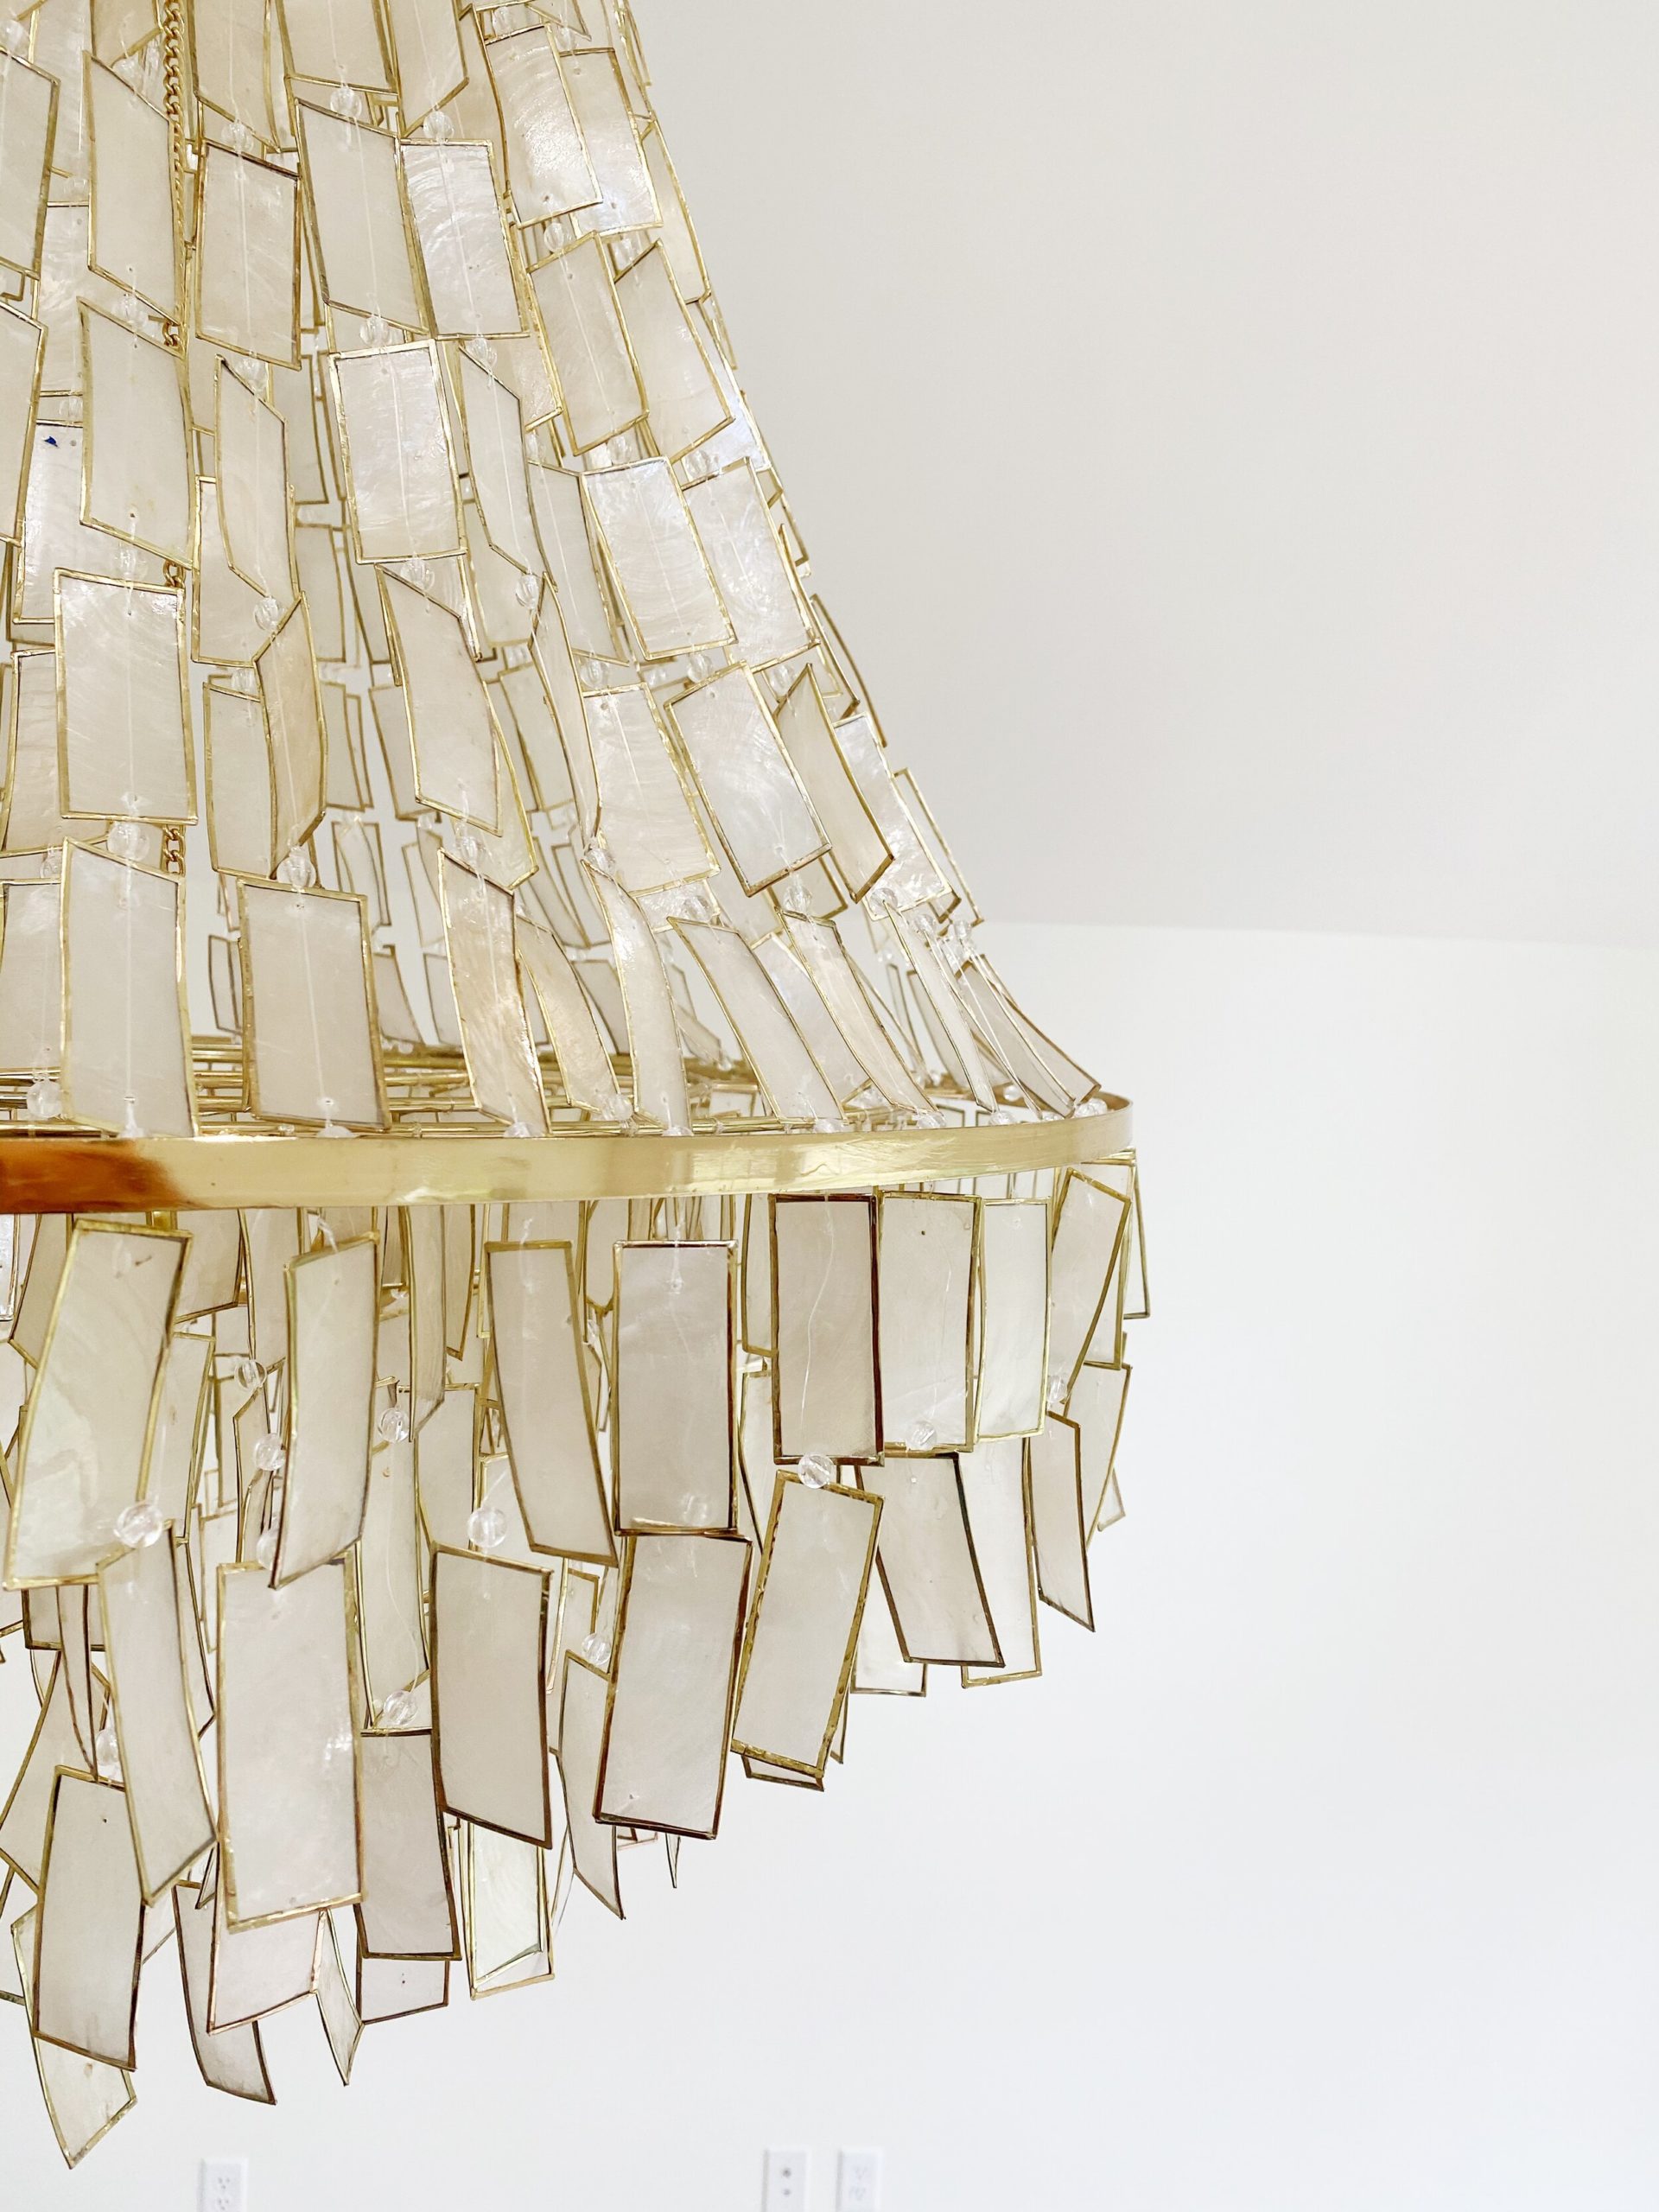
Once the chandelier was all unwrapped it truly was stunning.
Here’s a closeup of the chandelier. Gorgeous right!?!?
Ok, that’s it for now!
Are you excited yet???? Are you dying to see the rest of it?
This was the first major renovation that I’ve ever done. First time hiring a contractor and doing things that weren’t purely cosmetic to a space. I think we completely lucked out because our contractor was FABULOUS! And the end result was EXACTLY what I was hoping for.

See how everything turned out and the completed studio HERE.
xo,
Tessie


view + leave comments . . .